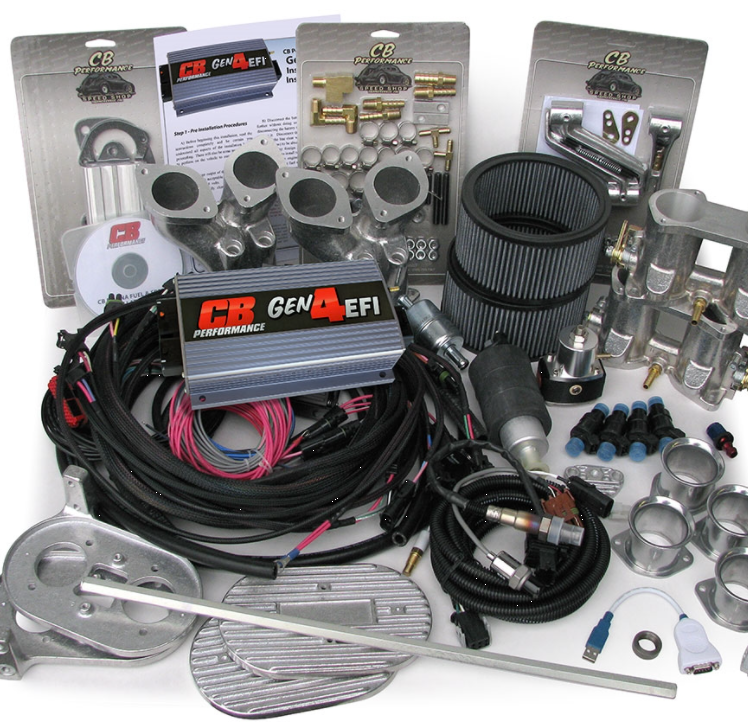
So I keep an eye on the work of several companies that build Type 1 engines and such and am a bit of a sucker for Type 1 engine video porn. On a whim, knowing my own health issues and how 2021 will likely pan out, I decided to look into what it might cost…
Category: Project – 2020 Murbella
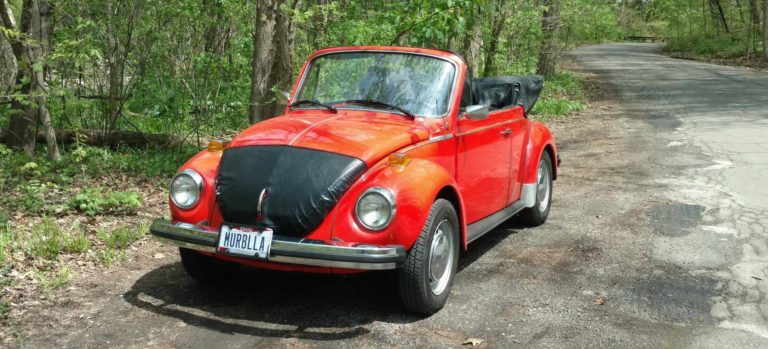
Murbella work in limbo for the winter
So I have not been able to do any work since September 19, and even on that day’s blog post I mention hip pain. Let’s just say the hip problems that started doing that work continued throughout September and all of October, culminating in me actually finally realizing it was not hip-related, but likely something…
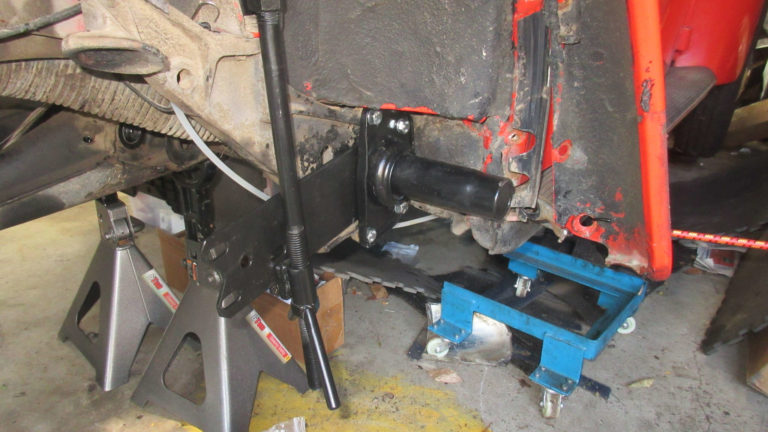
Murbella – Day 56 – Passenger Side Spring Plate
I decided to work on the passenger side spring plate today and it proved to be real difficult to get near the same degree angle as the driver side did. As with the driver side, I opted for the rubber bushings. I started the torsion bar on the inner splines that I thought were what…

Murbella – Day 55 – Driver Side Rear Wheel Bearings
With the arm and spring plate installed, I set about trying to get the bearings installed. Any work with hand-greased bearings is a messy affair. I tried my best to do everything with gloves, and then never letting the greased bearings touch anything other than a clean paper towel. The inner bearing went it with…
Murbella – Day 55 – Driver Trailing Arm
So I chased the bolt holes for the bearing cap to ensure they were clean. I tried my best to not get paint in them but it did happen. I went with the black Energy Suspension urethane for the pivot joint of the trailing arms. I read back and forth about OEM and urethane but…
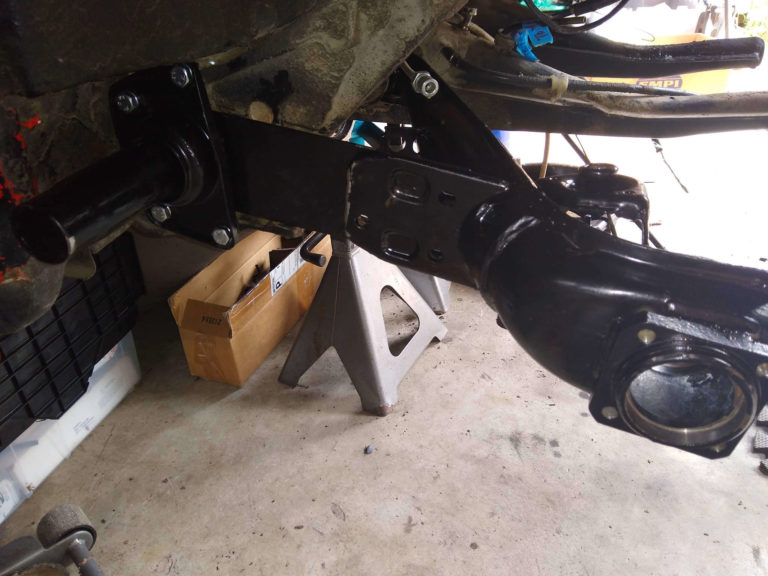
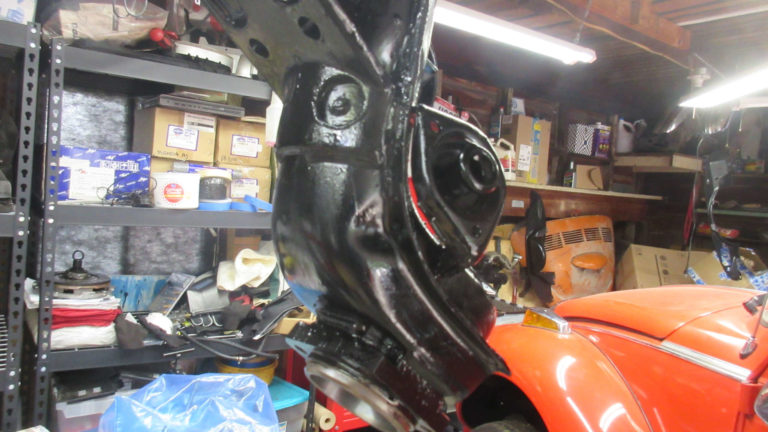
Murbella – Day 54 – Rear Driver Suspension
Trailing Arms I had intended to get started on the suspension but when I dropped the driver side trailing arm down I realized I had missed a whole bunch of small spots due to the brush being so large. I got a much smaller model painting brush and went over each arm again, pushing the…
Murbella – Day 53 – Rebuilt Transaxle & Heads
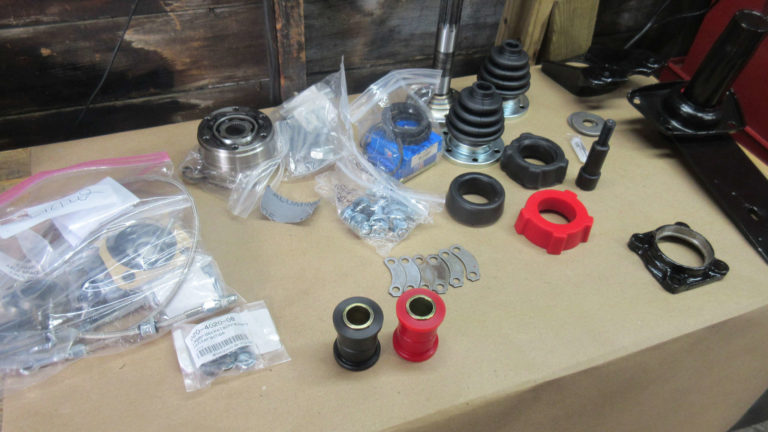
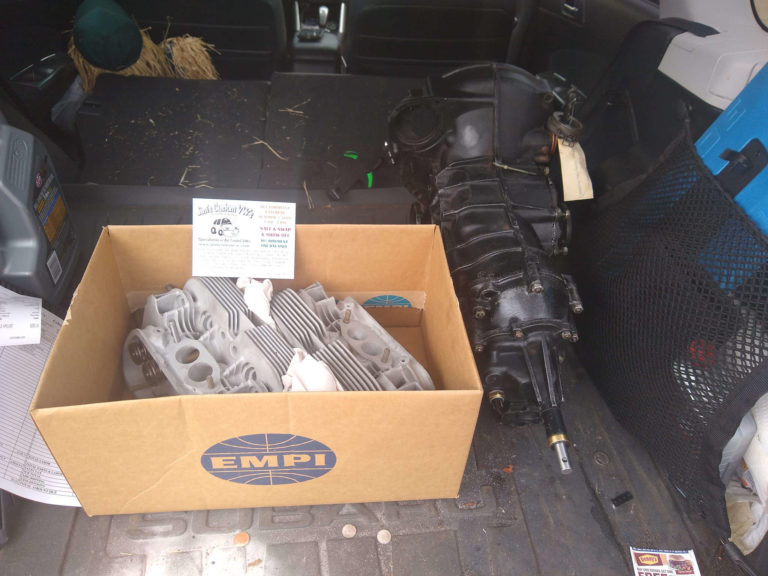
So I got the call from Jim’s Custom VW that the rebuilt transaxle so I made the 6+ hour round trip journey to pick it up, as well as the rebuilt heads. Transaxle Based on the invoice details, it looks like ultimately the transaxle was outfitted with the following new parts: Pinion Bearing Nut Rebushed…
Murbella – Day 52 – Rear trailing Arms
Got another coat on the arms and did some touch up. They are curing in the garage. I’ll likely have to chase the bearing cover holes. I tried to avoid anything getting in there but it is hard to tell with this rust proofer.
Murbella – Day 51 – Rear trailing Arms
It was May 31 since I last touched the trailing arms. I still had to touch up the driver side one and get the passenger side arm coated. Now I was told that the soda remains from the blasting would help protect the surfaces, but of course, I doubt the media guy mean many months…
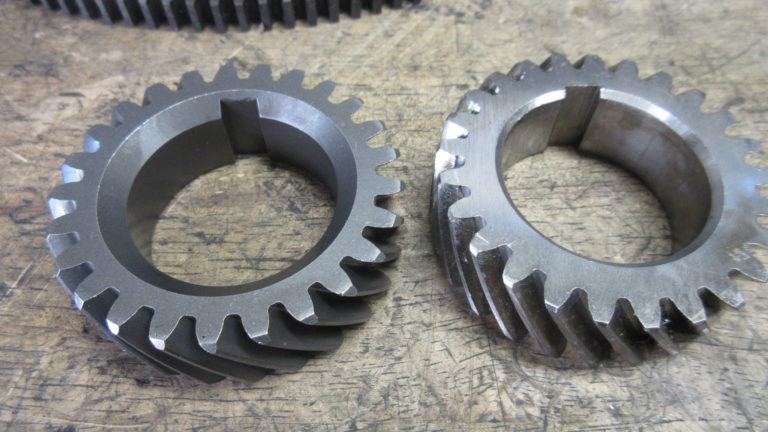
Murbella – Day 50 – New crank gear!
Engine – Day 14 So during my unsuccessful attempt to get the crank gear I ended up damaging the new one I have bought from AA Performance Products. I pulled off Murbella’s original timing gear from her original crank but it appears worn and I’m hesitant to use it. I ended buy getting a new…