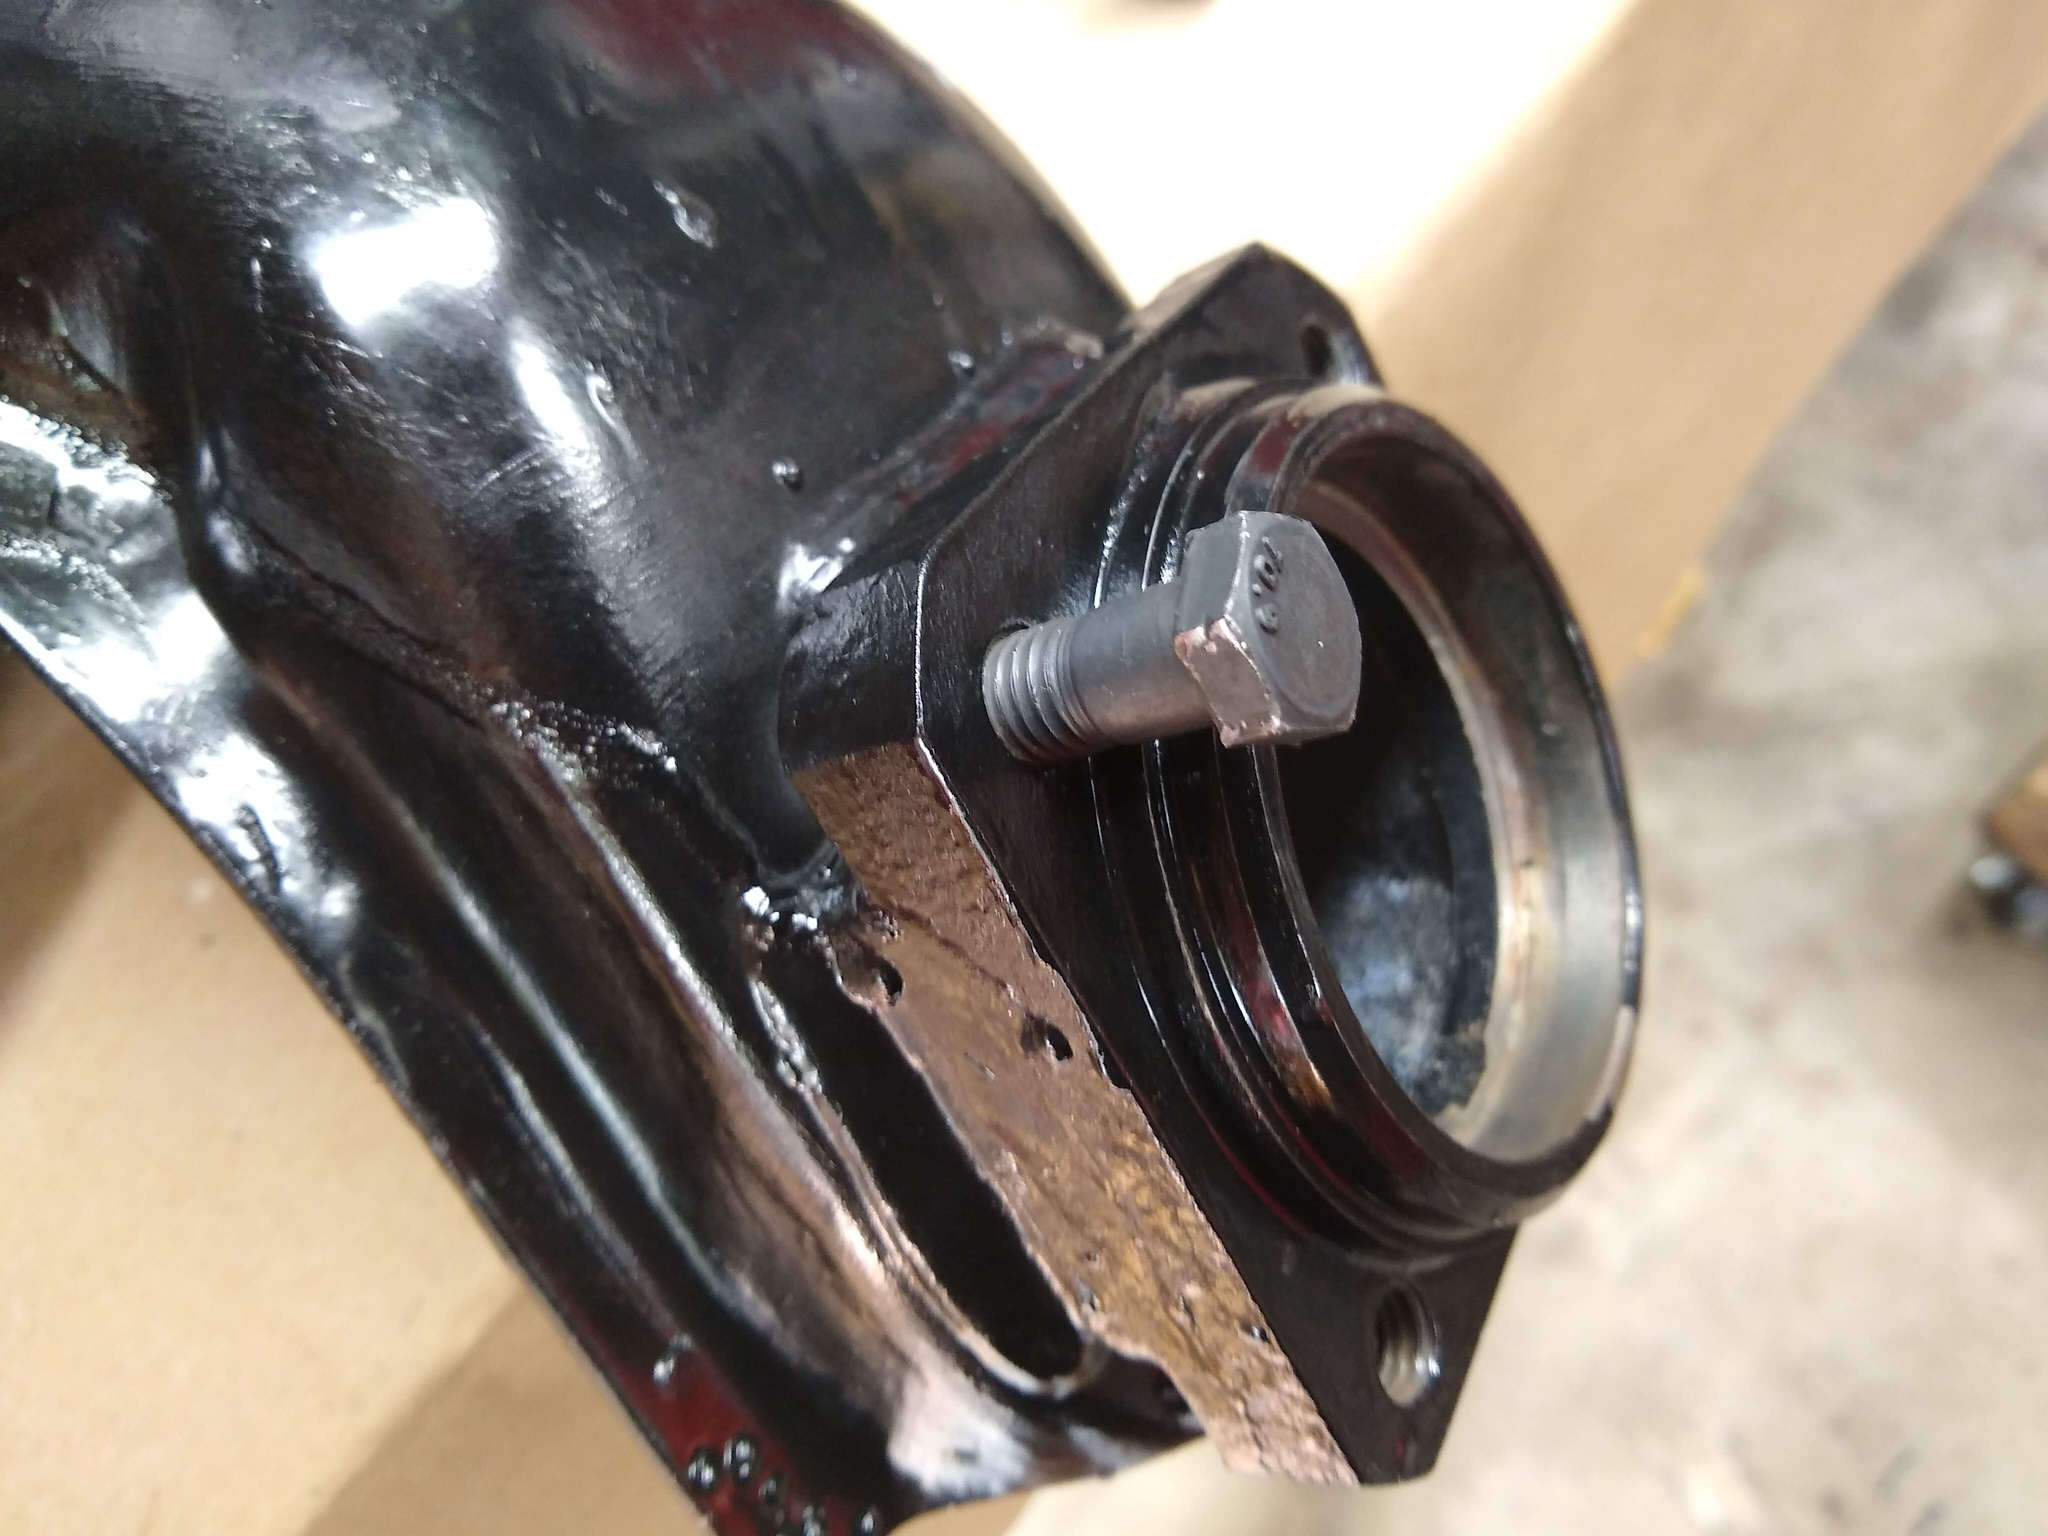
So I chased the bolt holes for the bearing cap to ensure they were clean. I tried my best to not get paint in them but it did happen.

I went with the black Energy Suspension urethane for the pivot joint of the trailing arms. I read back and forth about OEM and urethane but went with these since I could do them myself.
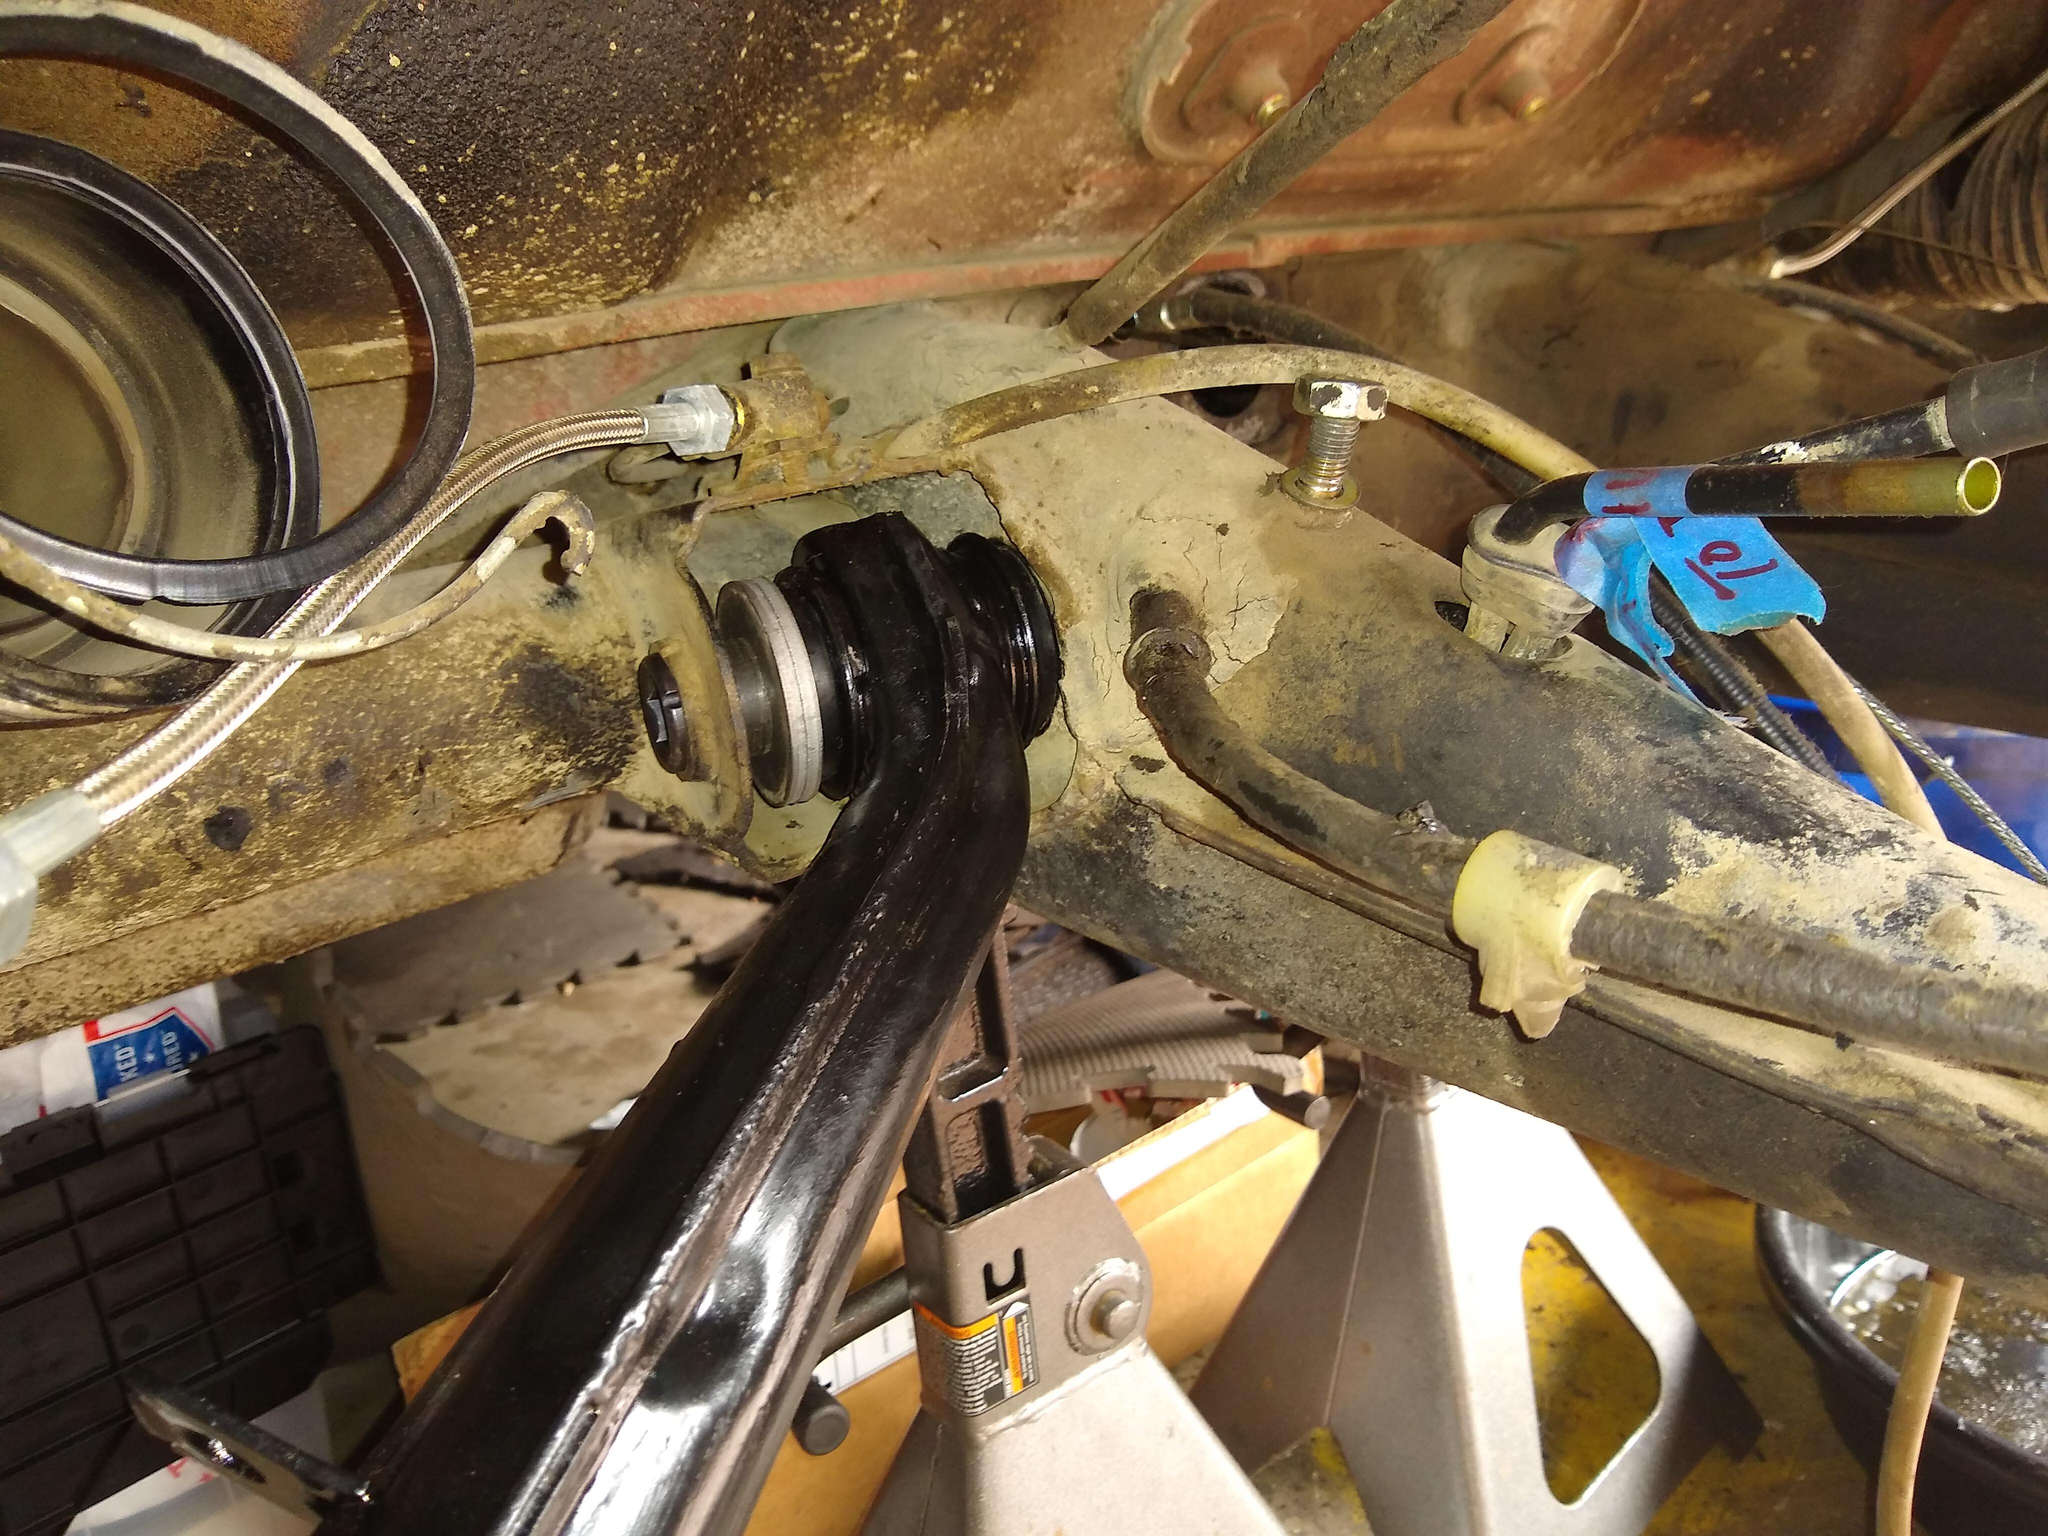
I ended up just using the new pivot bolt and new washers I bought. I had planned on reusing the originals, but once I learned Murbella is not a full survivor as I’d thought, I found it far easier to just put new parts on for these.
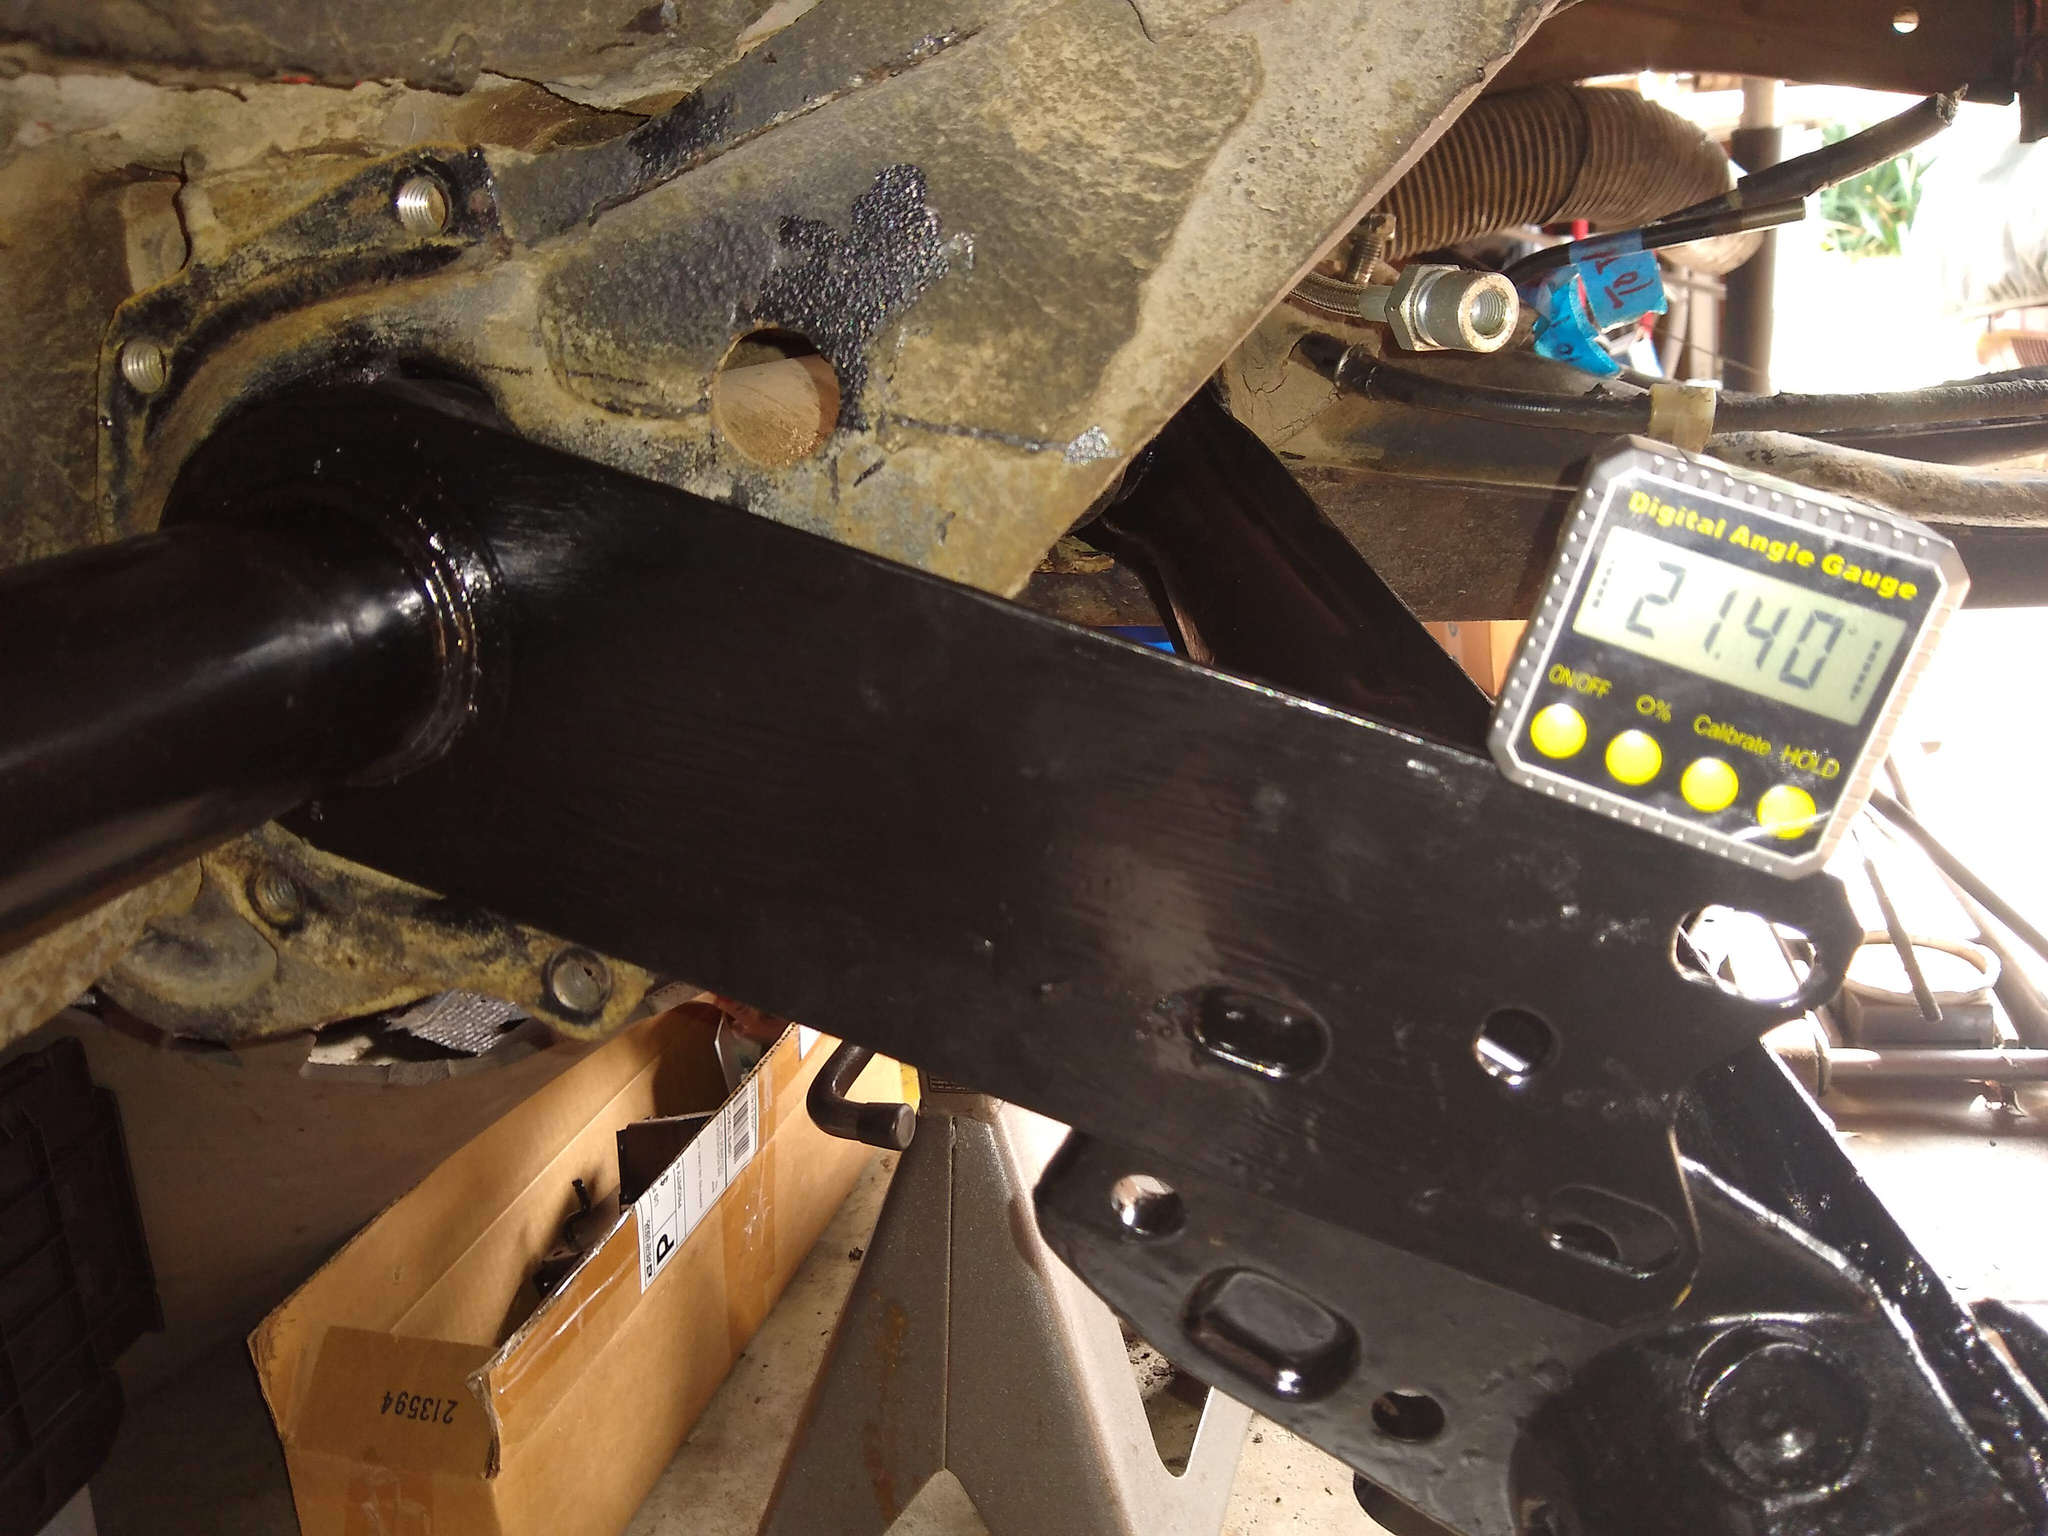
So I did my best to get the goal angle per Bentley. I am sticking with 21.40° which is pretty close but not quite exact. I won’t be able to tell how successful this is until the full weight of transaxle and engine is returned. At least I can get the car back on wheels.
So the new bolt hardware I got consisted of all longer bolts than the OEM originals. However, I have decided to just use them since they are all new.
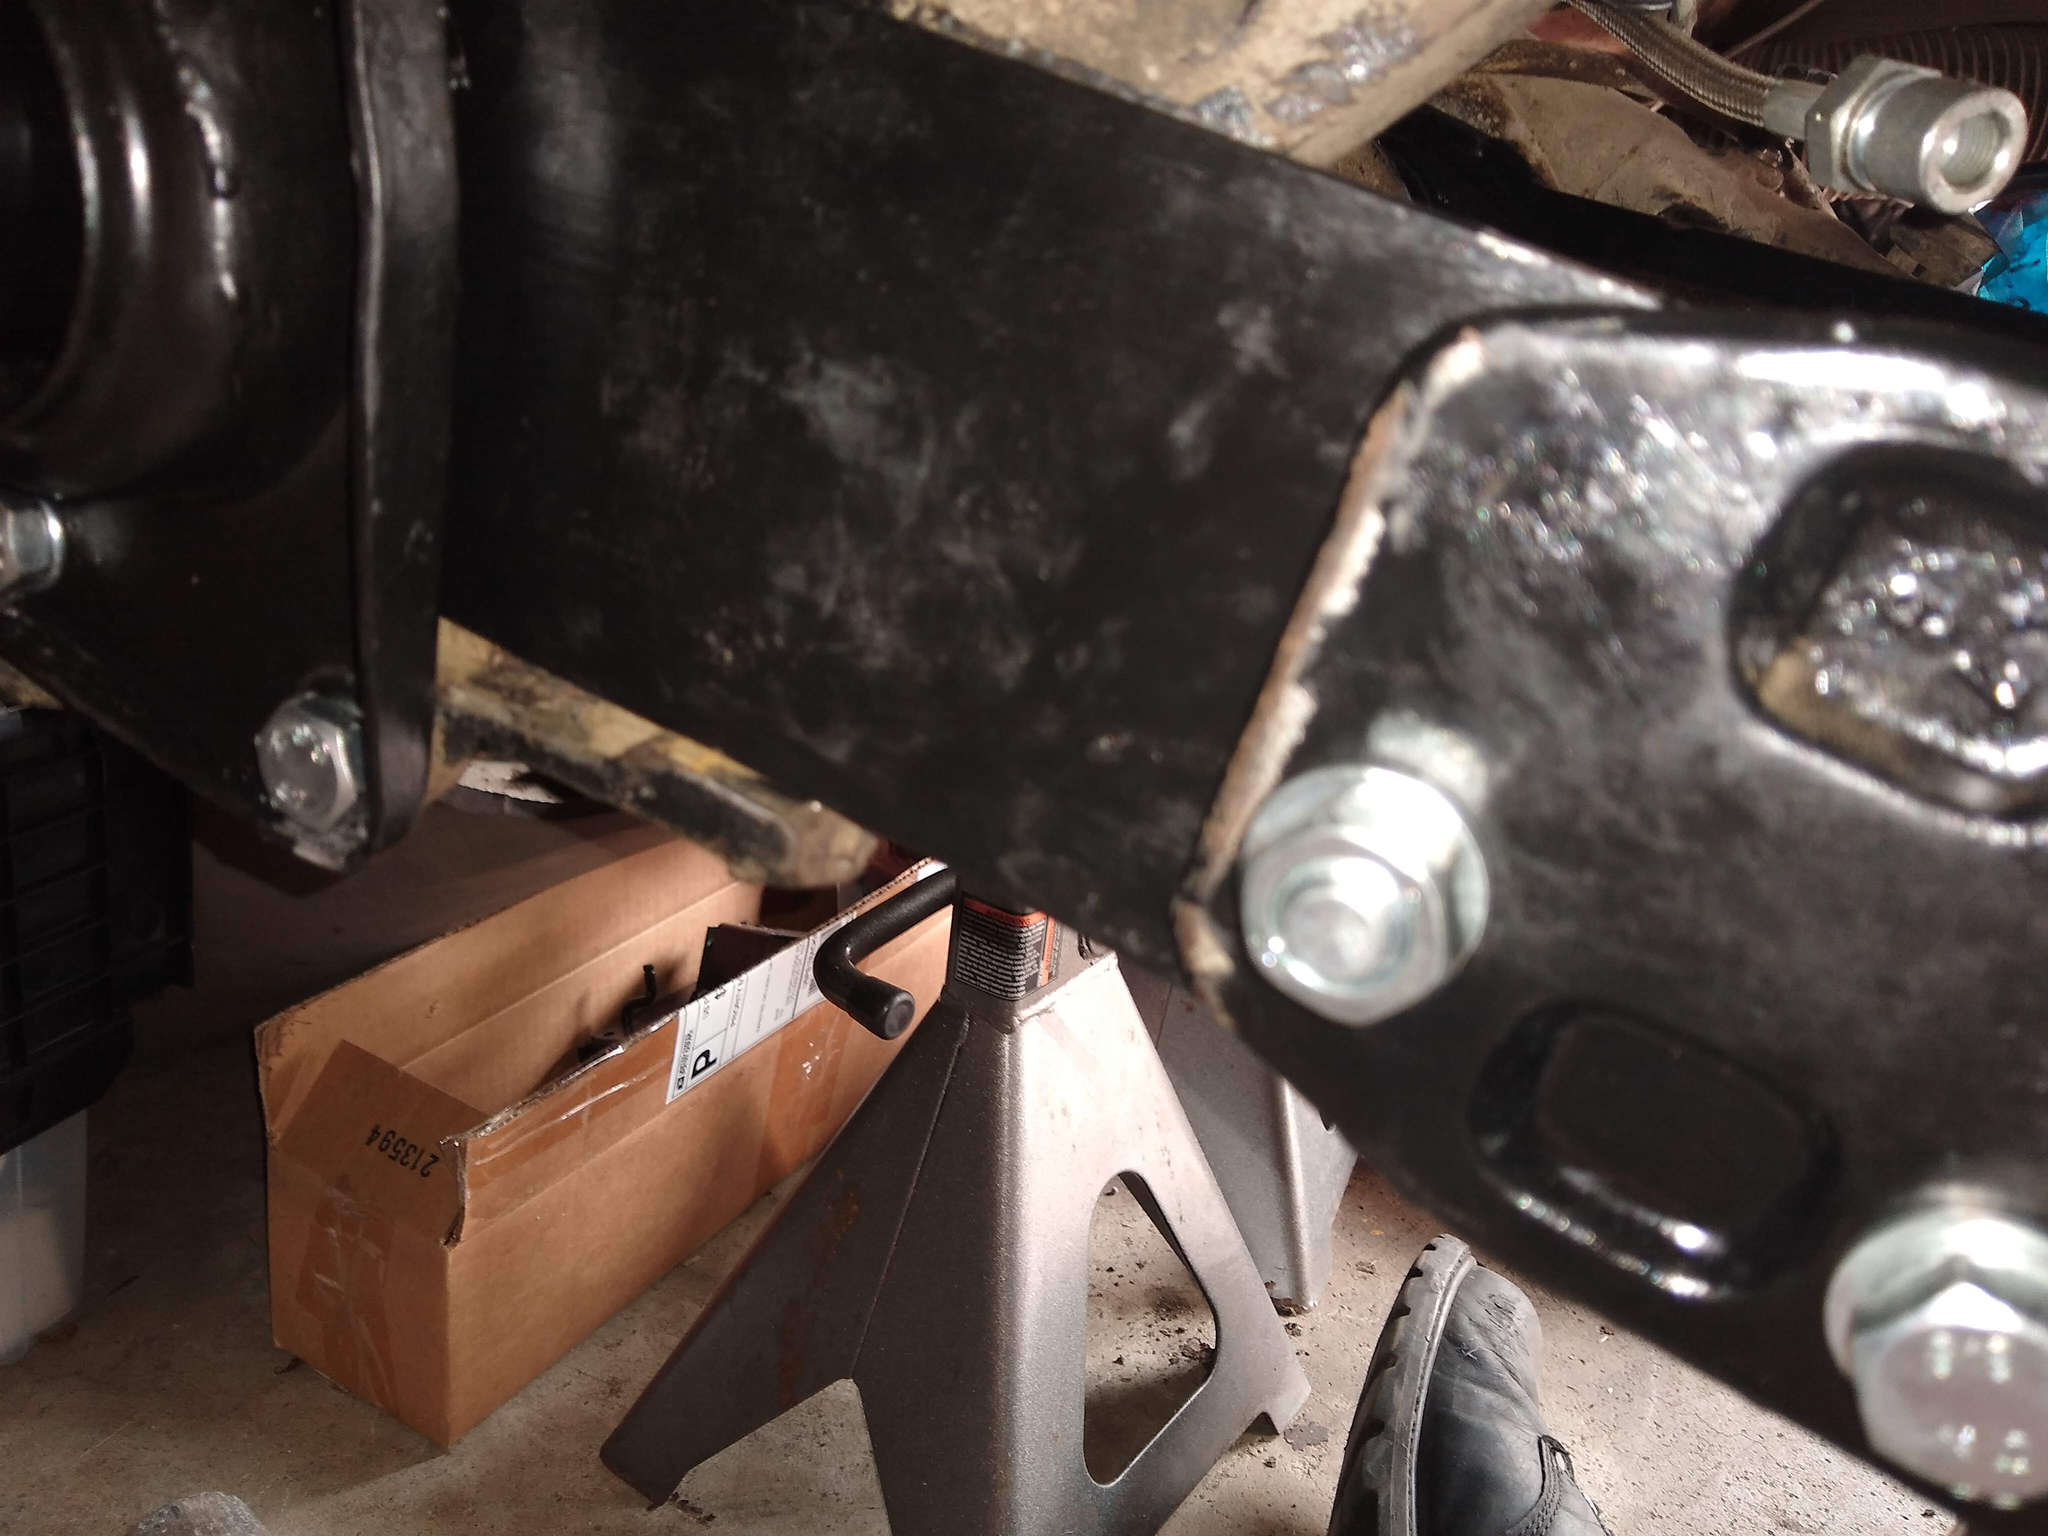
Getting the spring plate up onto the ledge stop was very very difficult. Now I had problems getting them both off back when I disassembled them but I thought that was probably due to the aging bushings but I’m not so sure now.
I tried using the jack, which I’ve seen done in many videos, but I was shocked with that actual ended up raising the car off the rear stand.
Now I’d bought that special took previously. I had not luck with it prior but I was able to get it to work to at least get the thing up, and then used a mallet and screwing in the cover plate to bring and keep it all on the stop.
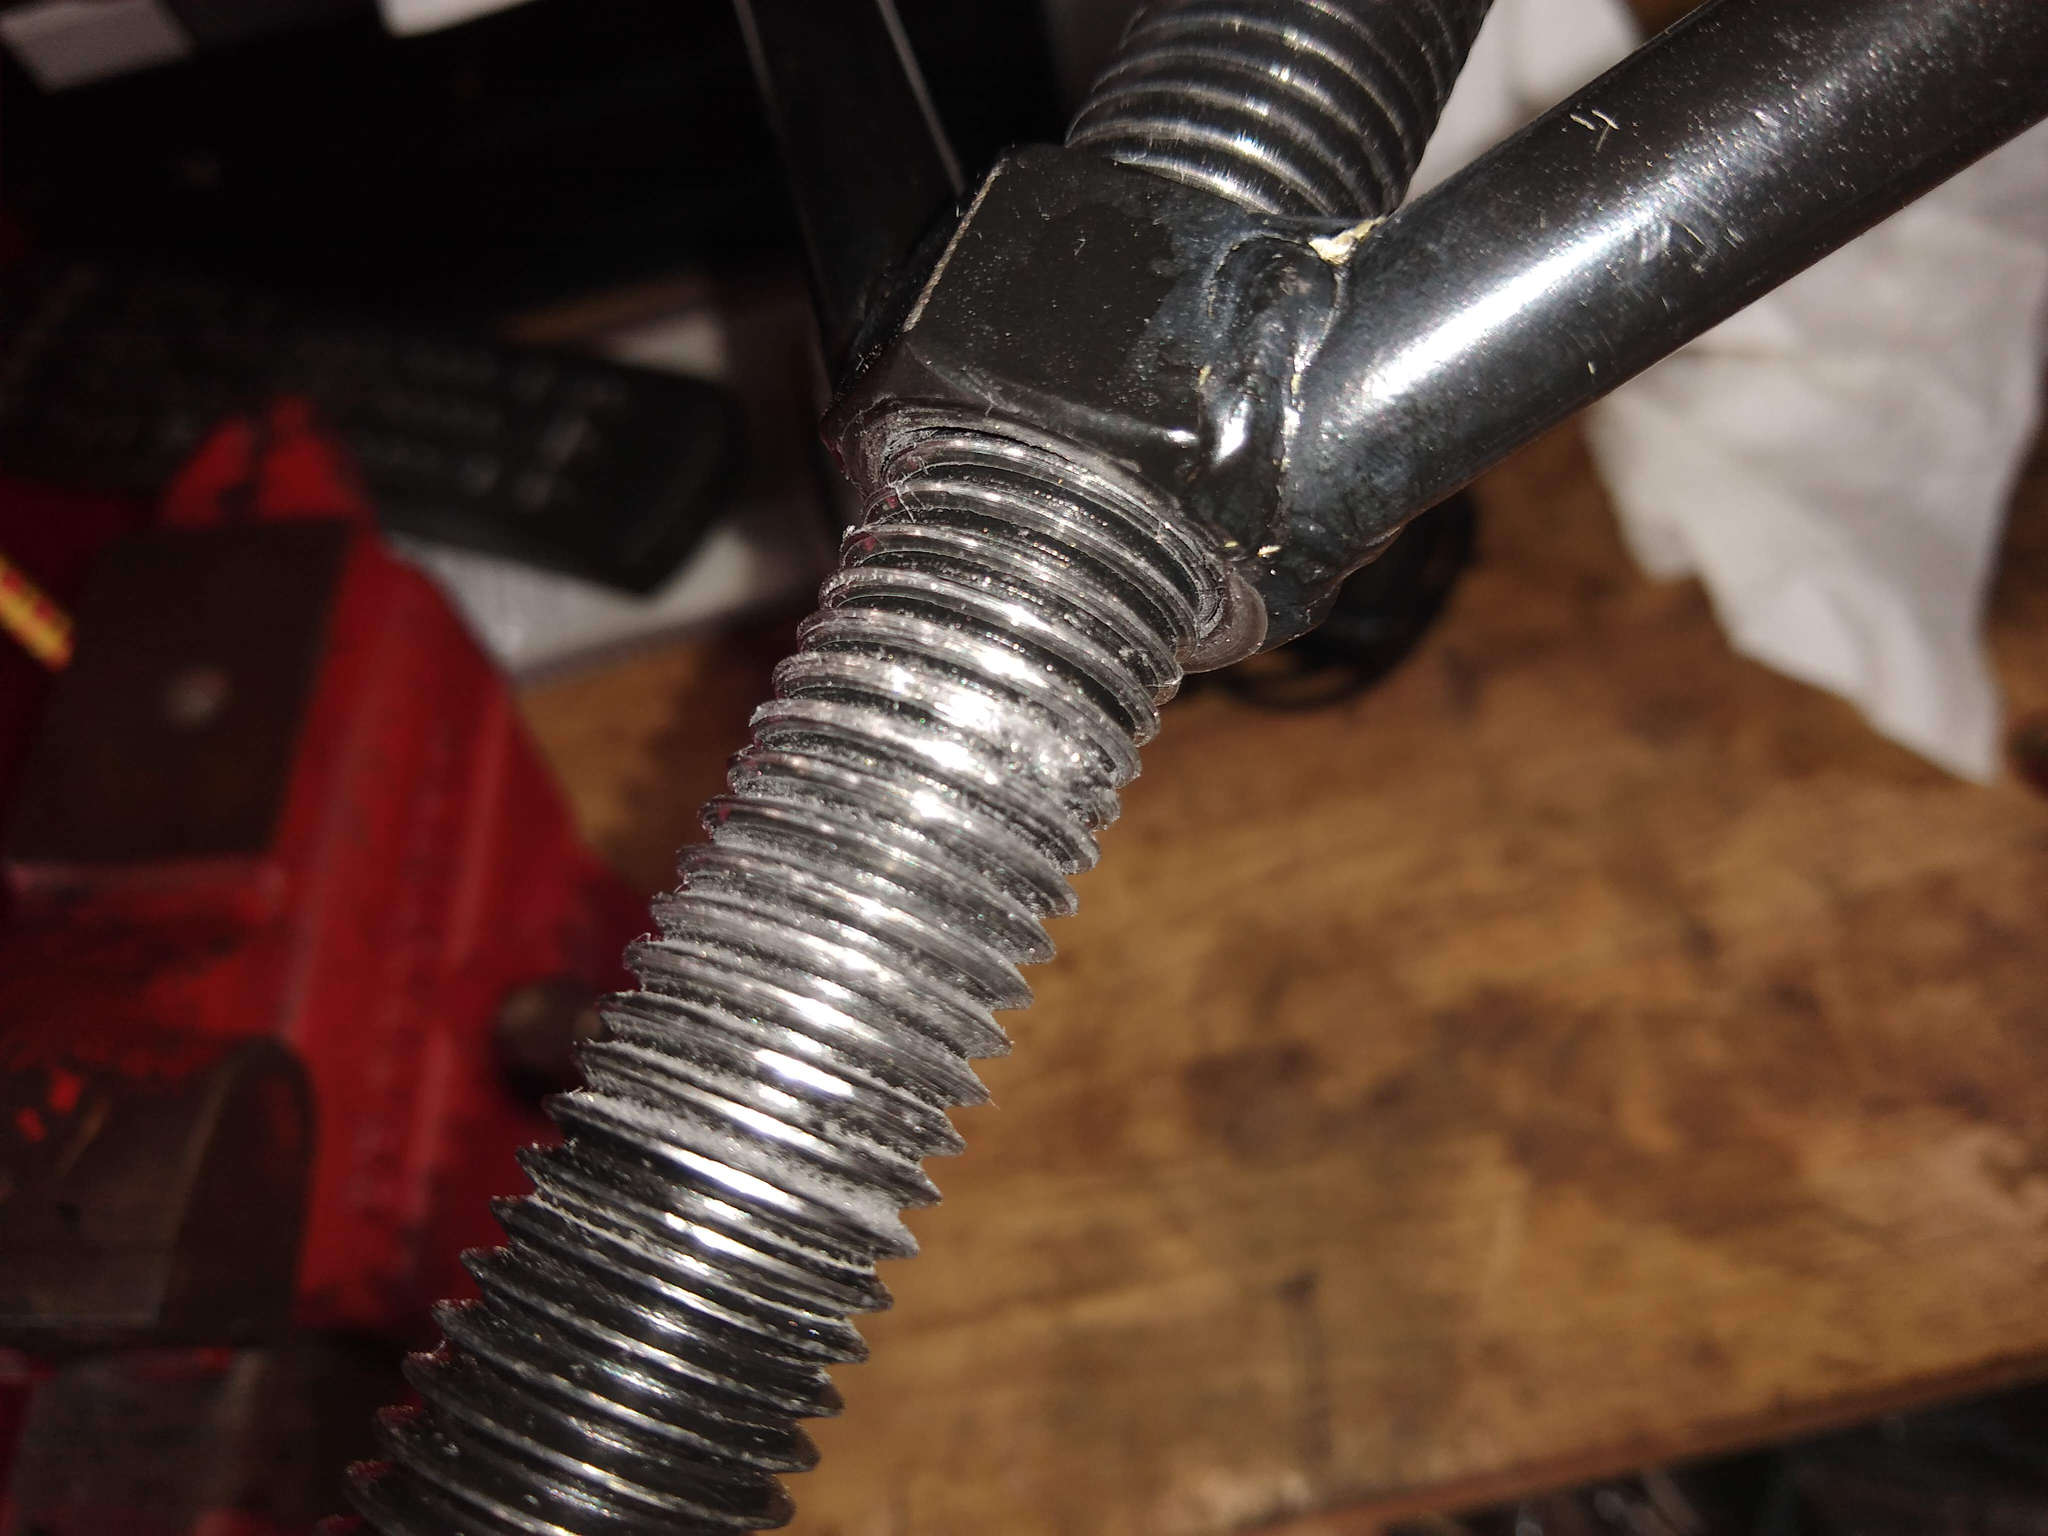
Now this thing is so cheaply made that the threads even took damage. I was able to get it off, but had to put it in the vise to get this to finally screw off. I only need this to work one more time on passenger side.

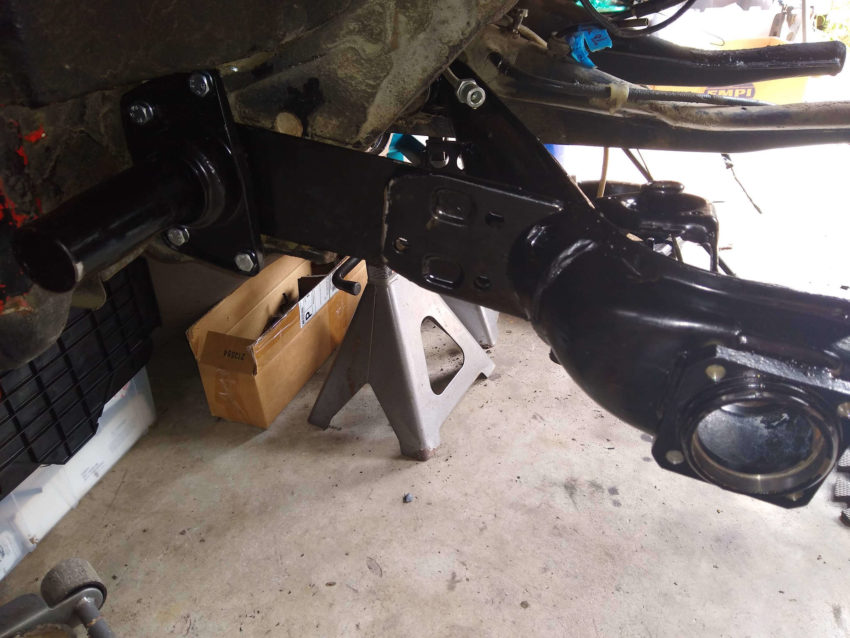
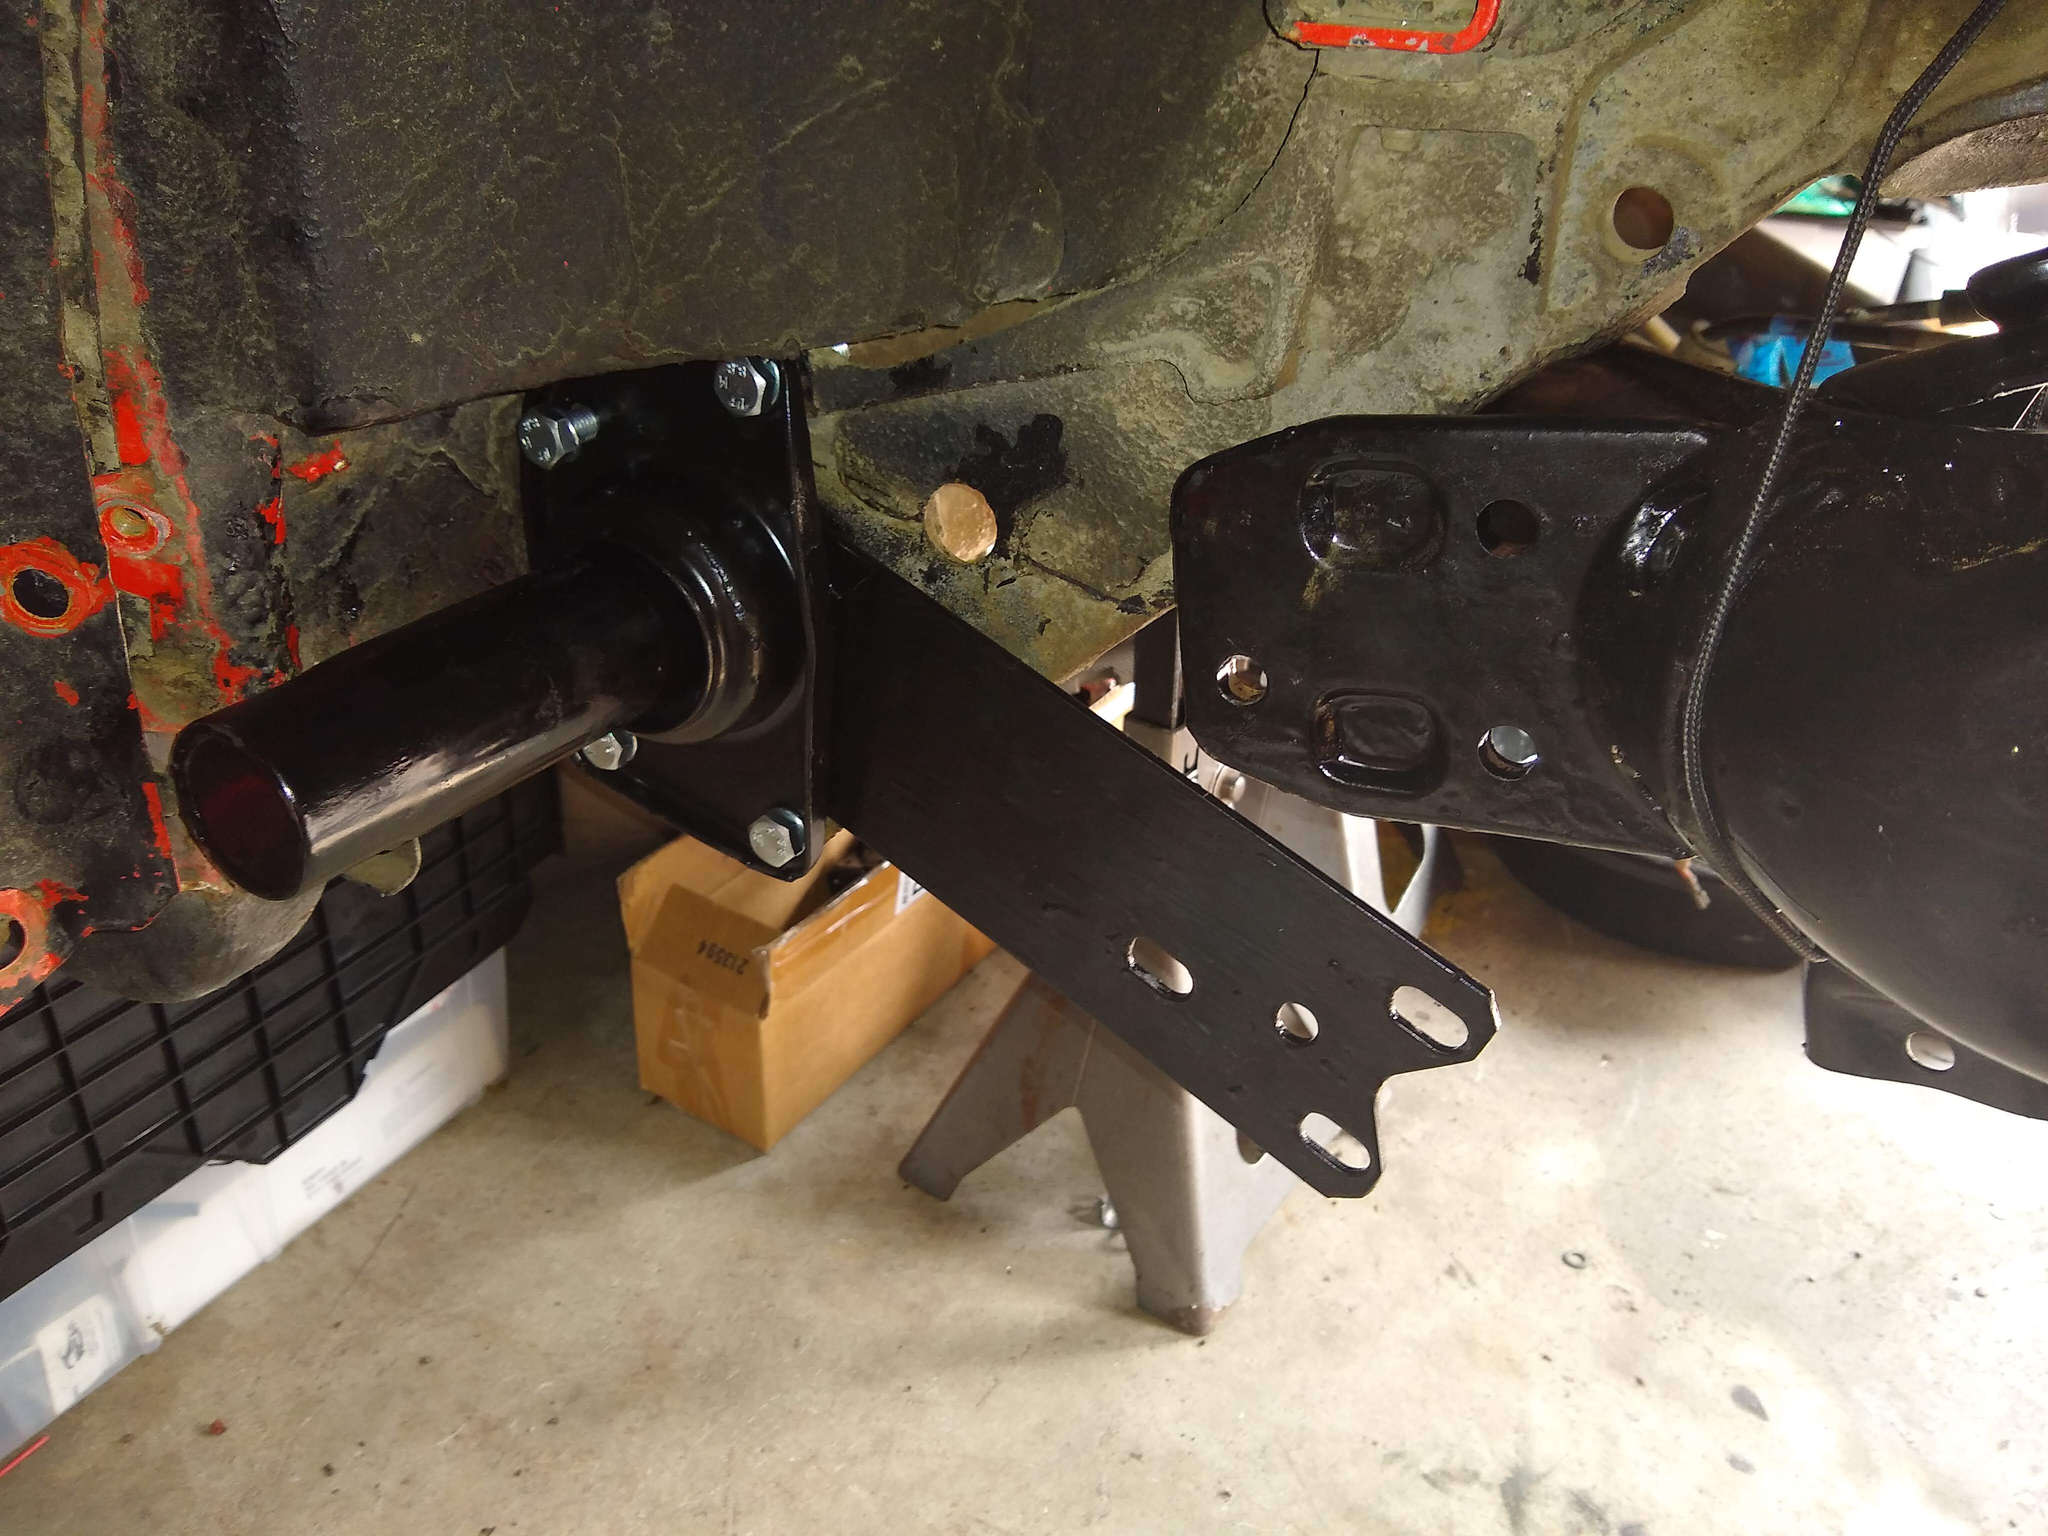
I was able to bring the trailing arm up. However, you can see how I already scraped the rust proofer paint in several places.
I’ll touch all of this up with a brush, but honestly, I don’t think it was possibly for me not to end up scraping somewhere. I have no idea how this would be done professionally without doing so.
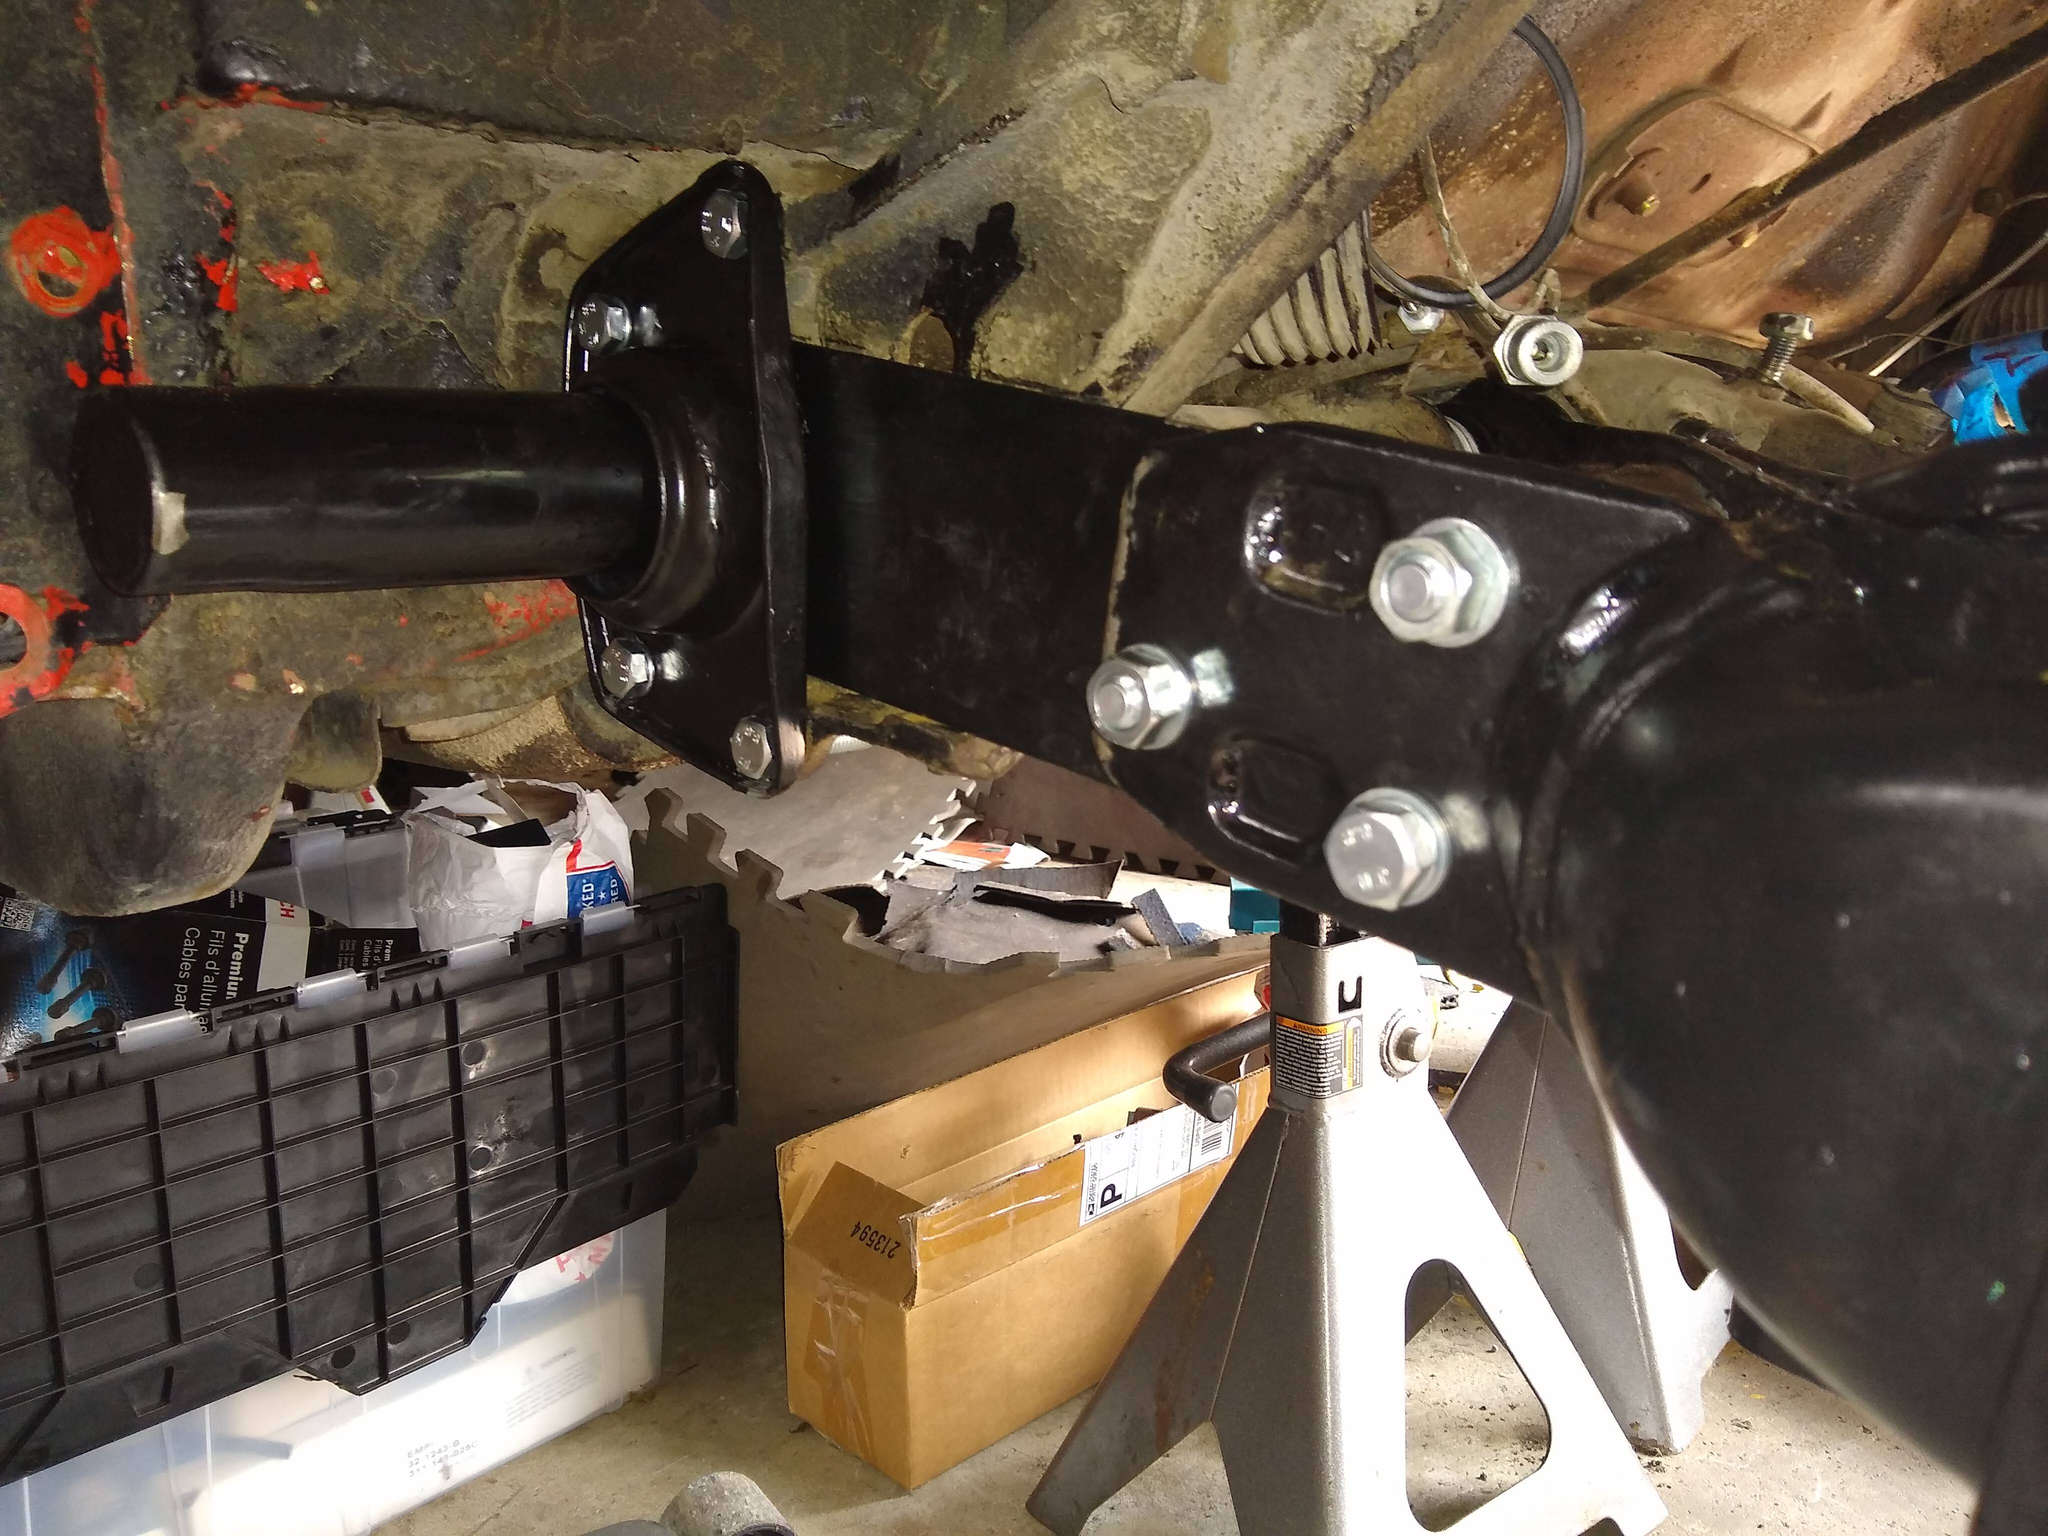
I used brand new hardware as well to join the two.
I still need to look up if there are any final torque specs for these, but they are pretty tight. I still need to peen the IRS bolt as well but wanted to get this all up as best I could.