So today was all about prepping the new case and making sure some of the basic tolerances are there as well as some of the problems I found yesterday get fixed.
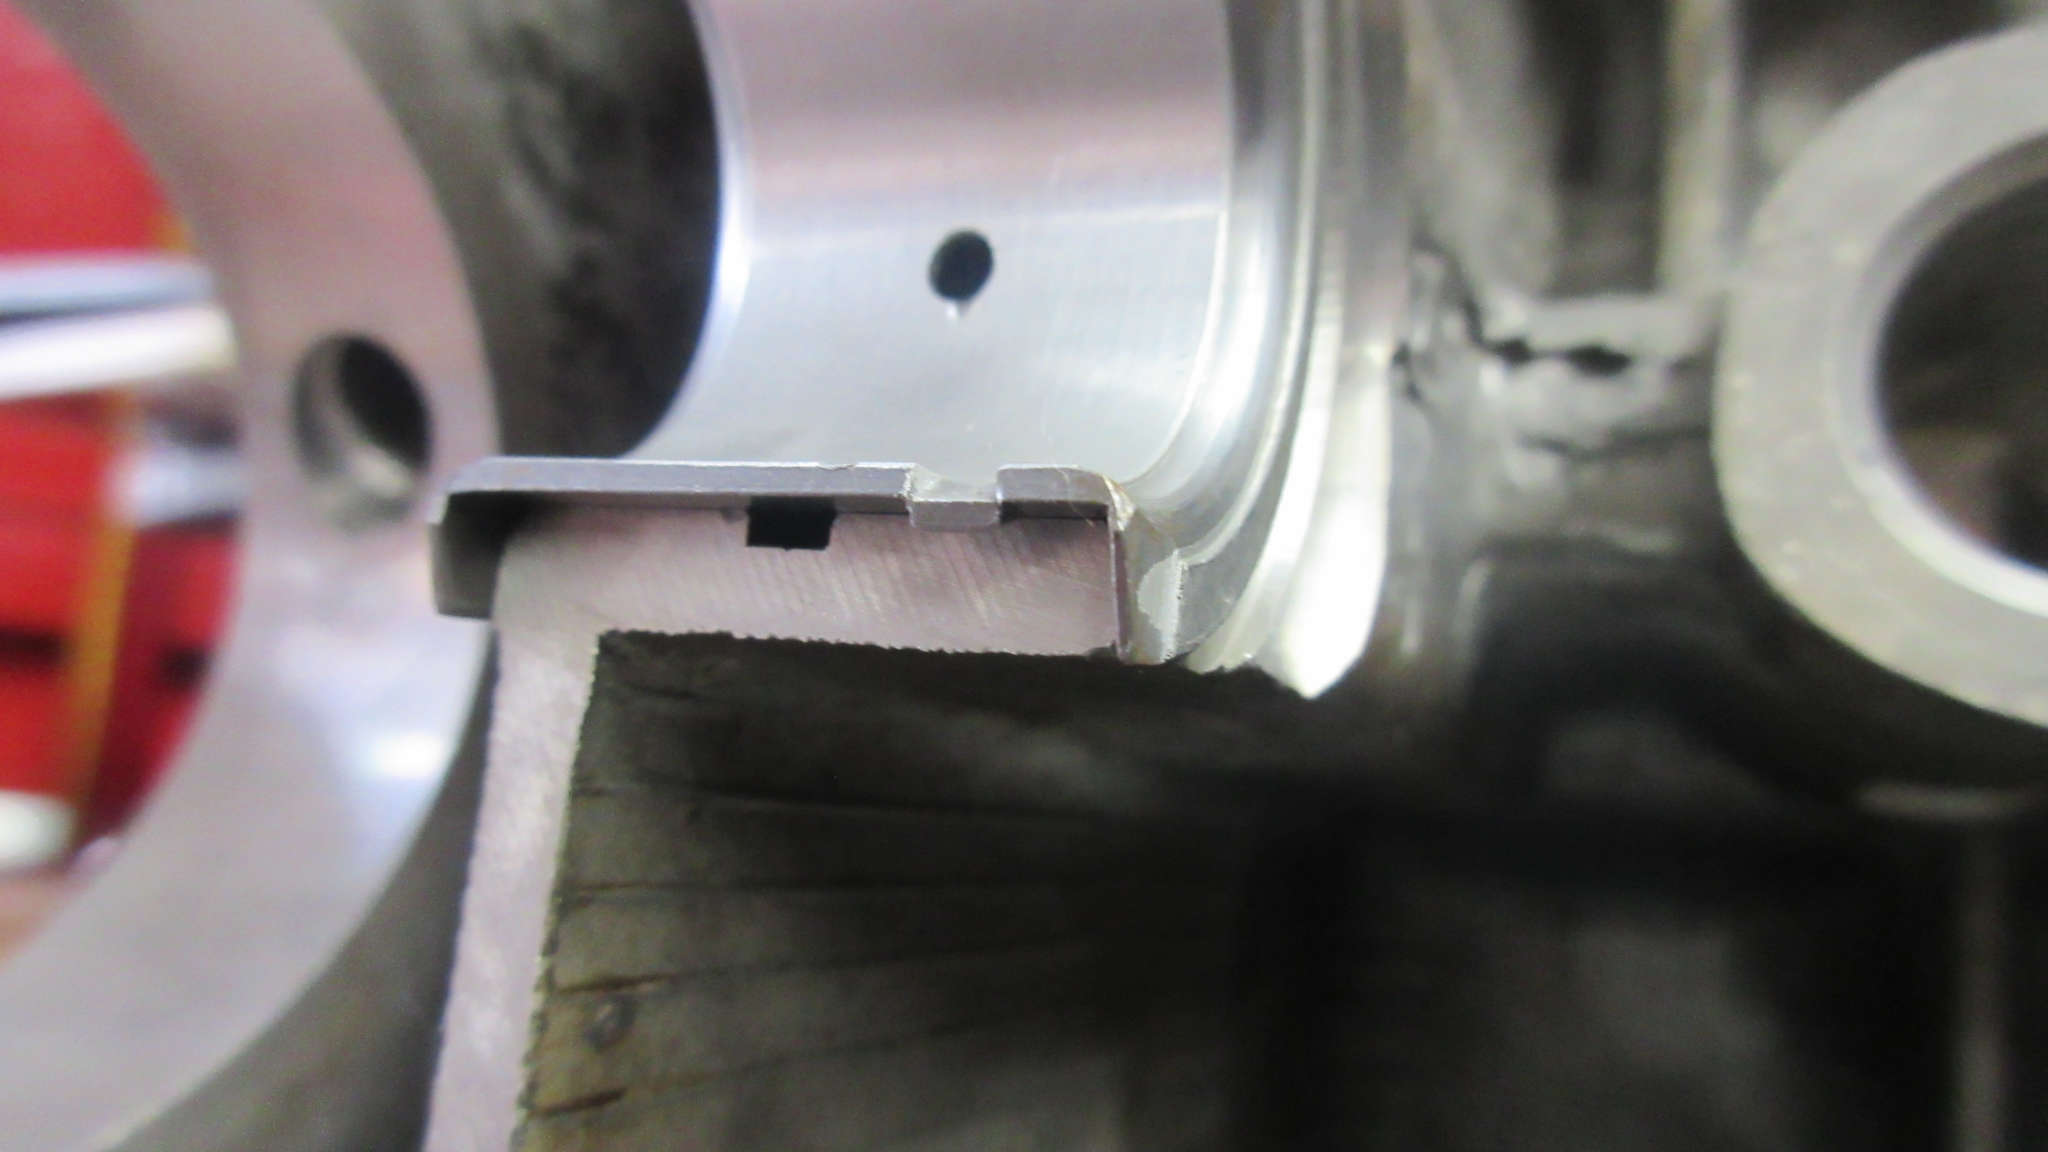
The as I do with all prior builds, I need to mod the case just slightly to allow for the use of double-thrust cam bearings instead of the single-thrust stock setup.
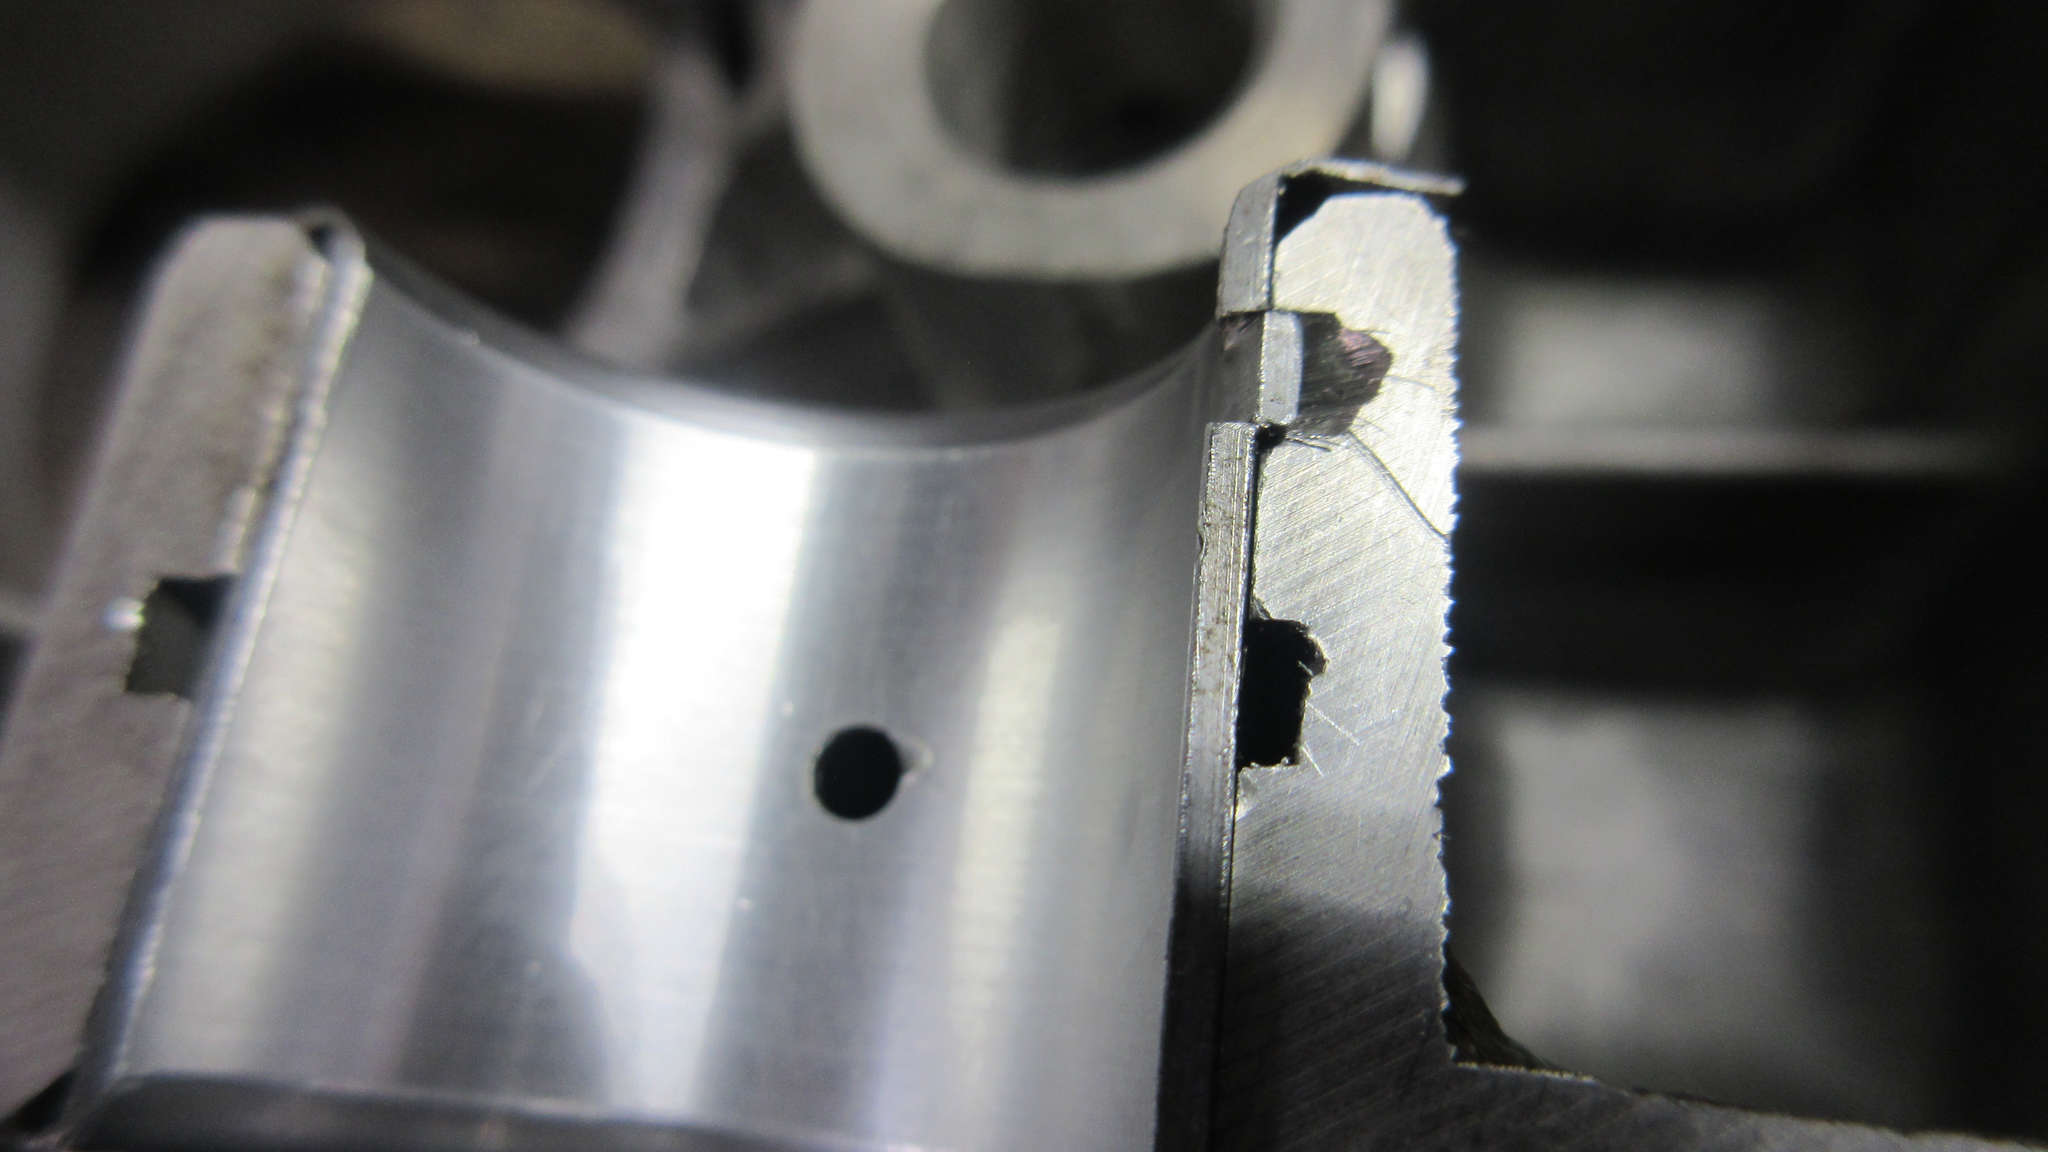
I basically use a tiny file to slowly remove material enough to allow the tang to lock into the case. No, that’s not a crack. Just a slight scrap on the surface. Nothing to worry about there.
It is never perfect since I eyeball it and do it by hand, but it has worked well in the past.
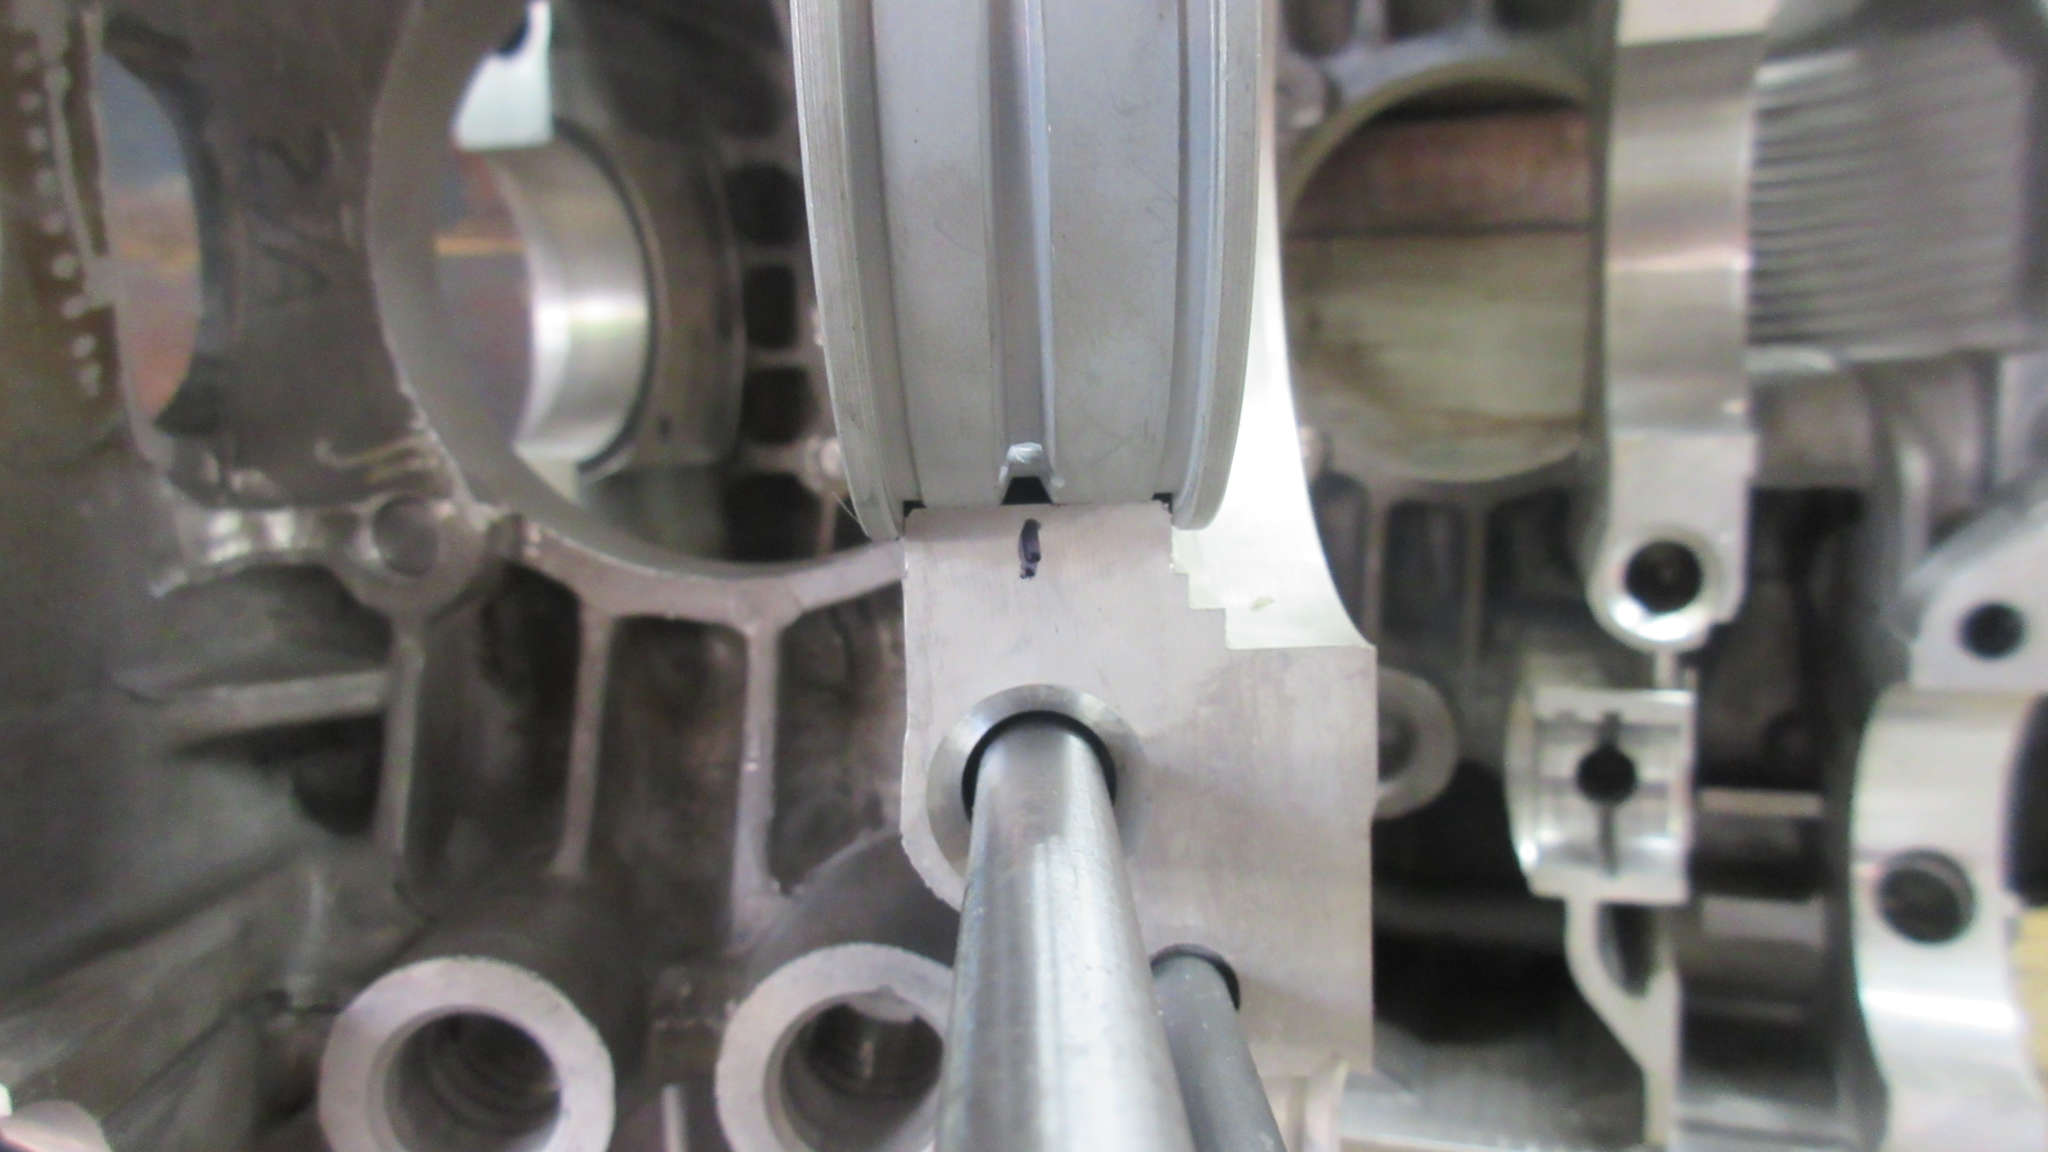
So all of the bearings seem to have oil galleries that line up with the saddle oil holes. I may check the one in more detail, but I think that most are perfectly fine.
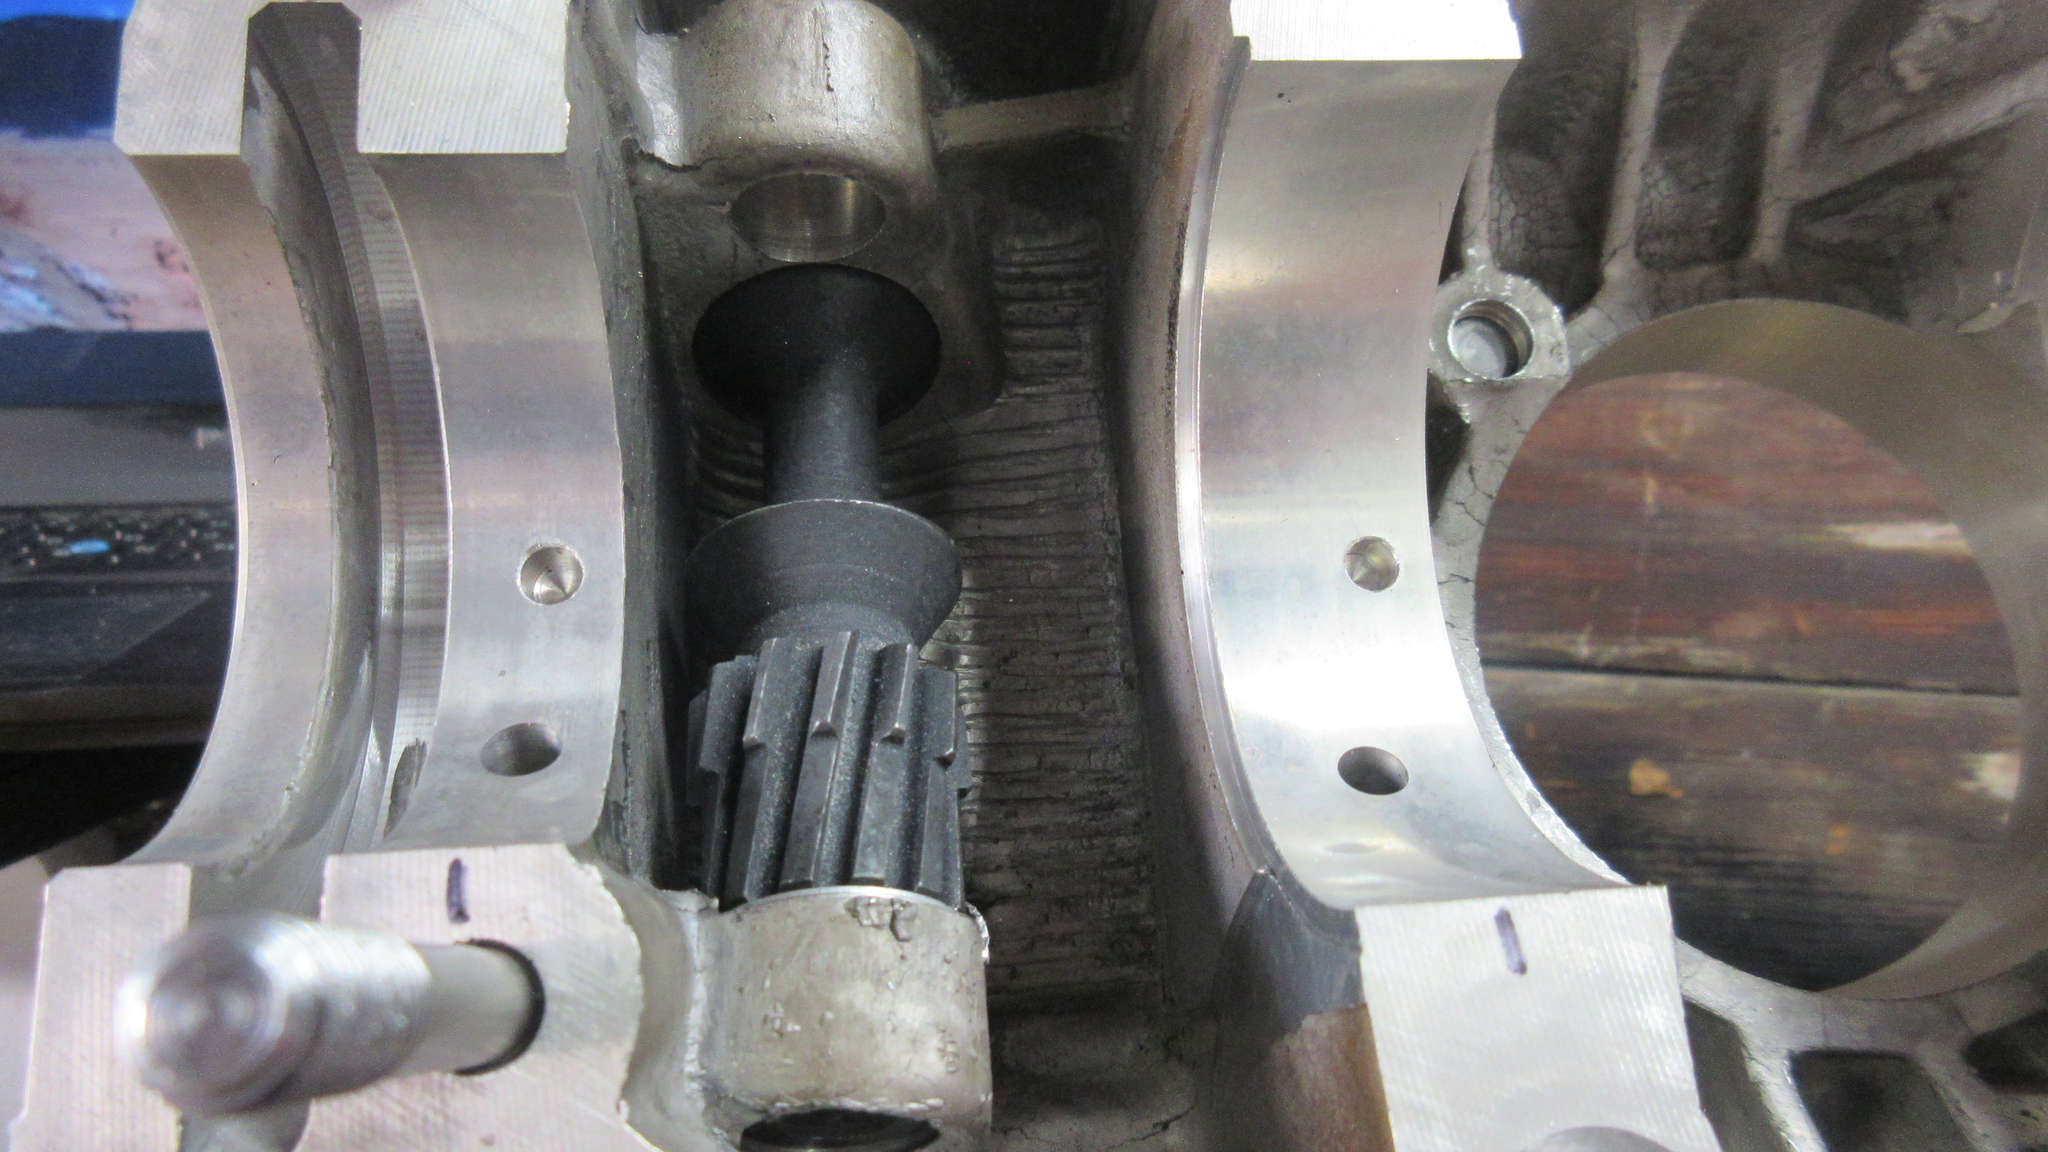
The new distributor gear seemed to be tight going through the bore but once in it moves smoothly. I can’t remember how difficult the gear was on the 2019 new build.
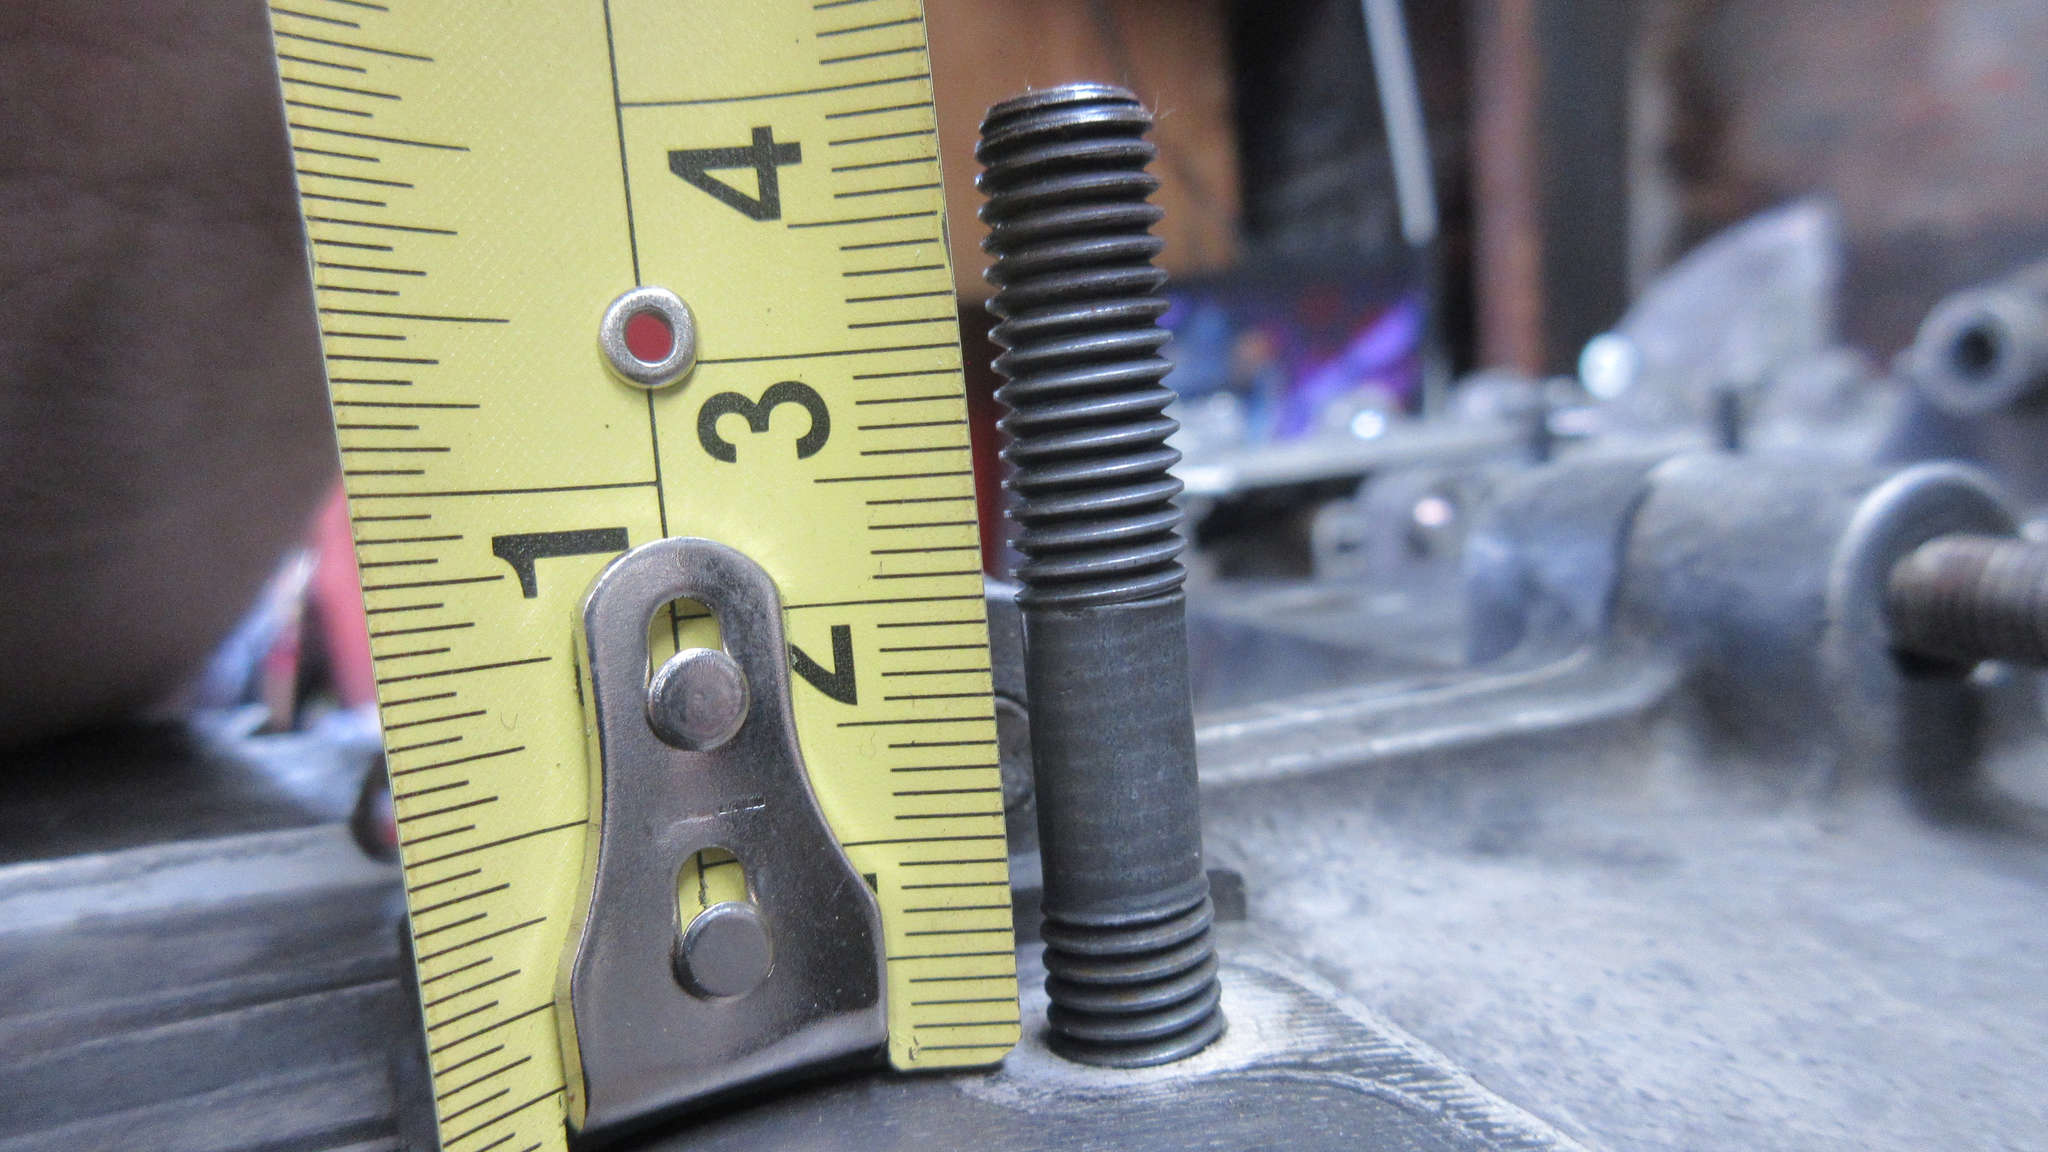
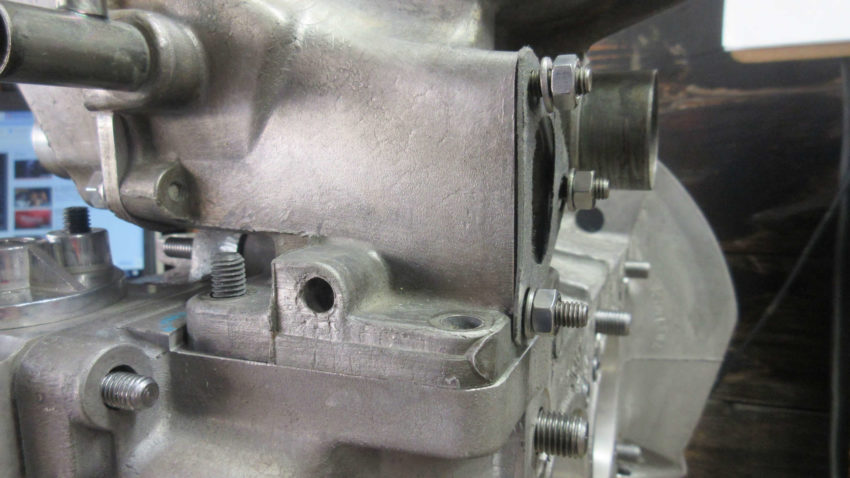
The FI engine case hardware is a bit different, especially when needing to mode a Universal case. The main thing is that the one rear stud needs to be larger, as it goes up and through the plenum and locks inside of it. A real pain in the ass to remove it since you have to remove all of the nuts and split the 2 plenum halves just to remove it.
I ended up just removing the stud from the AJ case so I wouldn’t have to go find one to buy. I’ll need a replacement late down the line.
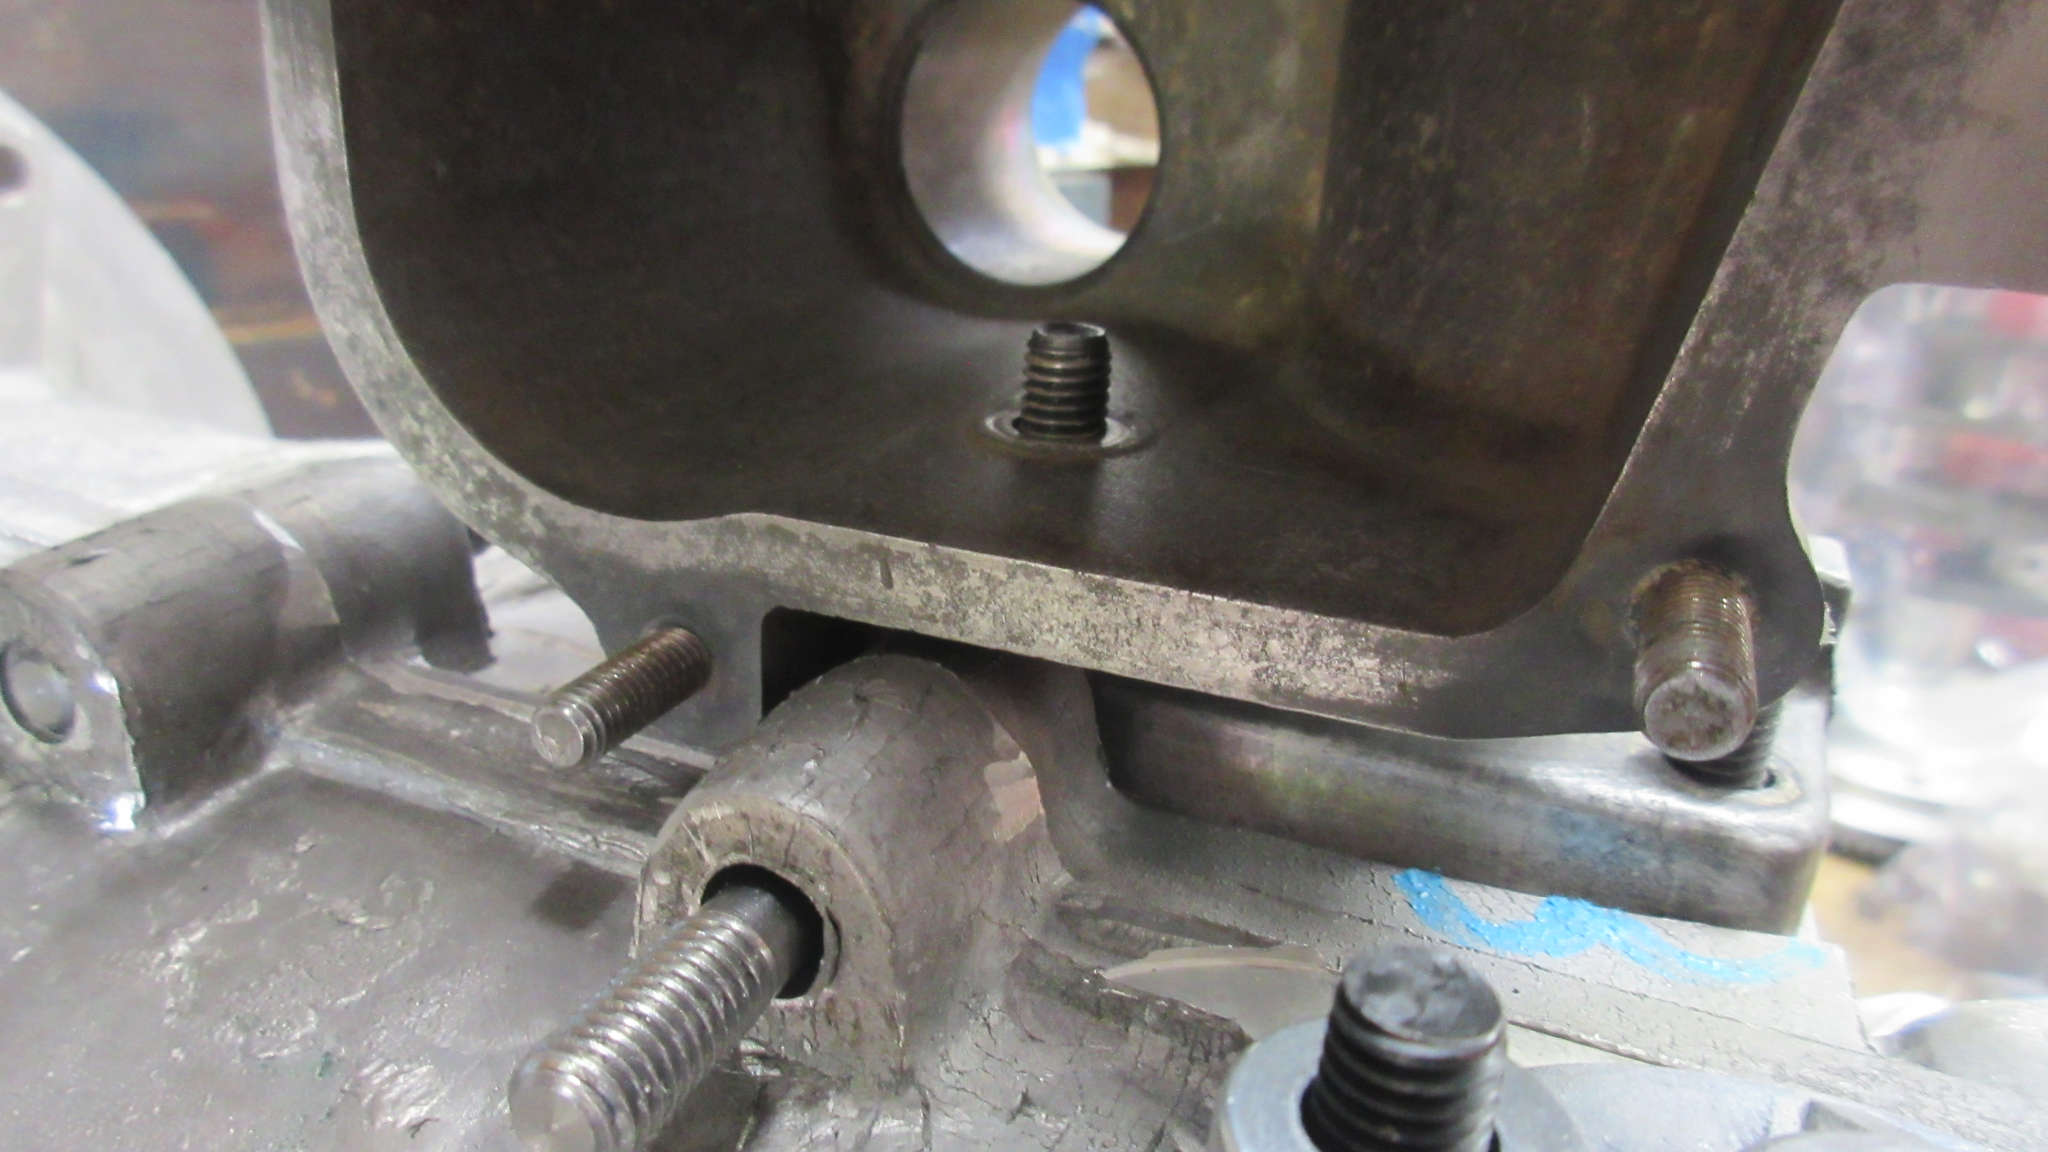
II know VW had to make the Type 1 case work for this, but this just seems like an area where problems can occur if that seal breaks. Now I removed an oil stud sealing nut from this so that’s what I’m going to replace it with. I’ll make sure I put some aviation sealant down below to ensure that is as closed as possible.

Yesterday’s initial case inspection indicated the plenum would not properly fit on the studs. I was going to ream out the bore on the plenum mount point but I decided to pull the stud and then replaced it with the one I removed from the rear for the longer one.
Sure enough, there’s just a slight defect in the straightness of the stud. Replacing it solved the problem.

Everything worked and it all mounts well. I screwed the stud in deeper and it should now all work well.
There wasn’t a whole lot else do do. I shaved a bit of metal here and there. I could have spent hours on it if I really wanted to but I sure as hell don’t.
I washed up the case with Dawn detergent and just used the garden hose to rinse the case halves and then galleries clean.
Since this is a new case, I didn’t feel the need to do my usual trip to the car wash to use the high temp power washing.
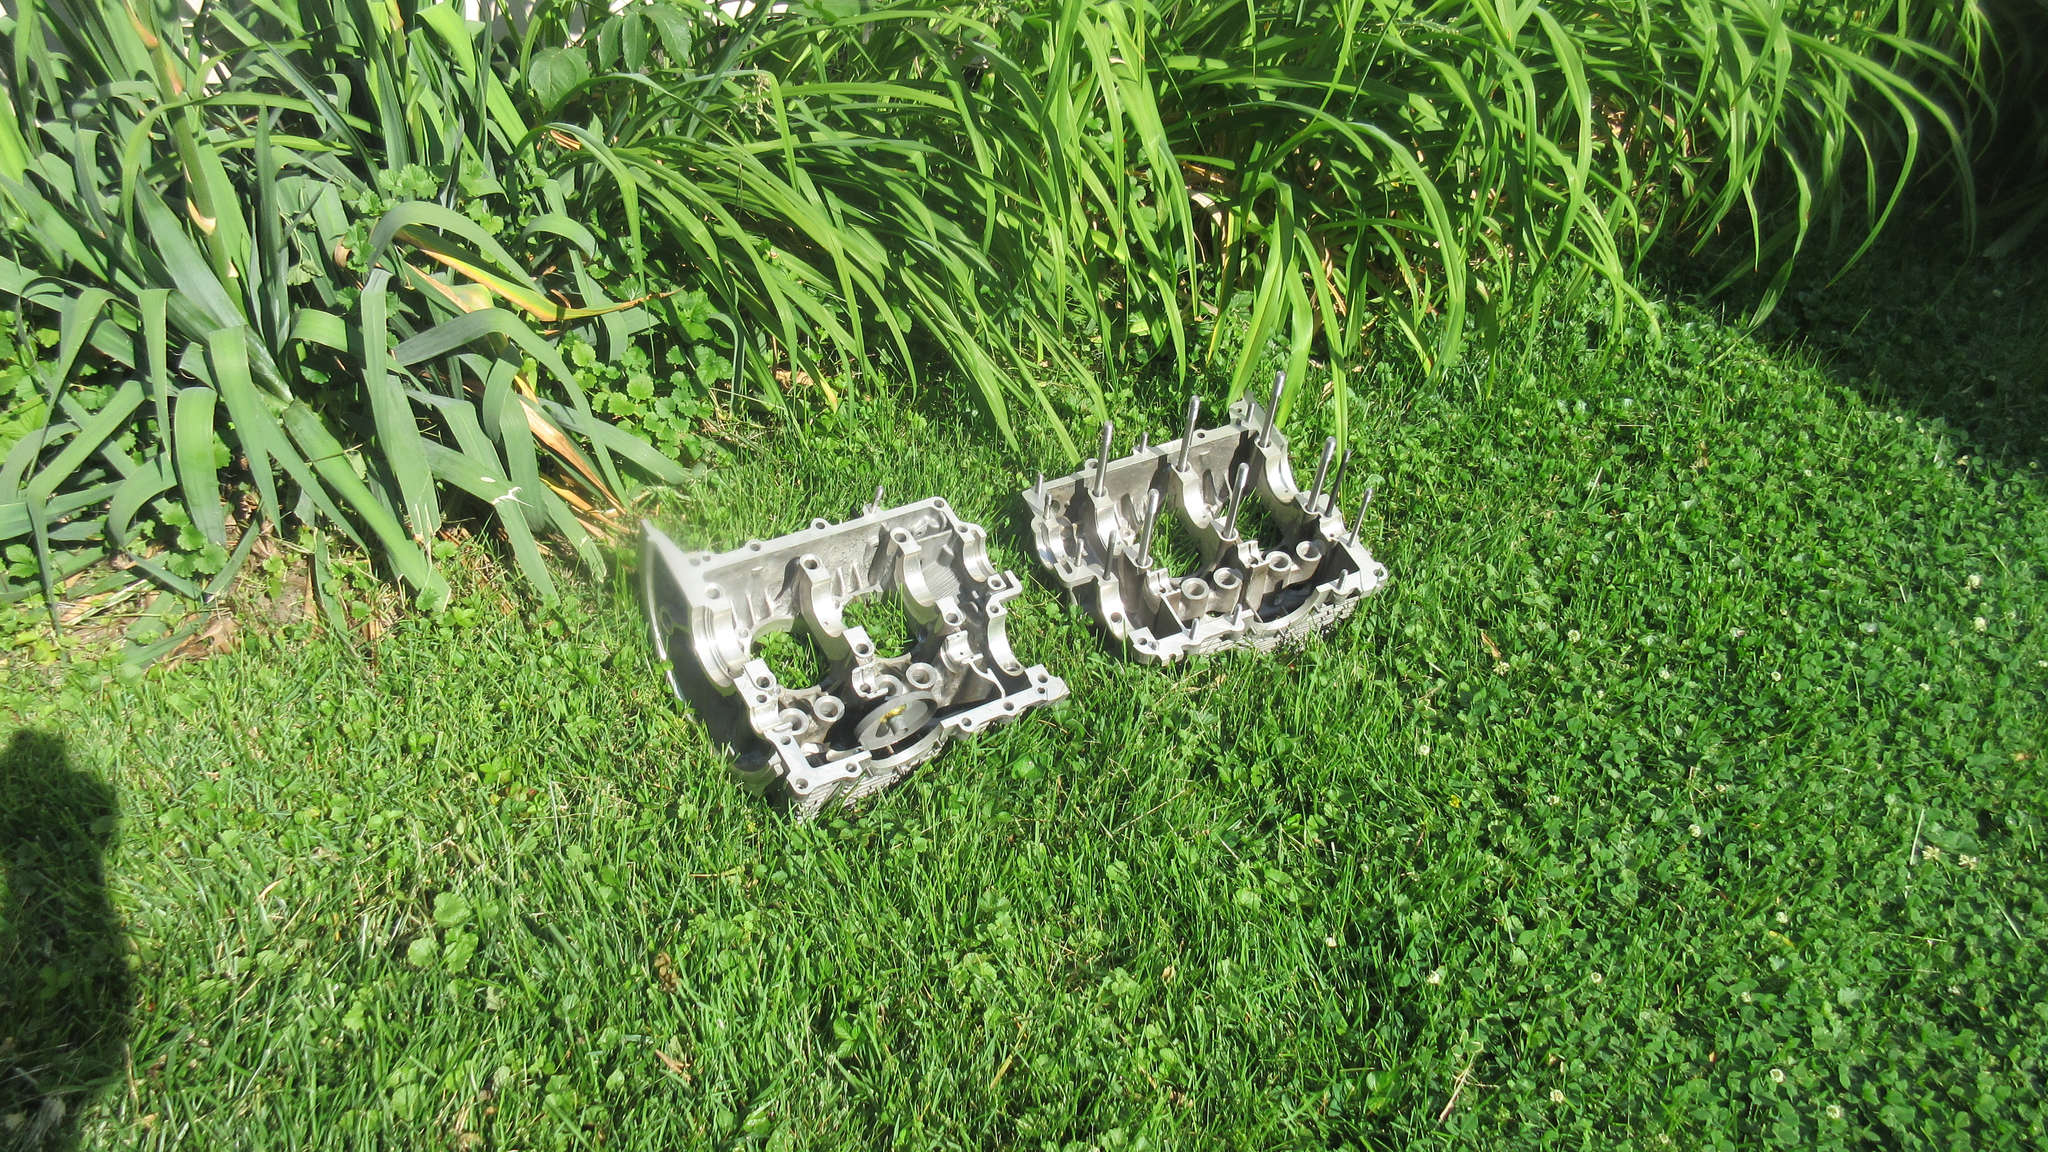
All of the water got blown out withe compressed air and I left it all to dry more in the sun.
I eventually decided to use some parts cleaner on the inside a bit, cleaning the sump area a bit more as well as all of the journals and bores as a last clean pass.