Engine – Day 5
Initial Case Inspection
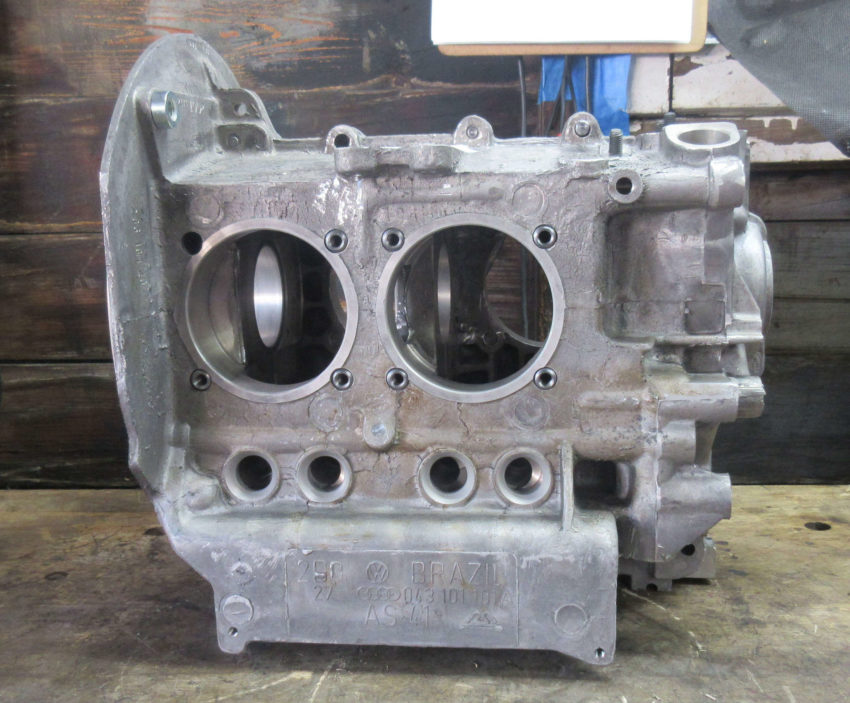
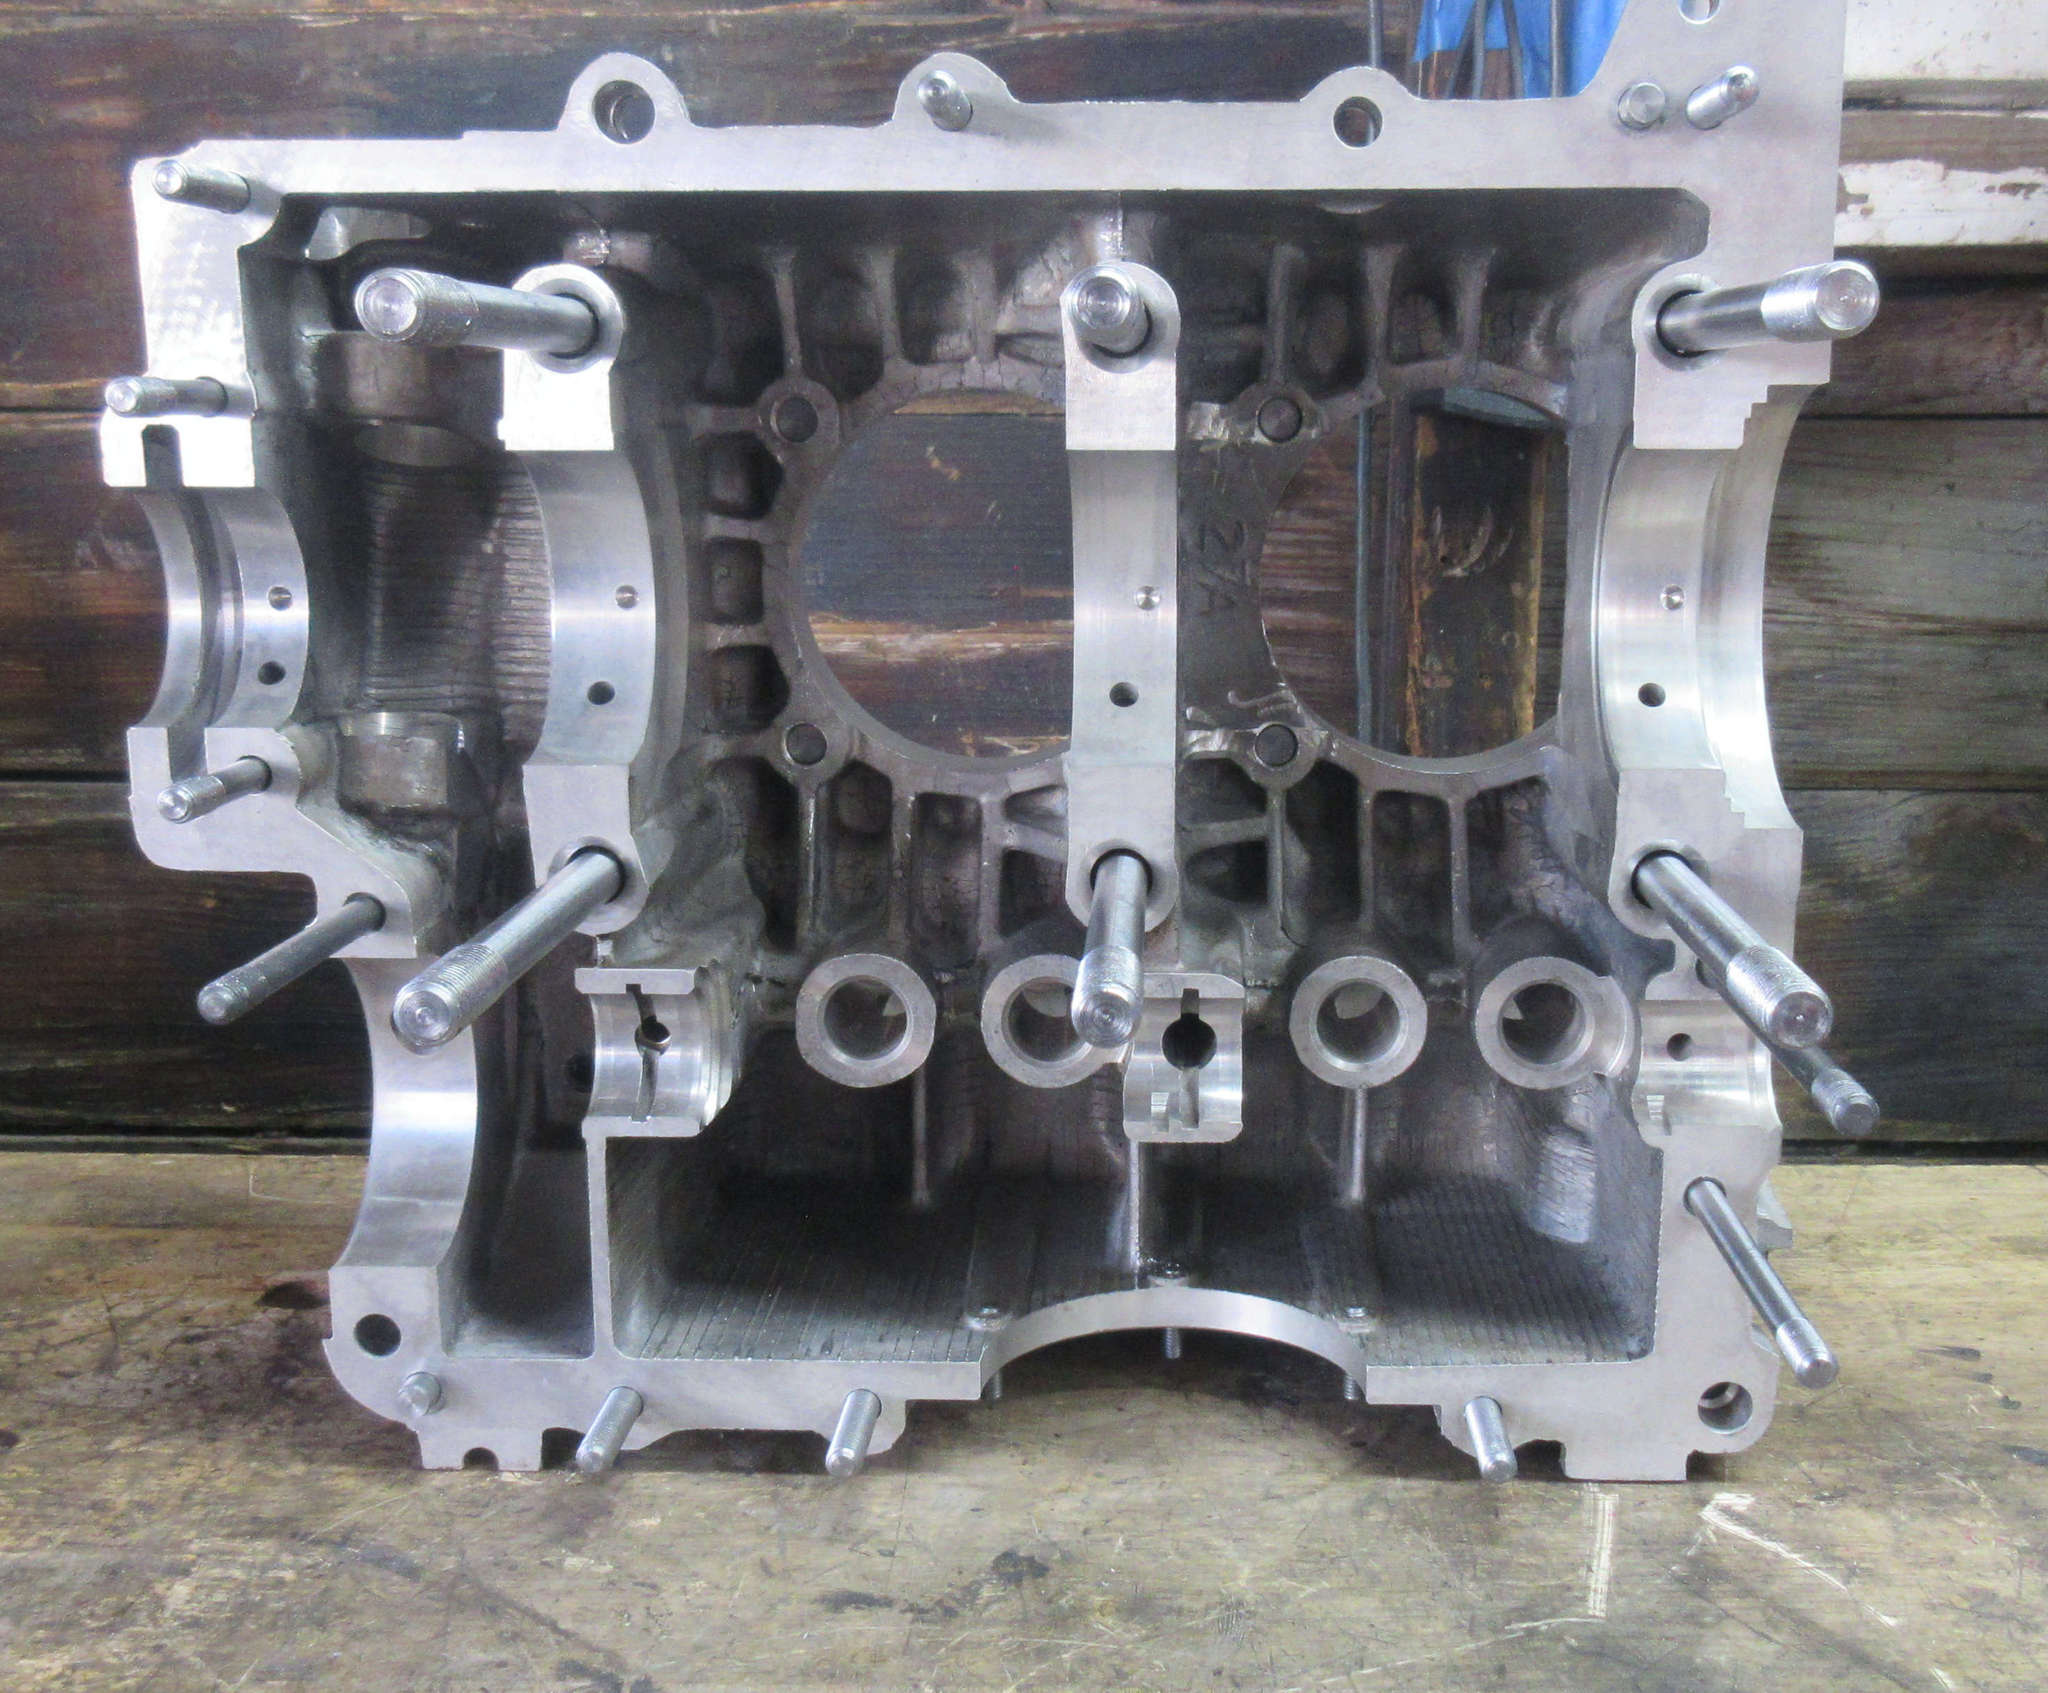
The new case arrived today and it is a VW Brazil Universal Case. I wasn’t quite sure what it would be as not all vendors really clearly indicate what the source of their basic stock cases are.
I’ll say this. There is not a whole lot of clean up done after they are cast.
Oh sure, the key parts are machined and the galleries drilled and plugged, but on the whole, the external surface could use a lot of work.
However, I can’t say I want to spend that kind of time.
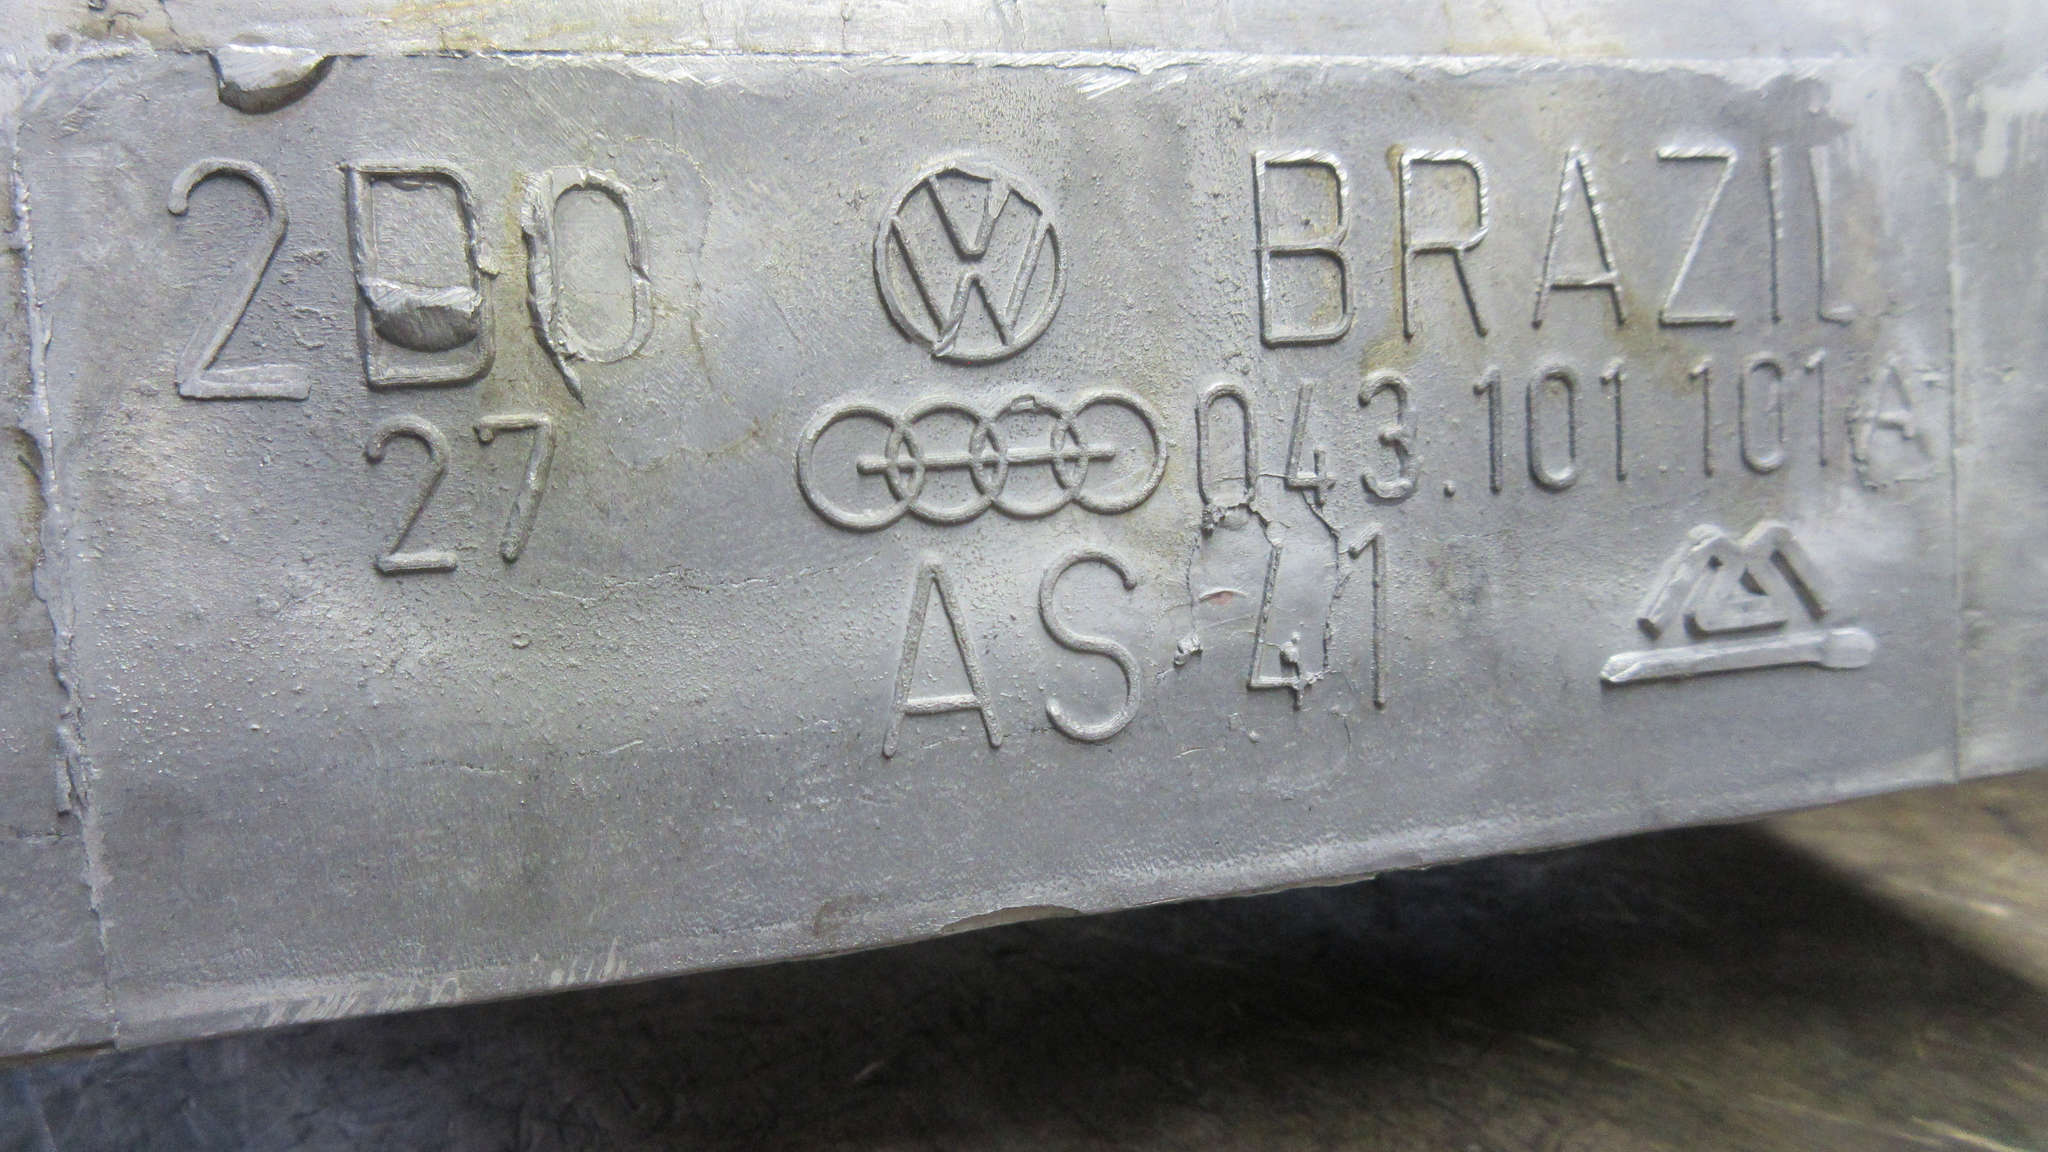
I’d really like to know what the markings on these cases mean and if at least 1 of them is unique to serve as an engine identifier since it has no serial # like a stock original.
I seem to recall some time ago coming across photos from people who meticulously dremel polished and sanded their cases. Hell, a place called Mirror Finish Polishing seems to offer the service. I don’t want that extreme, but nice and clean would be adequate.
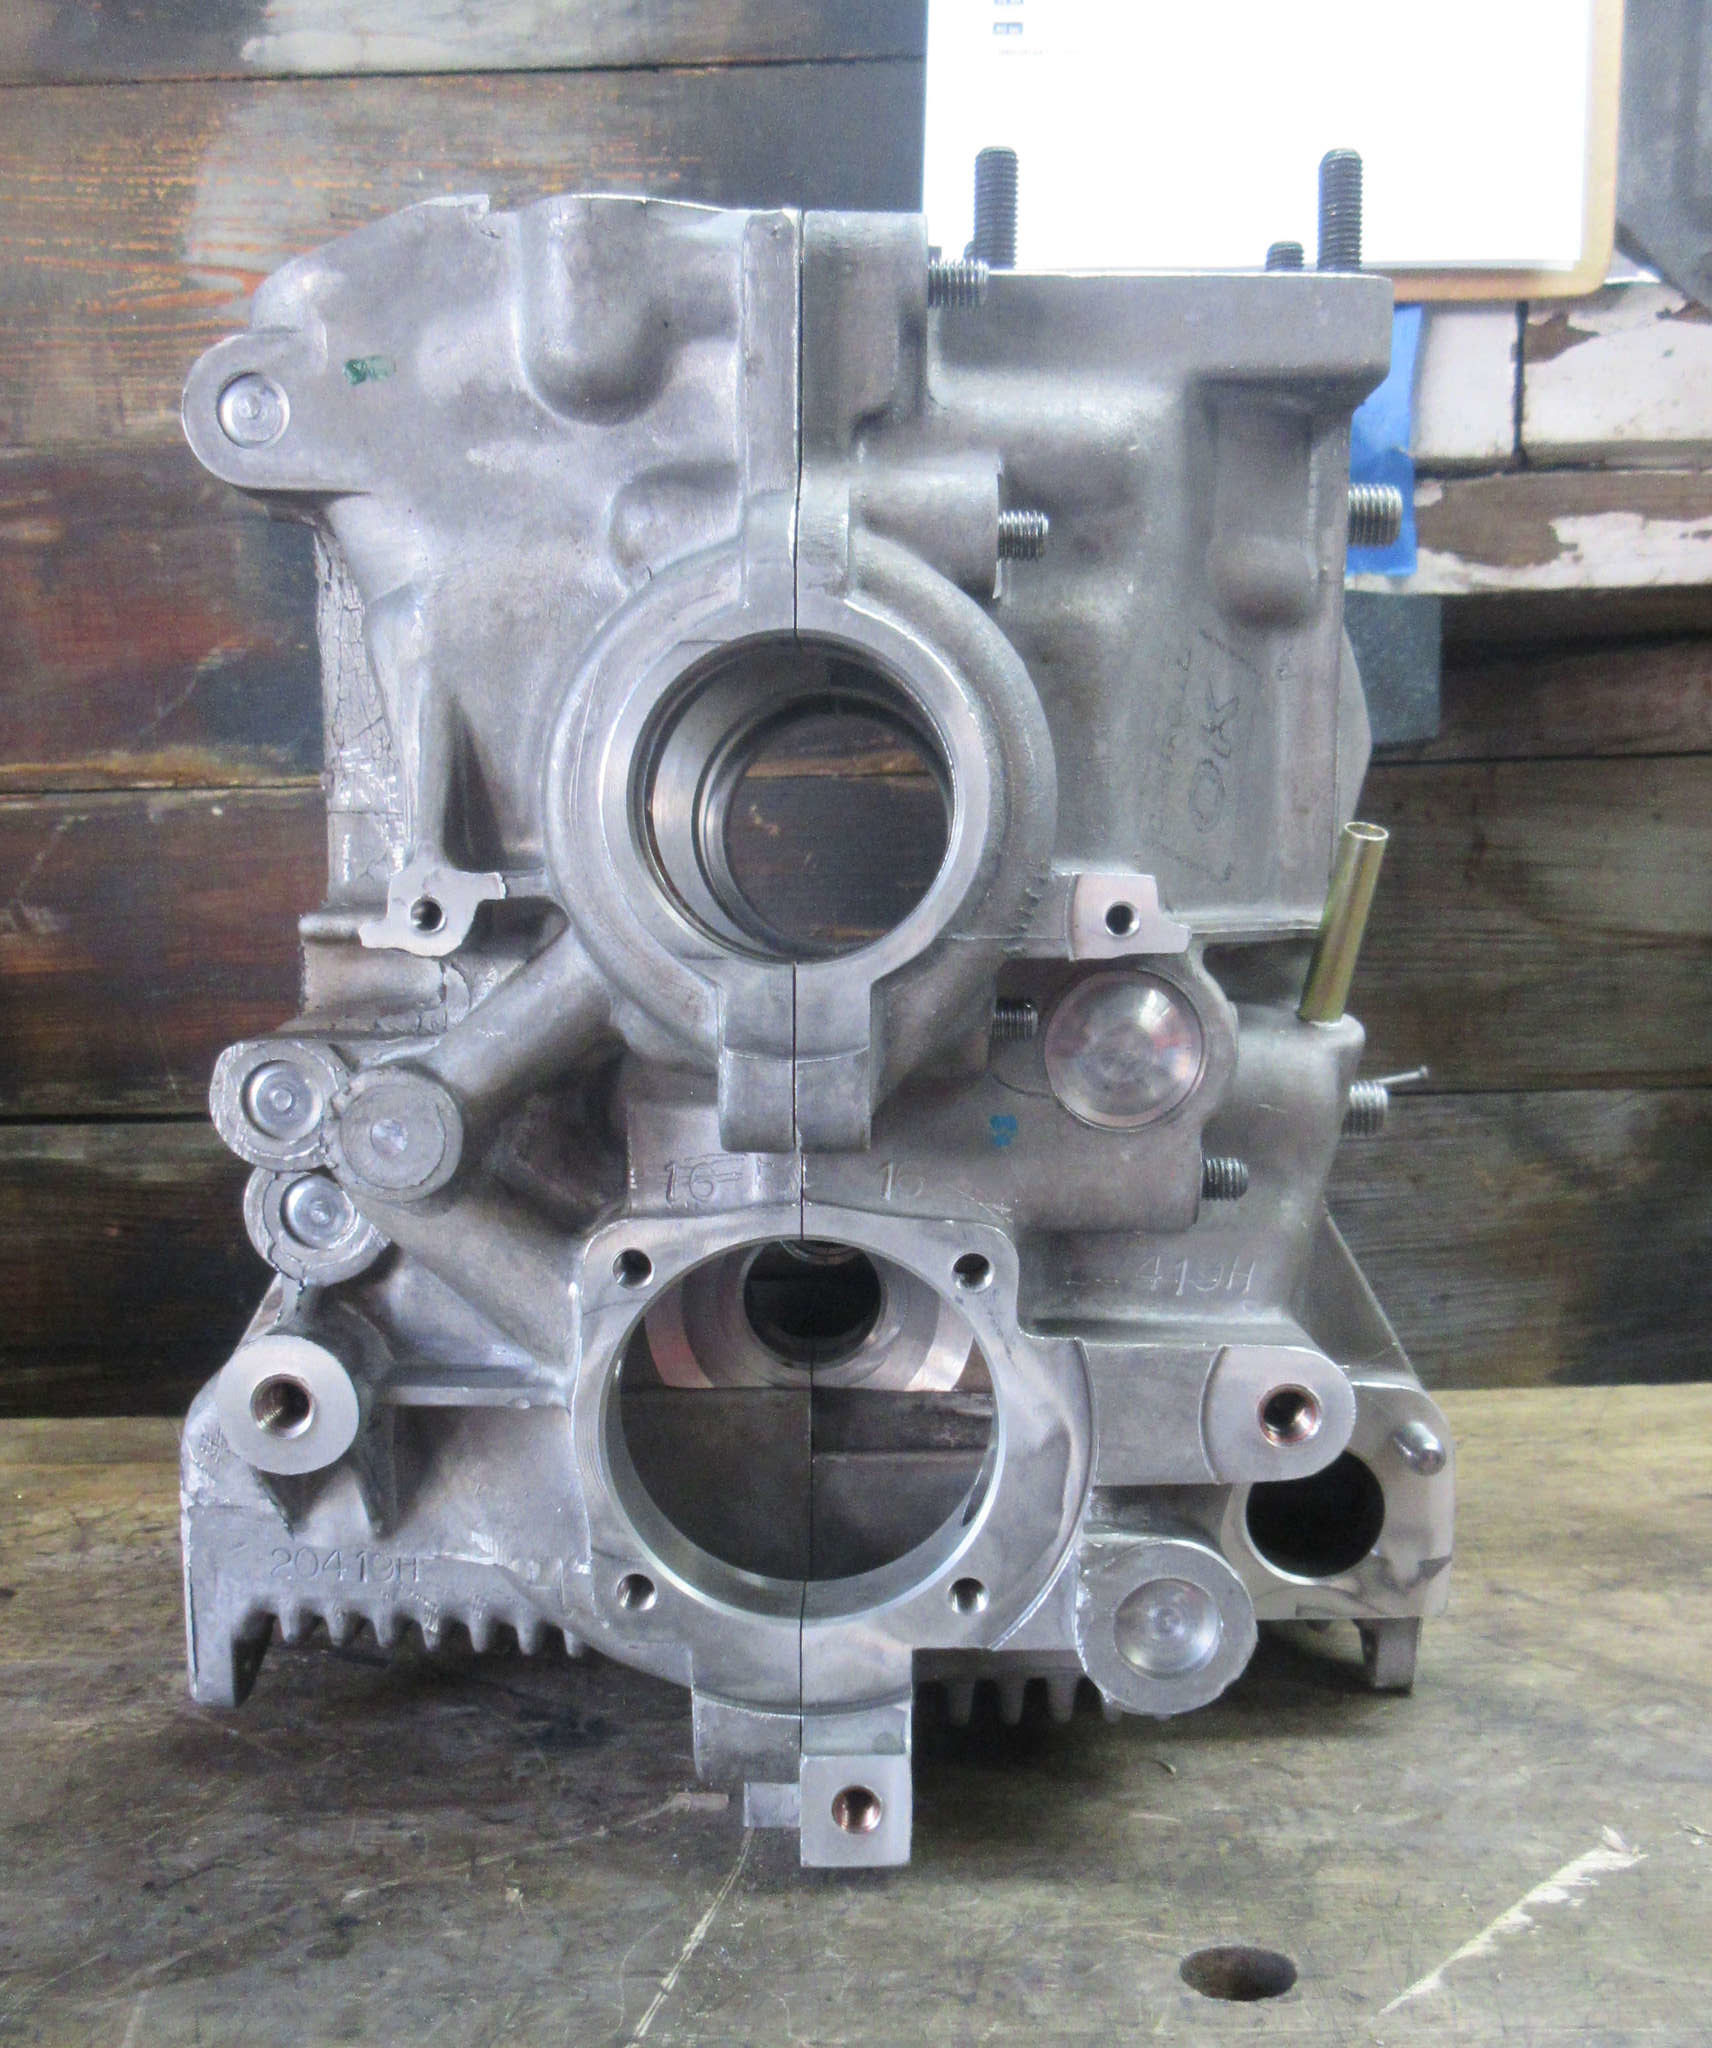
I need to test out the distributor gear bore. I’ve had issues in the past with new case building and the distributor pinion gear not smoothly spinning.
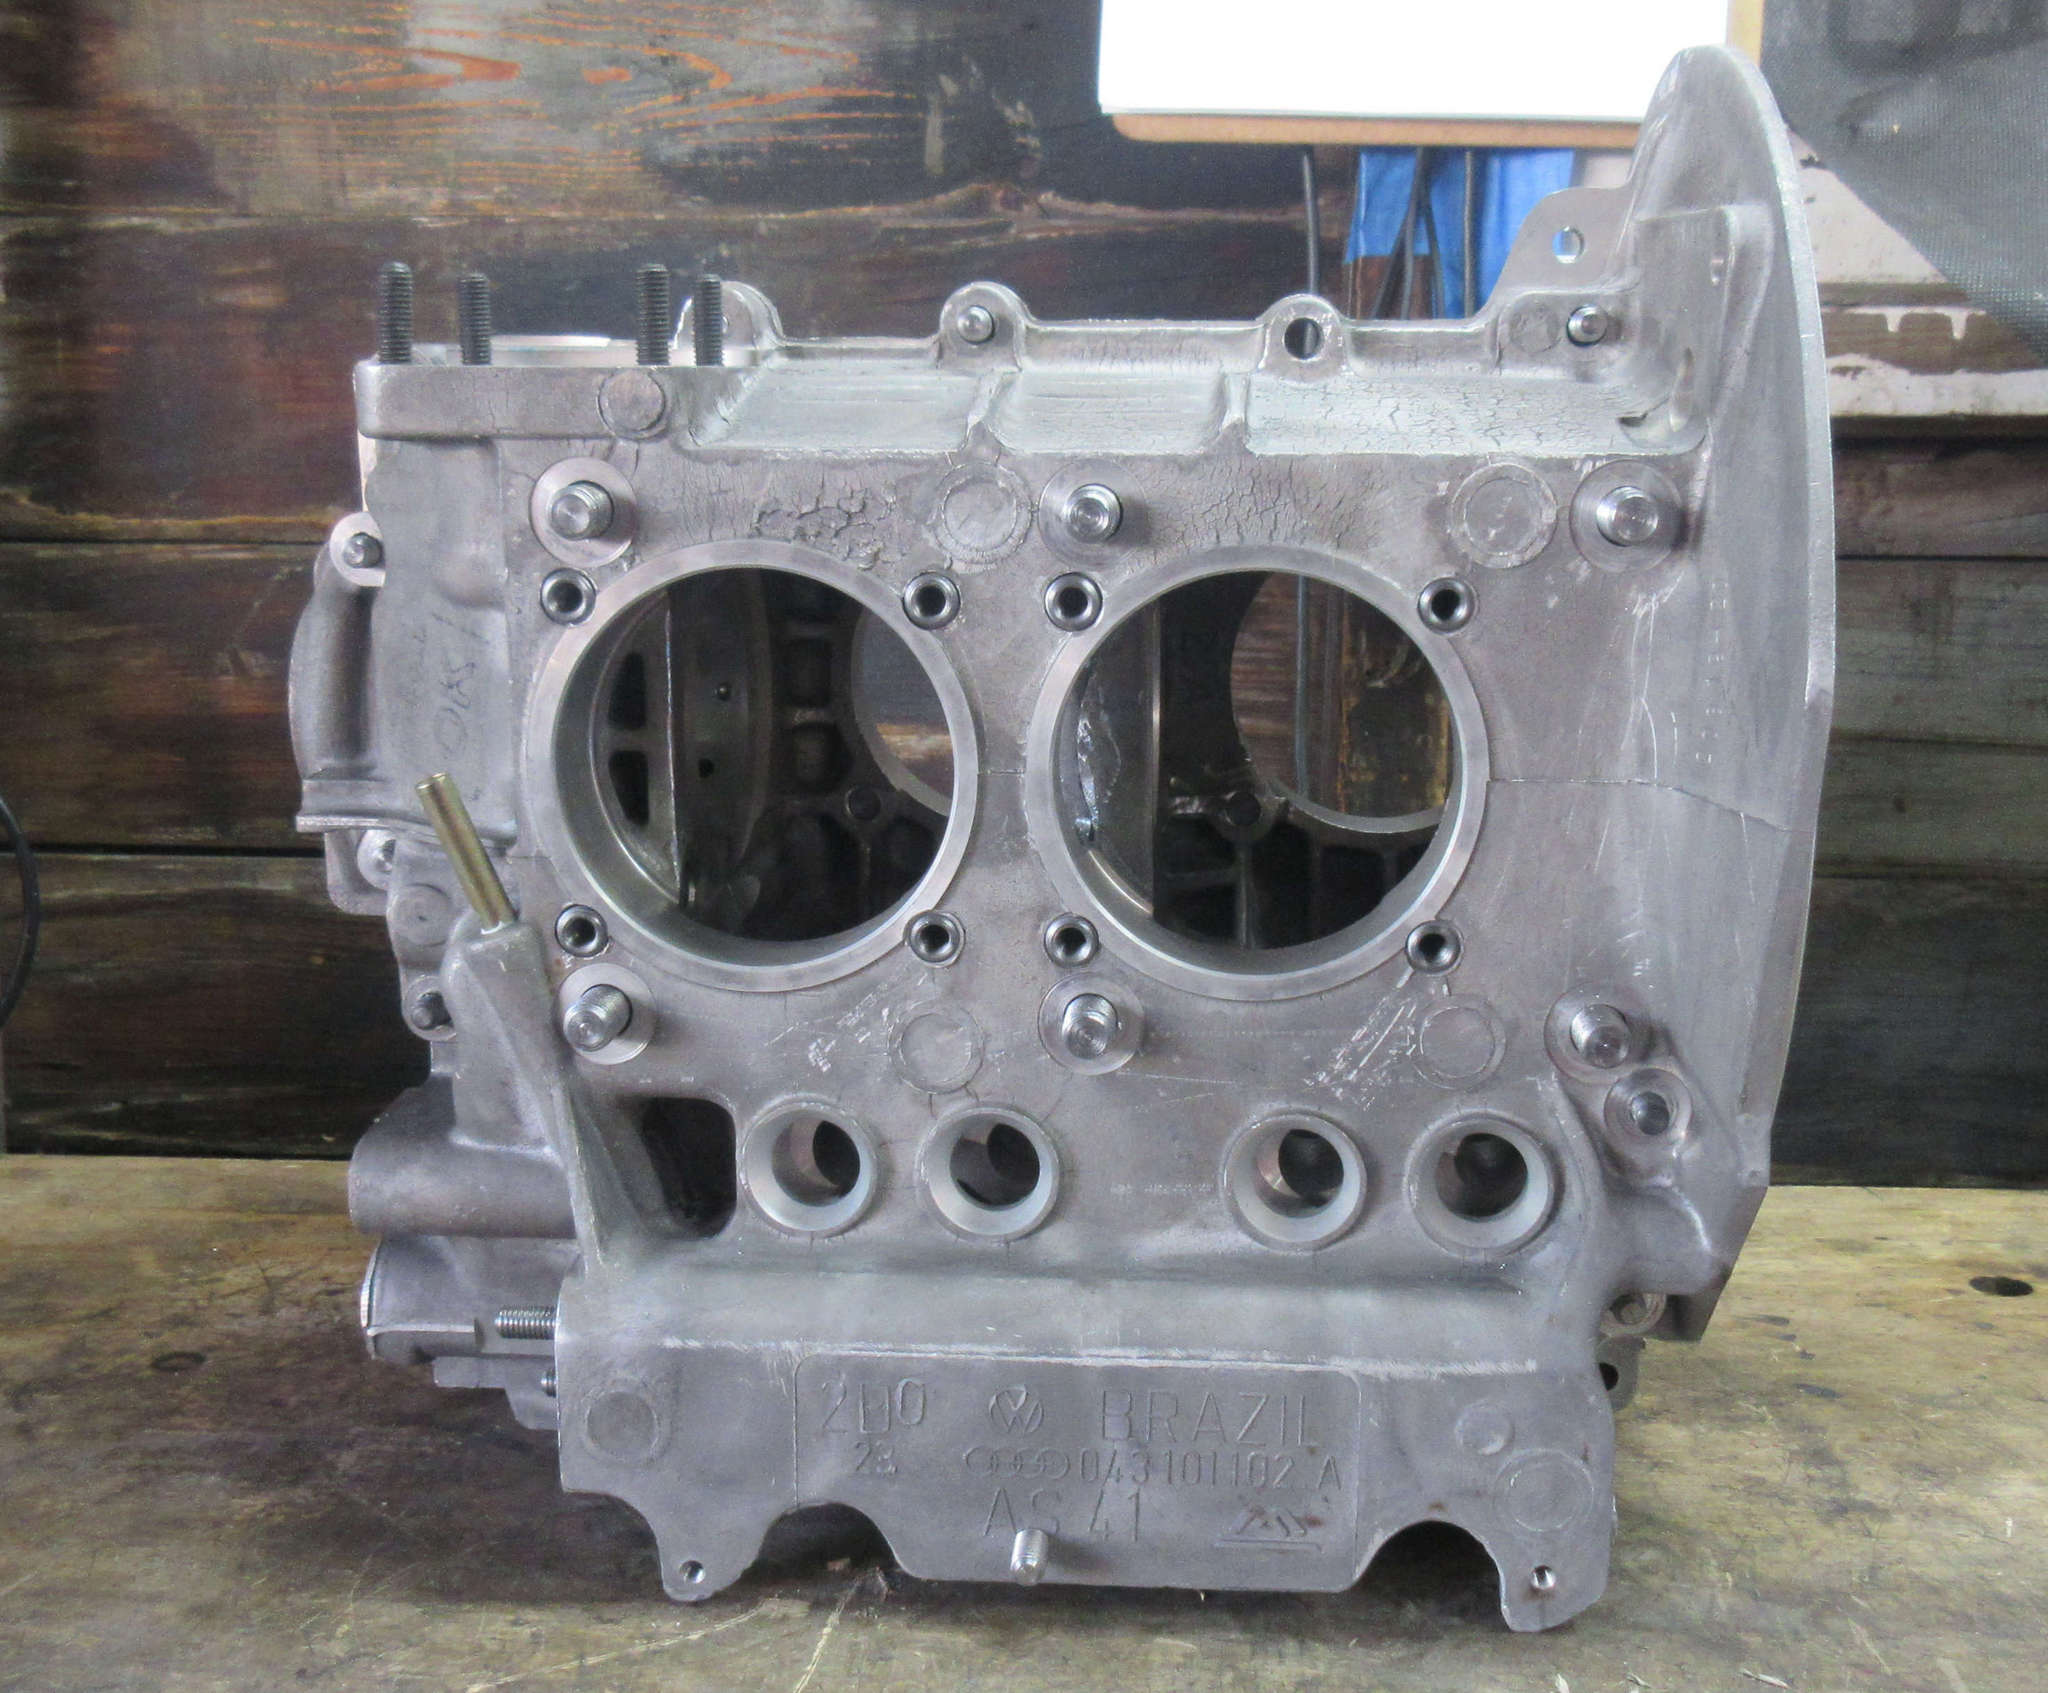
Since this is a universal case, it has to accommodate the mechanical fuel pump which I have no need for on Murbella.

The cheap EMPI block off is pretty ugly.
While I like the design to allow for the full drilling of the center boss to use as a connection point for an oil/case pressure breathing point, it is just so ugly.
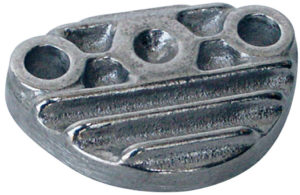
There aren’t a whole lot of other options out there, but I found what looks like a far thinner one at CB Performance so I threw one in my last cart there. (I’ve also decided to go with a forged flywheel and a set of their basic lifters.) This should be my final order for any parts for the engine, though I know I still need to get assorted new hoses, fuel lines, and nuts, washers, and bolts as I progress through the final stages of the build assembly.
Thankfully I had the sense to order a new hardware case kit to have on hand when AAPistons had that May sale. I’ll need all of that now to complete the case, but will also need to make some adjustments.
x
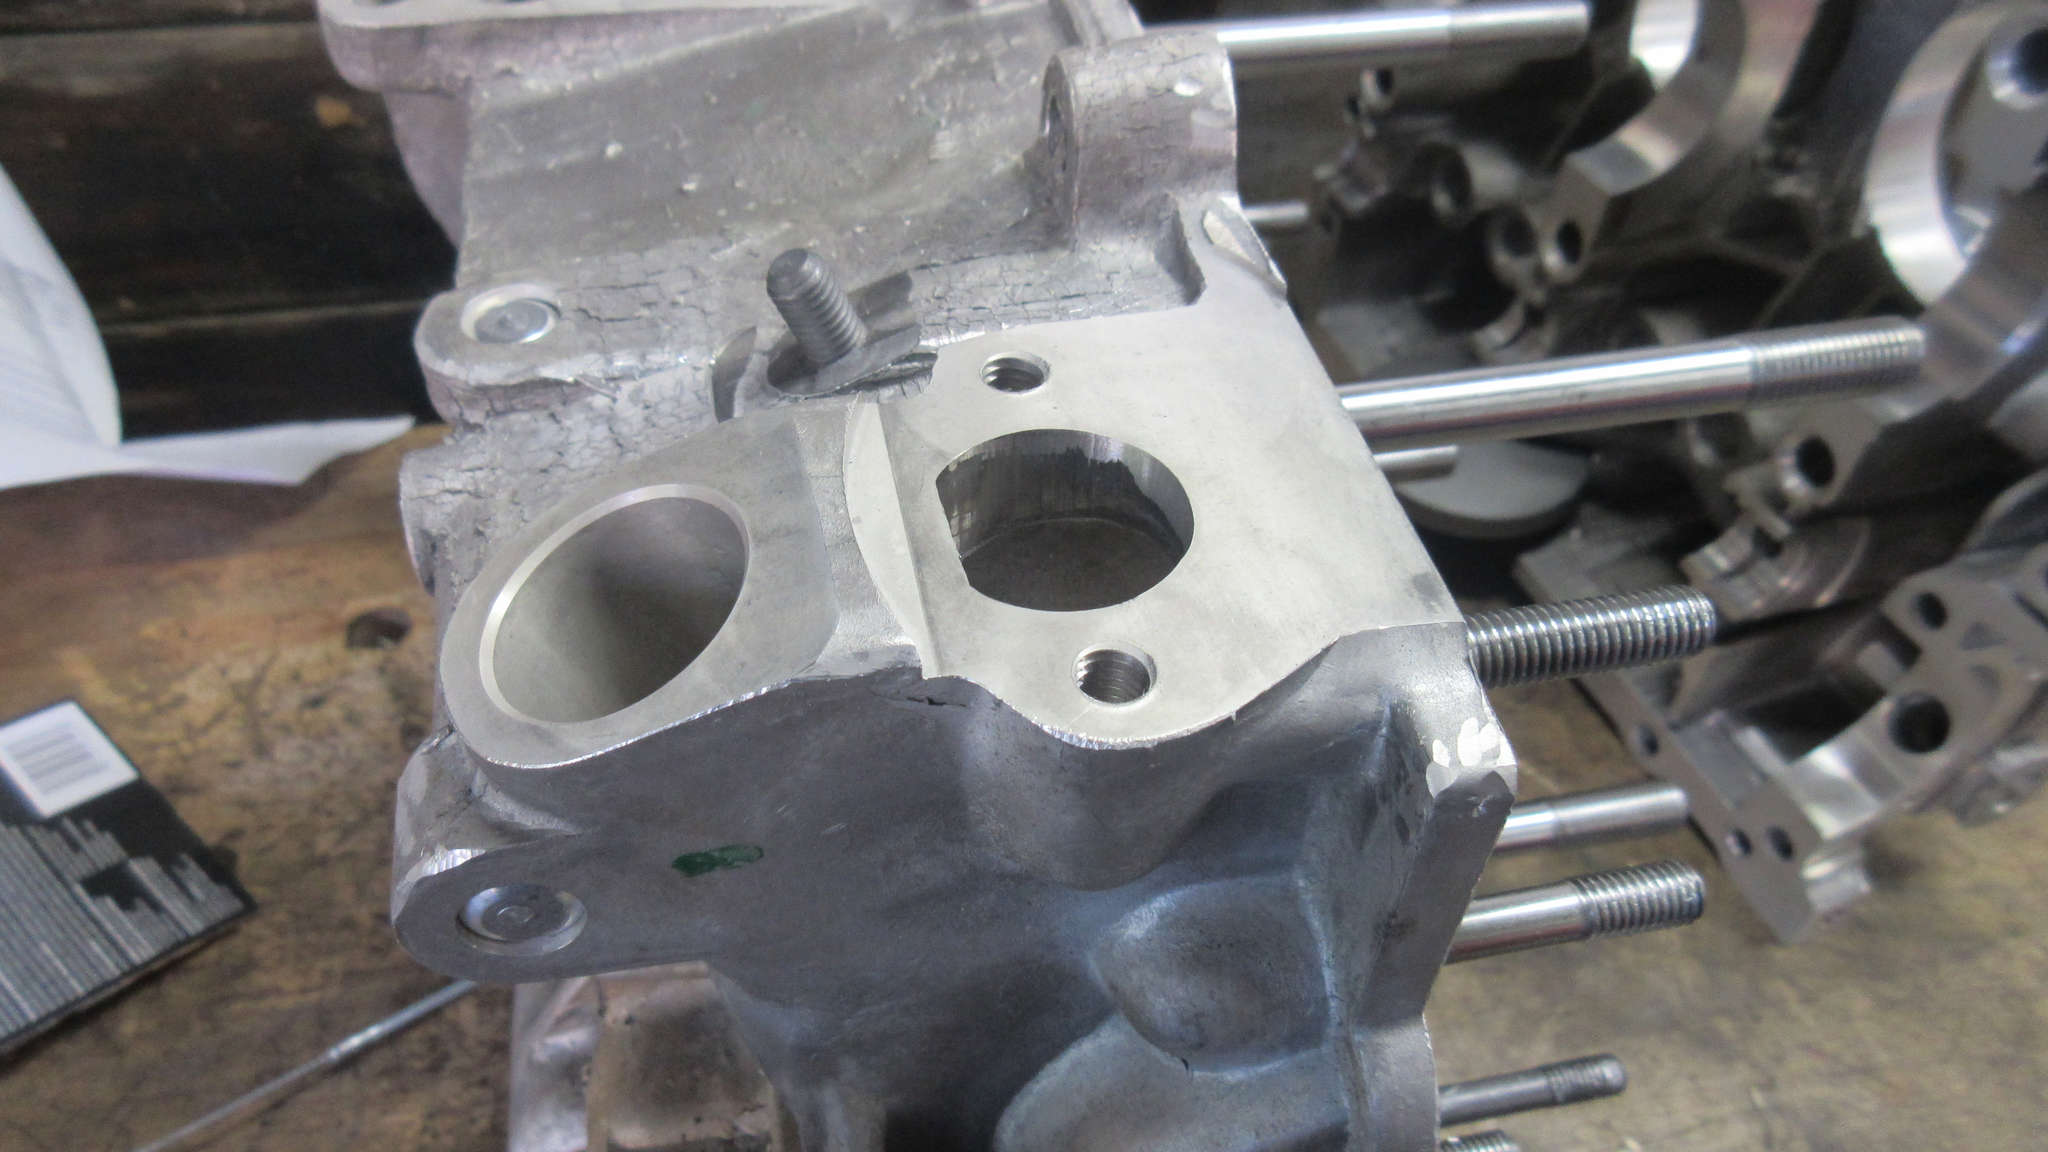
Now one think that I’ll need to change is the plenum/alternator stand studs.
Well… at least 1 of them.
On the FI engine, the rear left stud near the case seam goes up and into the plenum and is secured by a washer and nut there. That means that the stud at that point needs to be about 1cm or so longer than the others. I don’t want to remove the AJ case’s stud so I’ll pull this one out and then see if I can find one locally.
Now when test fitting (pic above) I could not bring the plenum base down fully onto the studs. This had me worried at first and I kept trying.
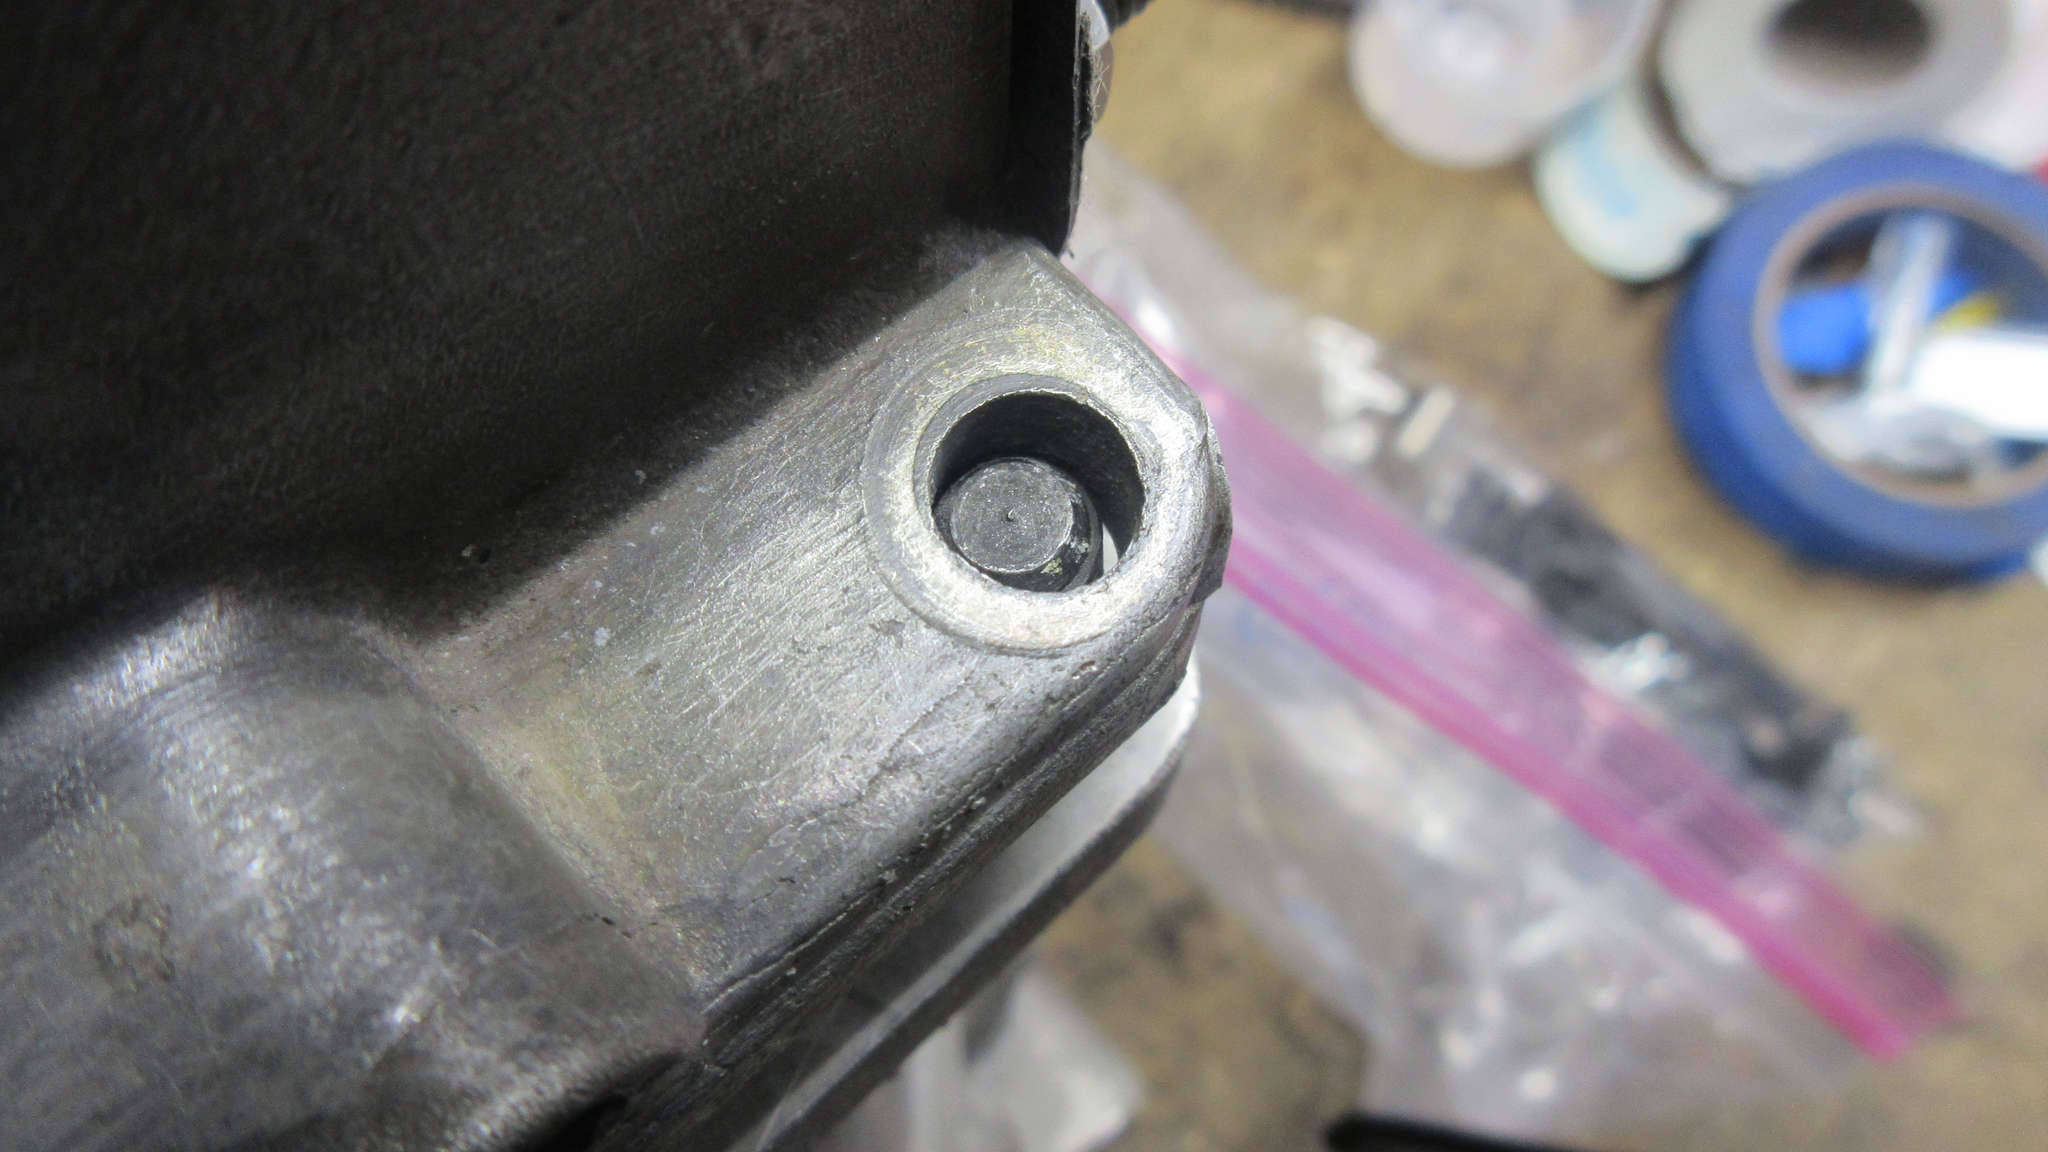
It appears that the front right stud is the culprit. I am hoping I can just ream it slightly to accommodate the slight difference in placement.
The stud itself does not look bent, and I assume that not a whole lot of these parts ever go onto these universal replacement cases, A basic stock stand fit fine so I assume it is just a difference of the tolerances of the parts.
I may take a look at the extra plenum I have, as I would had to ruin Murbella’s original one even though I cleaned it up so much from the sorry state it was in prior to removal.
If that plenum fits fine, or is in really good shape, perhaps I’ll scrub that fully up and use that as my base. Hell, I’d even paint it the same aluminum silver color I painted the other non-original intake manifolds I’m using.
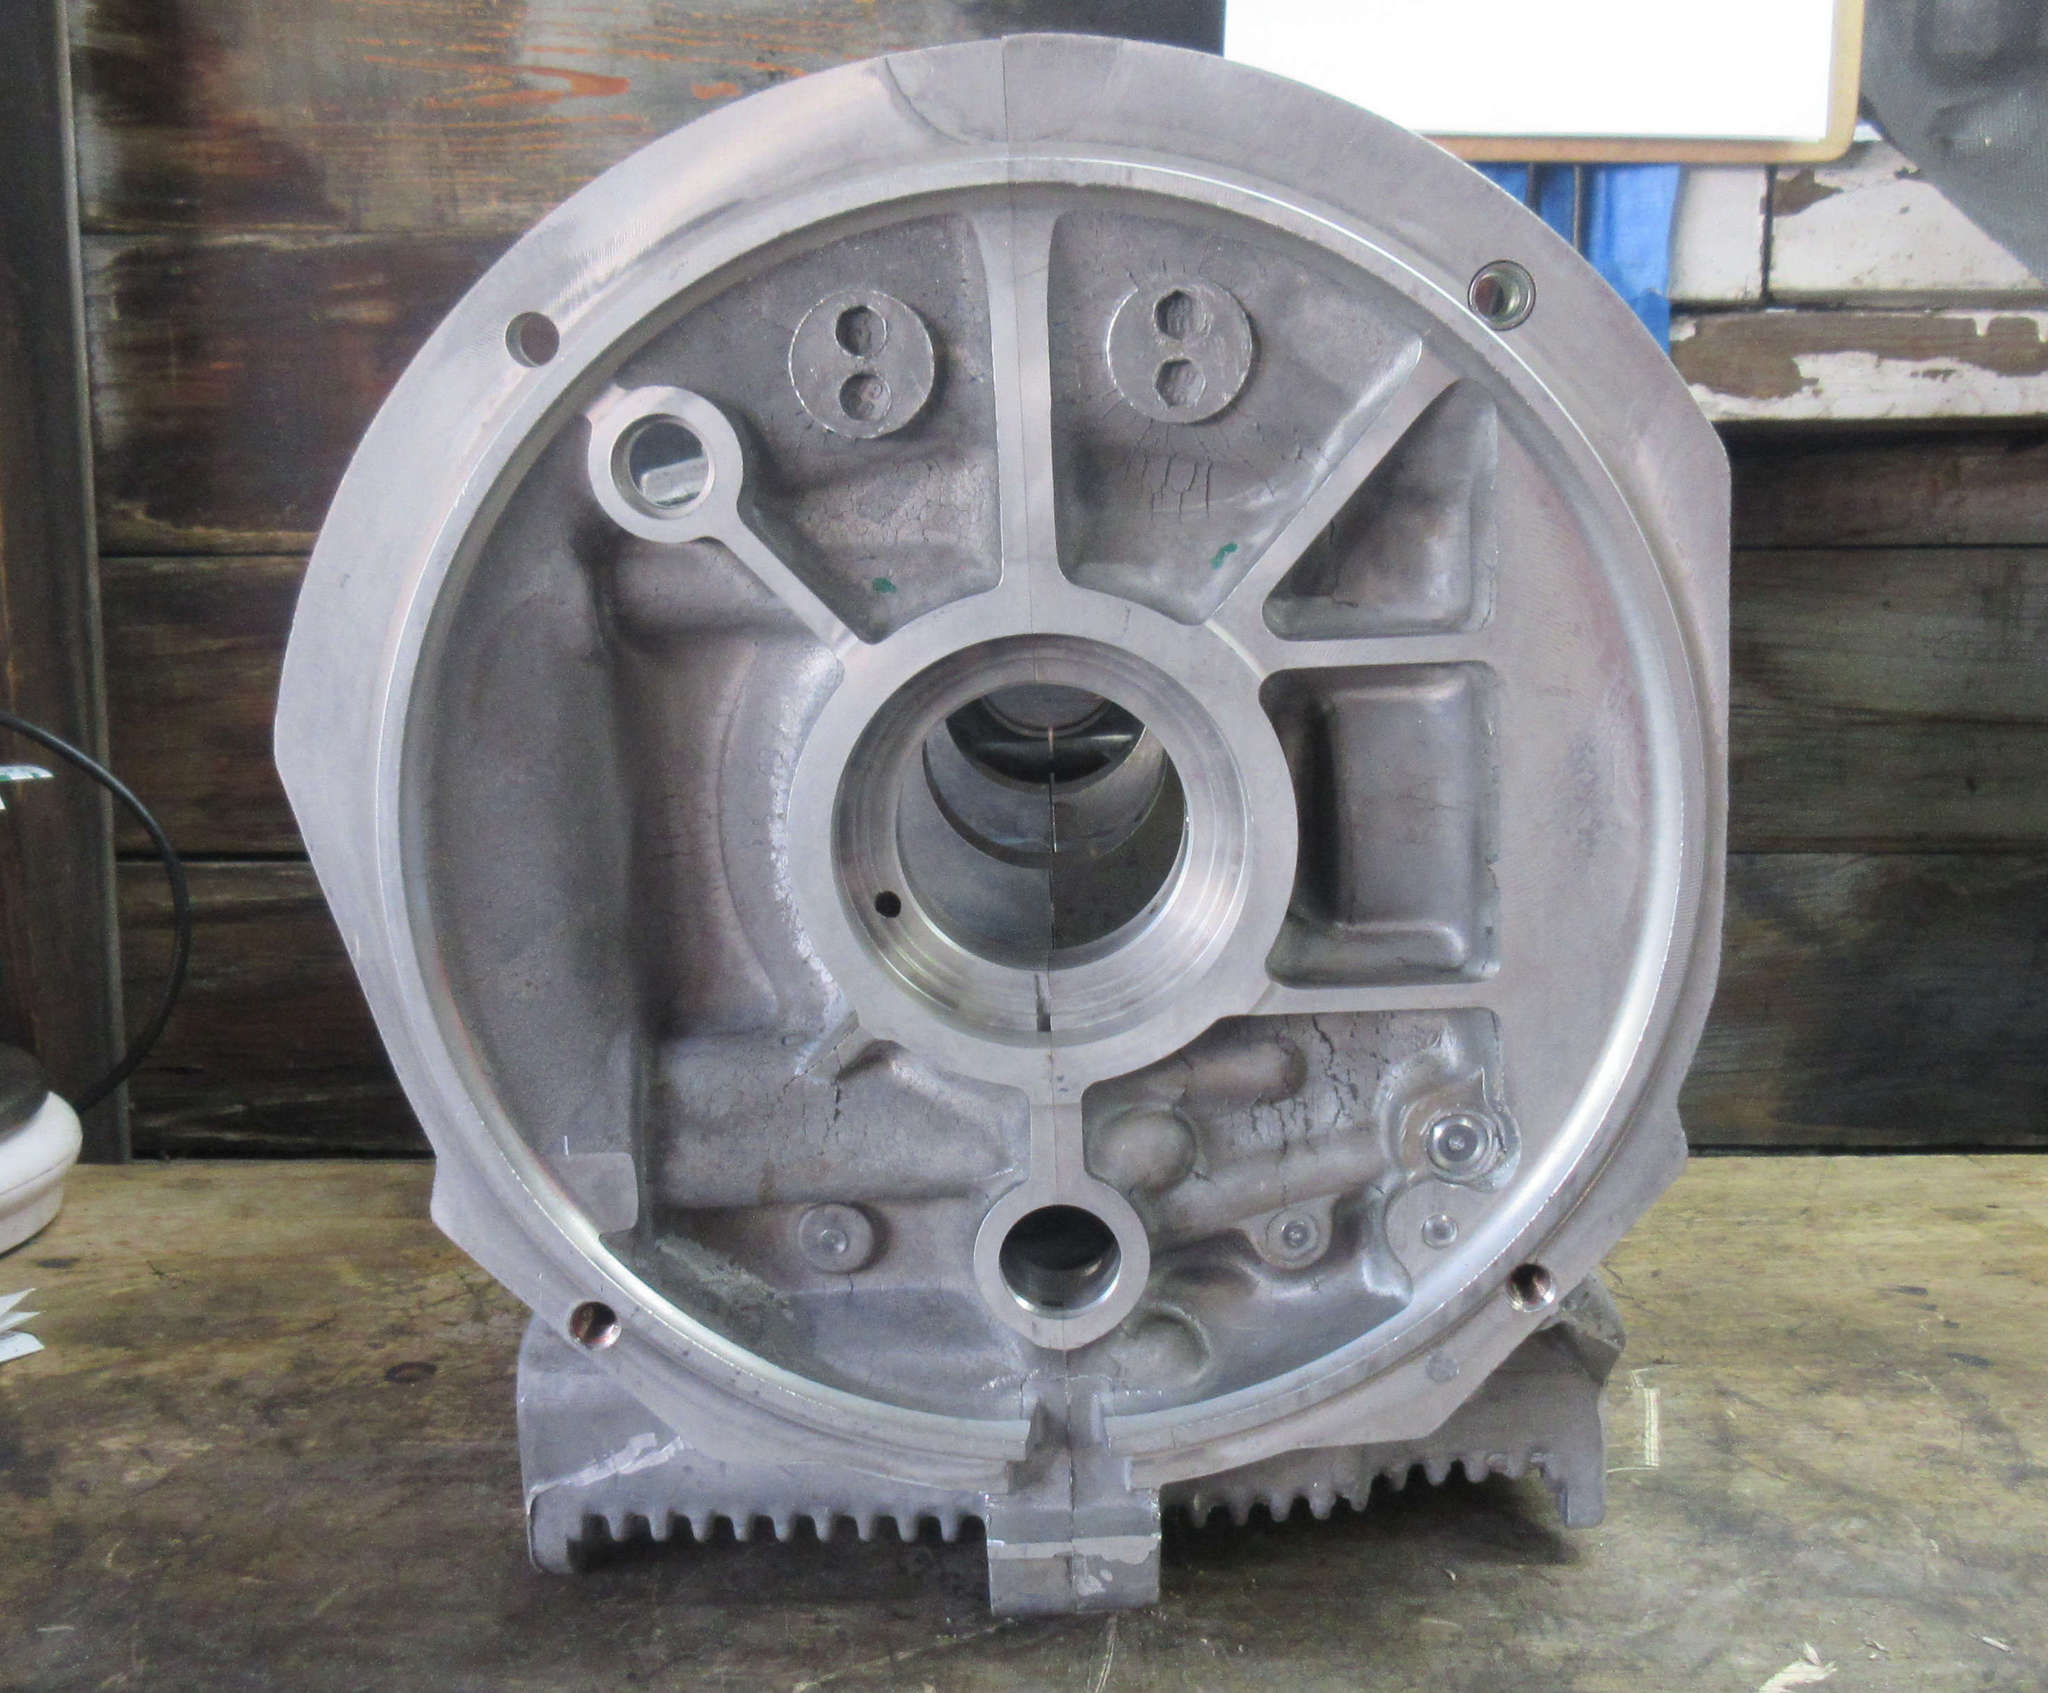
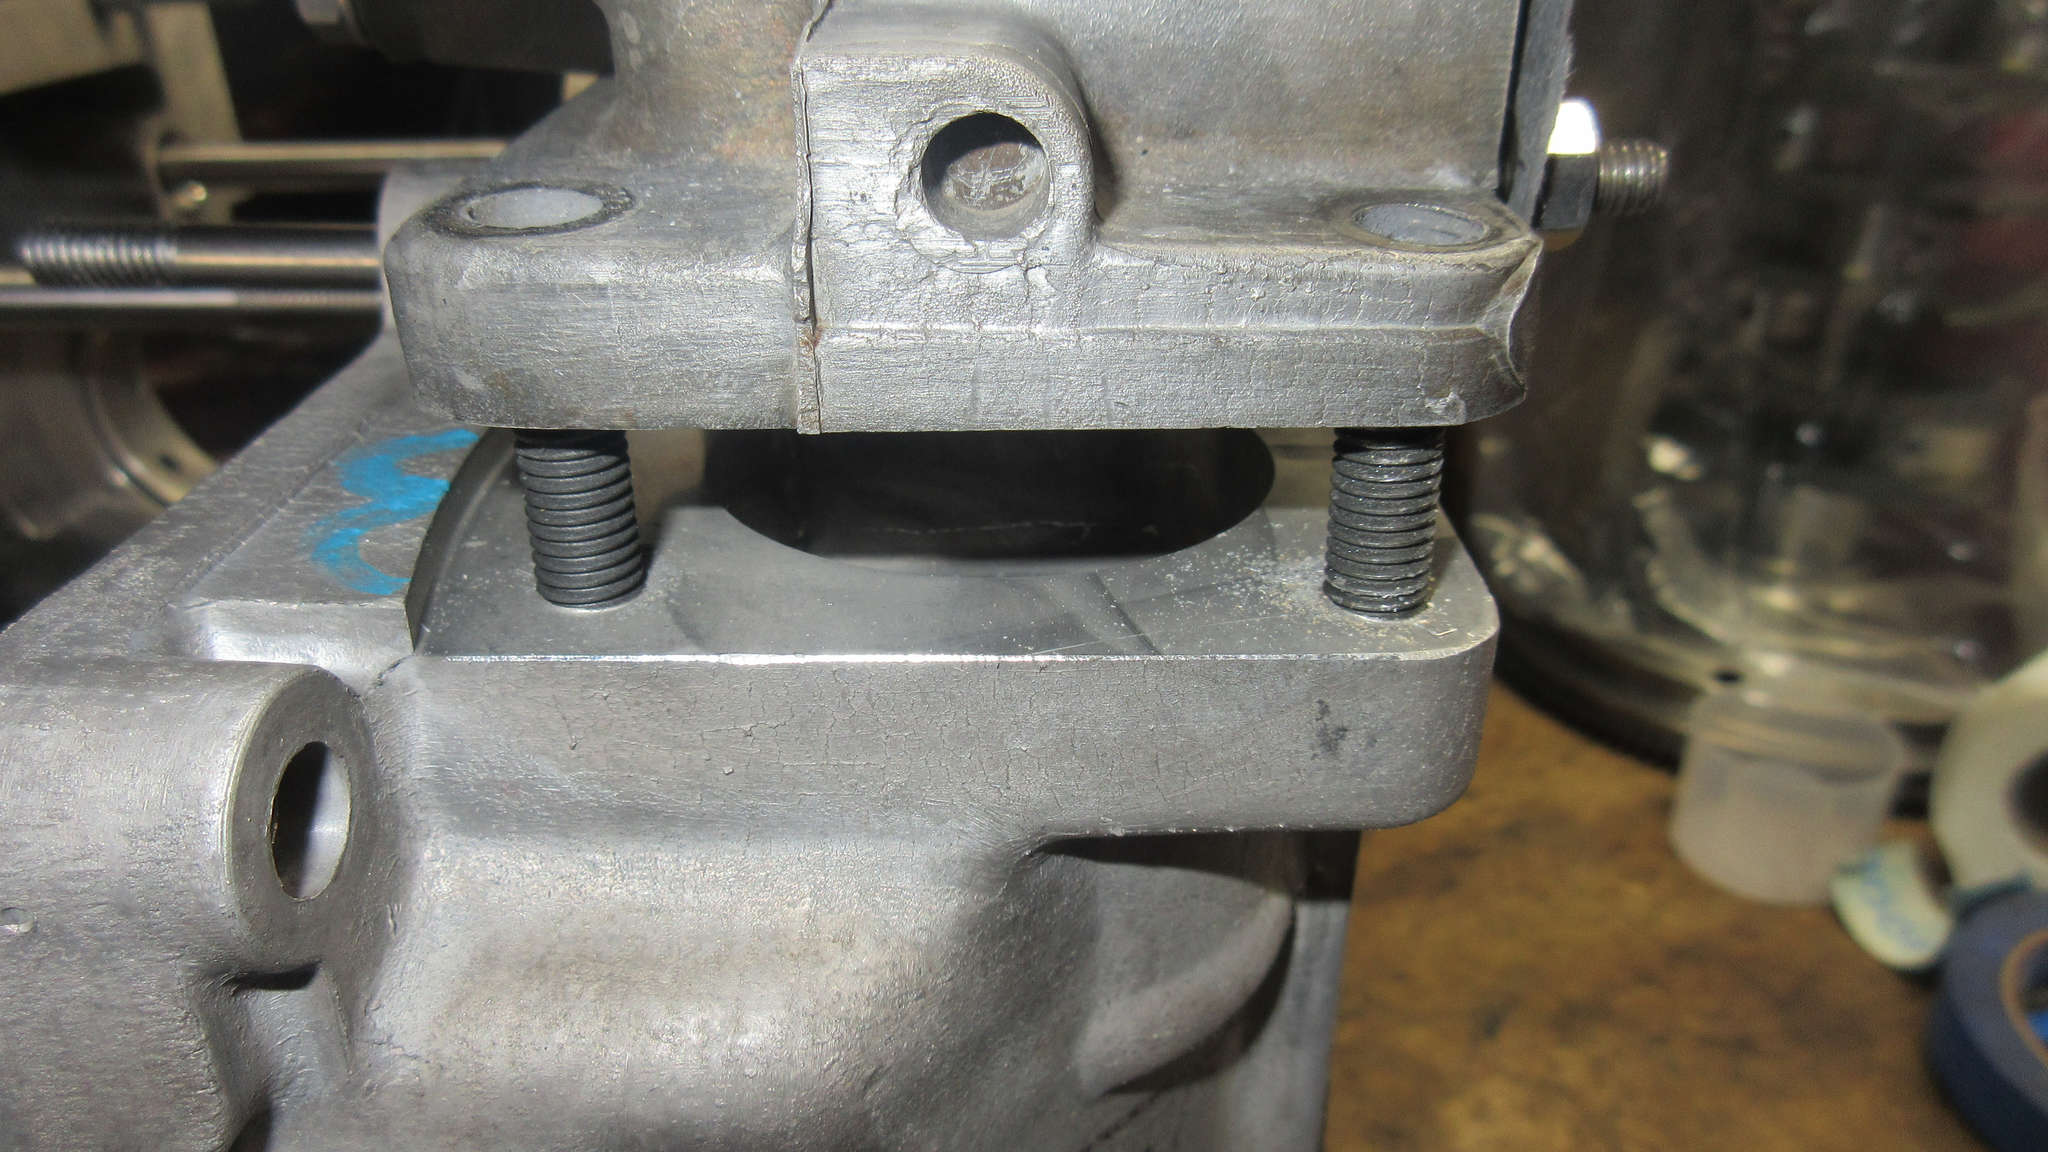
I’d also like to plug that open hole at the 1/2 side of the case top at the flywheel (above). That is where the old VW diagnostic tool sensor would be pressed in and I’m not quite sure what purpose it could serve now other than to just allow dirt and debris to get sucked into the flywheel area.
A heat resistance silicone plug would probably work perfectly there if It would not come loose.
Next Inspection Steps
I need to make sure the following items are done:
- Inspect the lifter bores.
- Inspect the distributor gear bore and gear itself.
- Install the bearings and test the location of their oil galleries with the oil holes on the saddle.
- Cut the tang point into the thrust cam gear surface for the double-thrust cam bearings I use.
- When the CB Performance Block Off Plate arrives, check sizing of studs and reduce them to smallest possible length to minimize vertical things at this point of the case.
- Deburr some of the most visible case junk.
- Test fuel pressure bores with new pistons and springs.
What is going to happen to the original AJ case?
The plan was of course to reuse that case.
However, it needs machining prior to any kind of reuse.
I’m thinking that depending on the shipping costs (as that is the real bad part in my opinion), I’ll sent it to Vintage Volks Speed Shop and have them do the line boring, and they also charge $100 to do all of the Hoover Mod oil drilling onto the case and the lifters. (You may recall I f’d that up on the 2019 new build). They also charge $40 more to do the mods to a set of stock rocker arms.
Now in my opinion, that is money very well spent!
I just need to investigate if the Hoover mods require the addition of an extra sump. I’m thinking those mods, with at least 2 more quarts of oil, would make a massively huge difference in engine oiling. Of course, they totally need to have full filtration and possibly a Type 4 oil cooler as well.
1 thought on “Murbella – Day 41 – New case arrived!”