So today was focused on continued cleaning of the disassembled suspension with solvents in an effort to get as much of the undercoating and grime off of them prior to sanding.
Passenger Stub Axle
So the passenger side stub axle also came out with a bonded spacer.
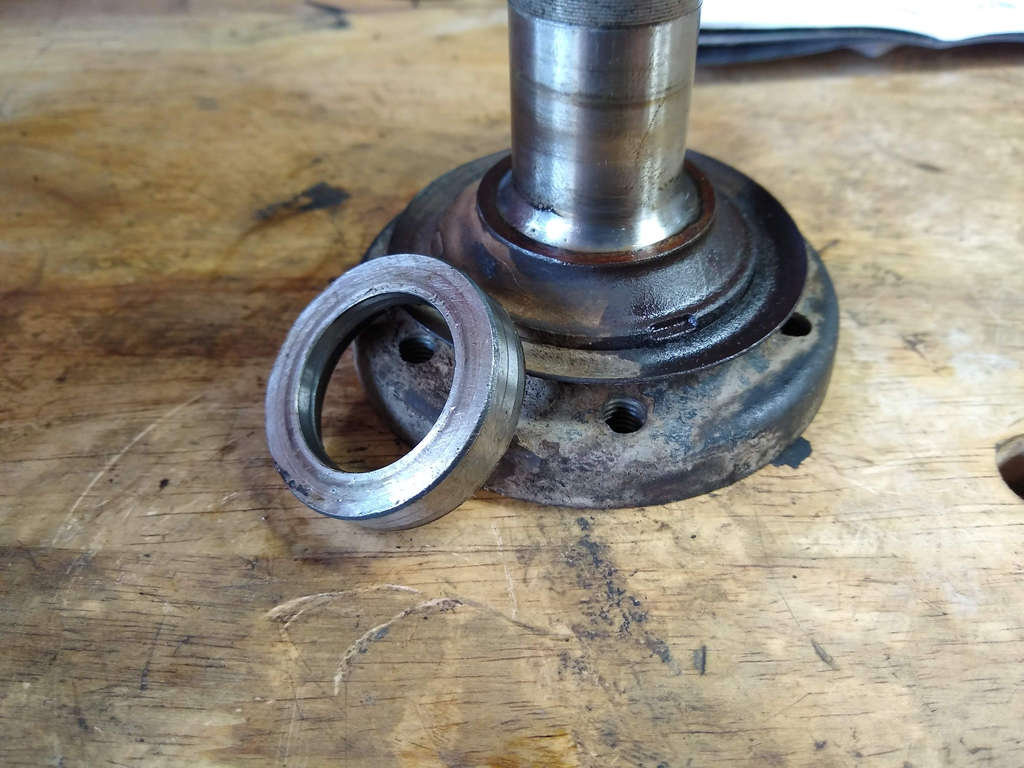
However this side was different. I was easily able to heat up the spacer and move it but it would only go midway to the shaft where it would normally be the large spacer. It would not go beyond it.
I tried oiling it and nothing work as well as heat, and trying to use a chisel to work it down. Nothing.
I finally decided to try something totally different. I had moved enough I could put the spacer in the vise and then, with my mallet and multiple blows, was able to hammer itself through the spacer instead of the other way around.
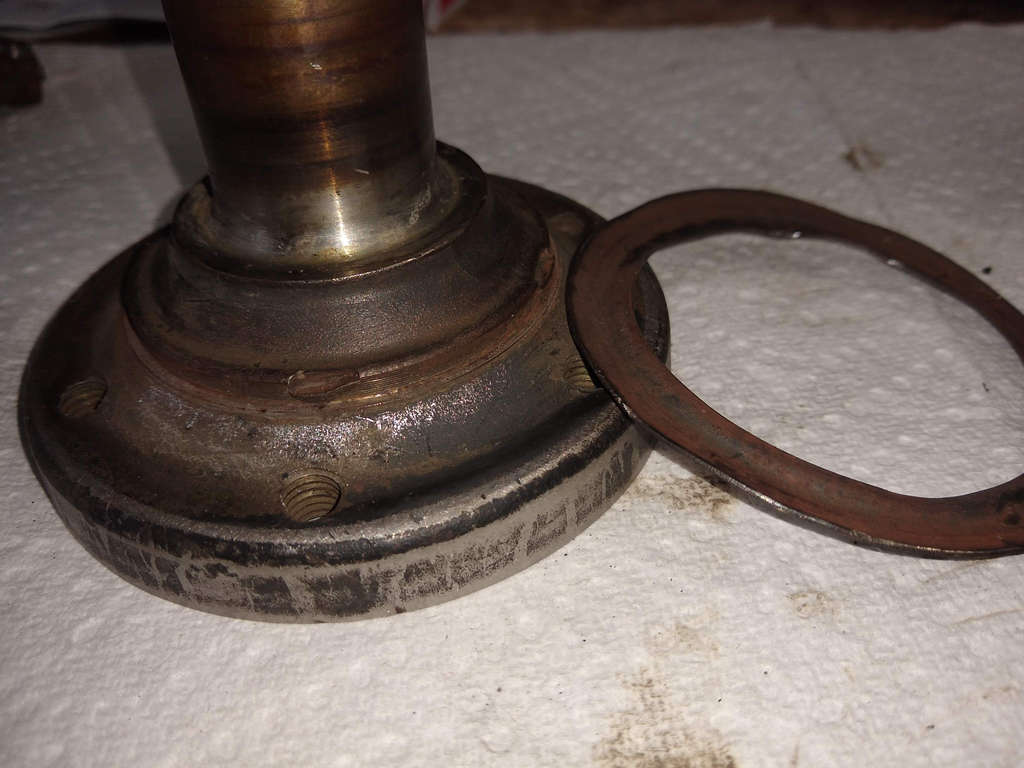
To properly clean and sand the stub axles, I decided to pry the metal ring at the base off.
Now I assume this is meant to be some kind of oil/grime slinger, throwing anything that leaks paste the oil seal downwards as the car moves instead of accumulating on the bolts and such. I could be wrong, but it makes sense it would act that way.
The one thing that I noticed is that aftermarket stub axles appear not to have this piece on them. So once again, trying to clean up and restore the original OEM ones and then putting them all back on is paramount.
Torque Washer & Pivot Washer Cleanup
So all of the axle parts and pivot washers have been soaking in solvent for a couple of days.
The grime and the undercoating came off, but some of the washers had a lot of surface corrosion.
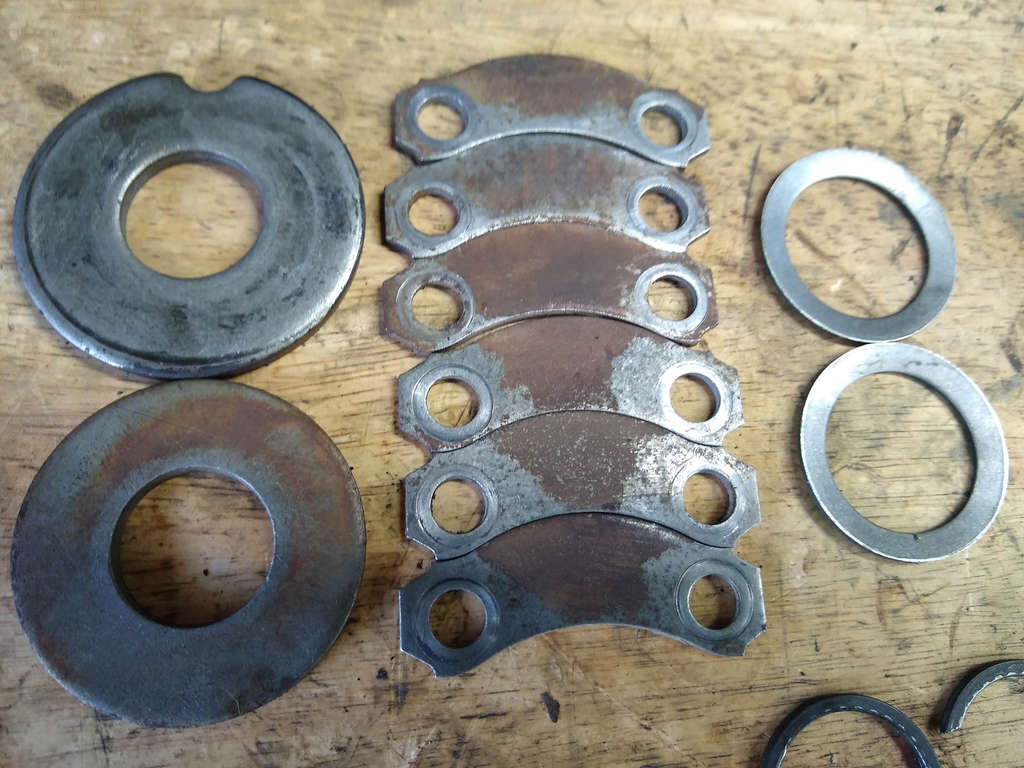
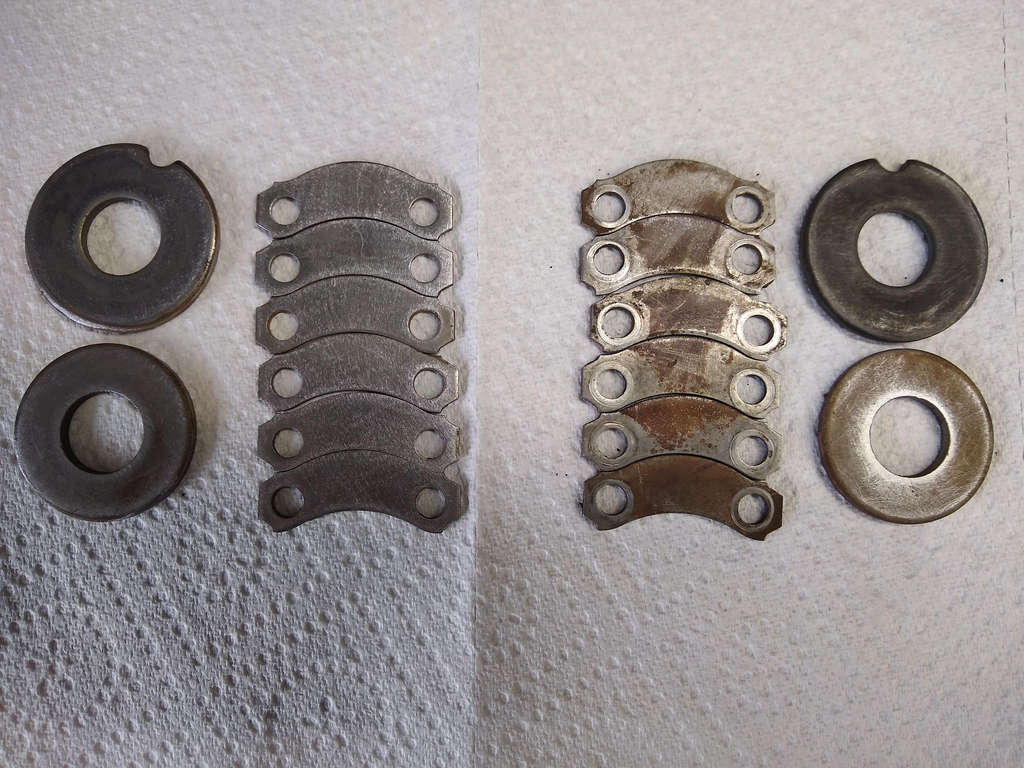
The torque washers (above) really showed heavy areas of surface corrosion and what is odd is the driver side is significantly less than the passenger side. The passenger side had the really bad condition “chocolate syrup” grease and on the whole, the axle was in much worse state then the driver side. The torque washers, metal on the CV boot, and the outer rim of the CV joint all are heavily corroded.
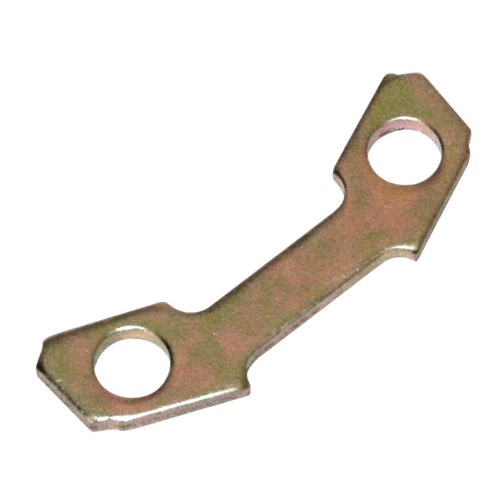
Now these torque washers, other than the light surface rust, look to be in good shape. They are also very different looking from any that can currently be purchased.
The ones you can purchase today, while likely zinc-plated (image at right), are of a completely different shape.
They seem to have significant less metal to them than what I assume were the OEM originals.
I really should take a look at Żuczek’s axles. I know he’s kind of a bastard car now (engine, transaxle, etc.) so who knows if the 72 ones were closer to what I removed from Murbella or not.
I’ve decided to clean them up and lightly sand down off the surfaces.
They cleaned up well (image above).
I’ve done both sides just to make sure that they are equal on both side.
On the torque washers, it isn’t like I can zinc coat them or anything, but I will probably just lightly coat these in a rust preventative paint so that the exterior facing surfaces are at least protected.
However, I am not sure if the serrated washers really would work the same against a painted surface versus the metal surface. The whole point of these washers is to “bite” into the torque washer so it may be best to leave them as-is.
Pivot Washers
Now the new pivot washers arrived and I was expected the inner ones but these proved to be the outer ones.
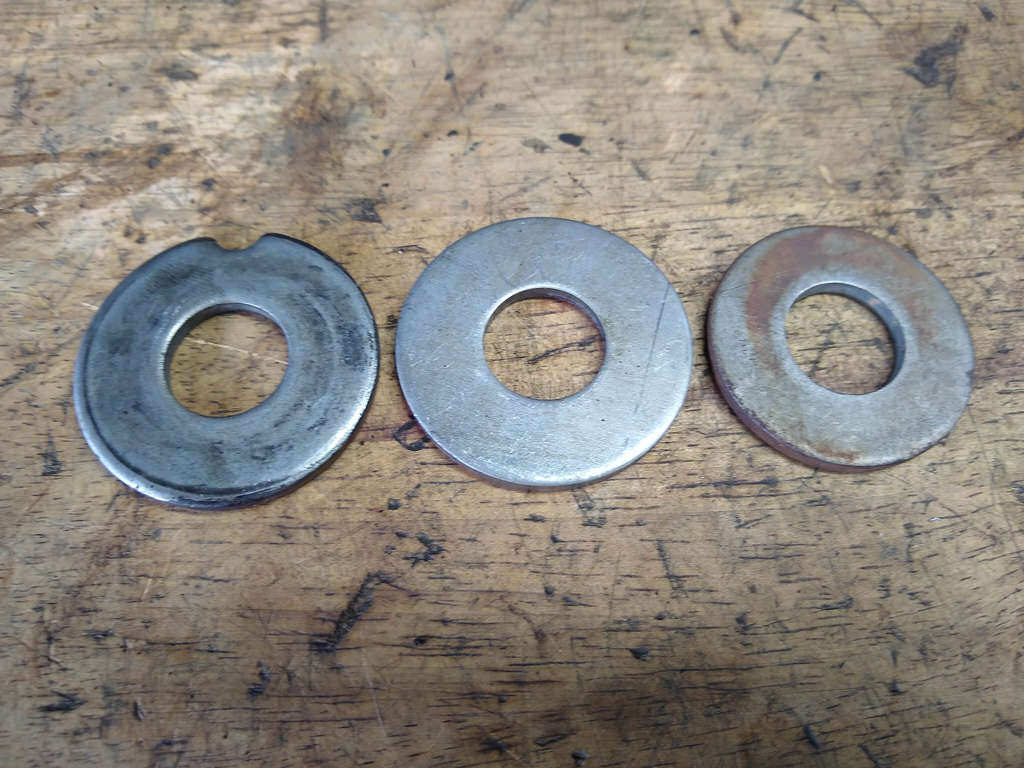
Now the larger original washer is the one that had the cut out. There was one per side.
The new washers (center, image above) actually match the size of the larger one. For some reason I expected them to be like the smaller original ones.
Now given that on VW parts sites the only ones seem to be the larger ones, I have to assume that marrying up 2 large ones is appropriate in this day and age as a suitable replacement instead of the 1 larger and 1 smaller I removed.
Since I’m cleaning up parts I decided to clean up the smaller ones to possibly return it to use.
I would imagine that it would be best to replace all washers, given how they have a lot of stress at this particular point as the trailing arm goes up and down.
I’ve done a bit of smooth light sanding and got the rust off and the undercoating the solvent did not remove. I’ll do more research and perhaps as some questions to some people I feel are authoritative on such things before deciding what to do. I’ve got plenty of work ahead before any decisions need to be made.
Spring Plate Covers
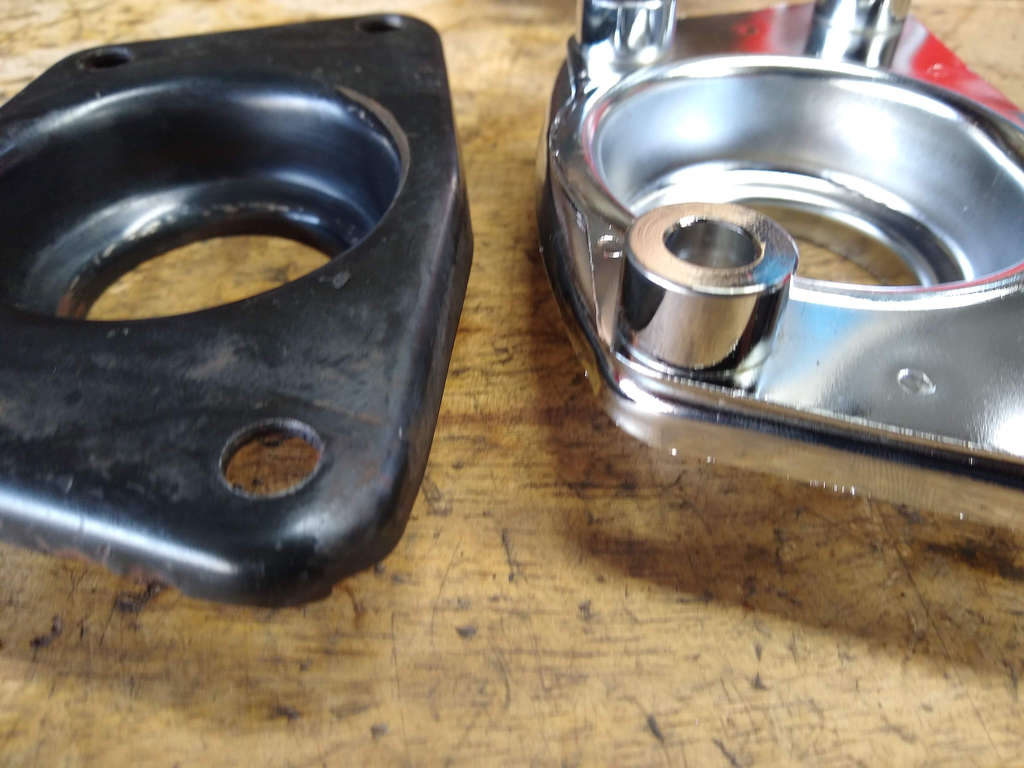
The aftermarket spring plate covers arrived and let’s just say modding them will not be as easy in my garage as I had hoped.
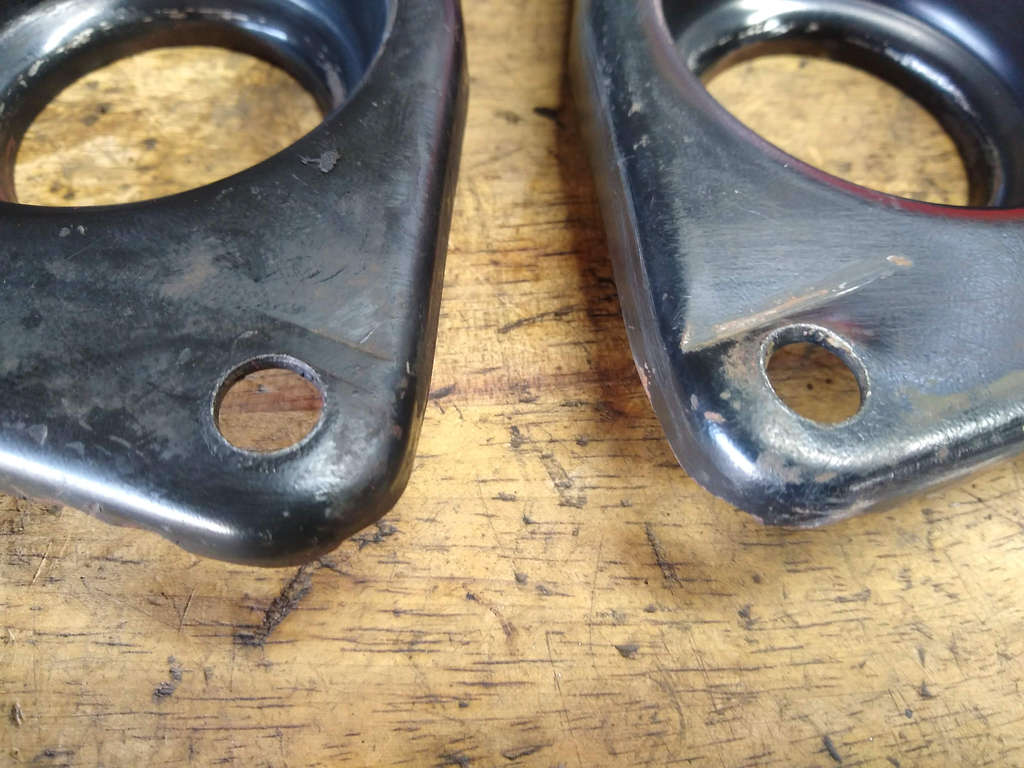
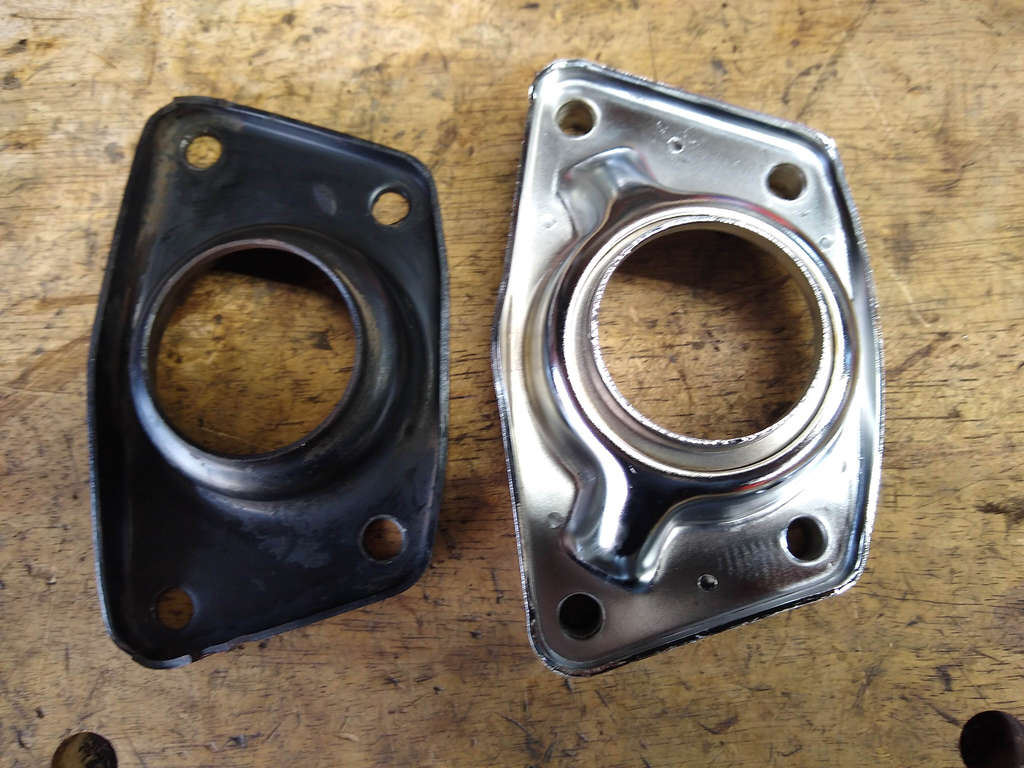
Now the driver side had the damage from where it appears the spring plate perhaps hit it under extreme force leave quite a dent.
The passenger side cover is now all cleaned up and you can actually see a similar mark in the coating, but not a dent, like on the drive side.
I’m really thinking my having issues with moving the spring plates is perhaps a symptom of something greater going on. Now when I’d go over rail road tracks Murbella would “clunk” in the rear really bad. I could never isolate the noise and assumed it possibly was the transaxle or maybe the bushings having gone bad.
I could very easily have caused this damage while I’ve owned Murbella but who knows.
I acquired a set of the aftermarket ones thinking I could just mod their double-spring plate setup, rough up the chrome, and then paint them black.
Basically, it is different enough but it has a separate layer with the spacers needed for the double-plate space.
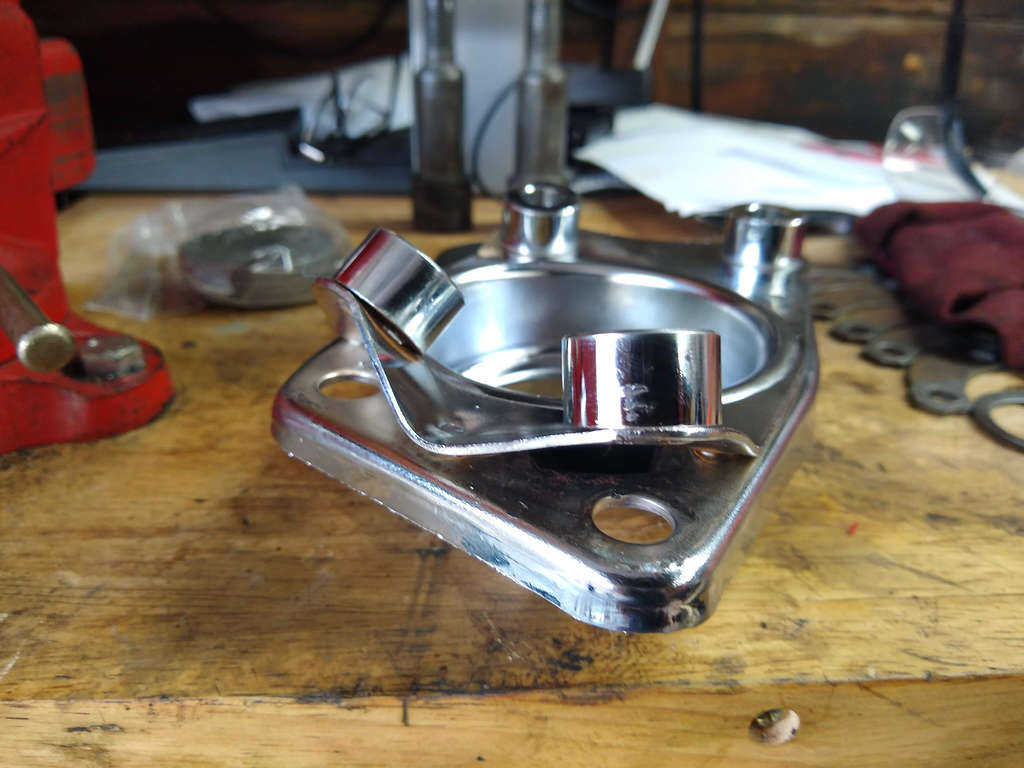
I’ve tried breaking the spot welds but am not having the best of luck.
My vise is pretty small and holding this part and trying to break the spot welds is proving difficult. I got them bent up and hacksawed one weld but have mode little progress since.
My son came out and I asked him what he thought he could do, possibly at work.
He basically grabbed the part and started beating on it on the vise.
Once again, I’m too gentle with parts.
He was impressed by the thickness of the metal the cap is made from but he tried using what I had available to bang it into shape.
He really wanted a bigger vise and a proper metal hammer but he made do with what I have.
I’ll say this, he managed to smooth it out quite a bit.
The area of the metal that buckled is still there, and would probably need a filler line of weld to clean up, but it is far closer to what it originally was.
I didn’t snap a pic but I think it will be usable and I can scrap any plans for the aftermarket parts.
One thing that also sucked about the aftermarket part that I did not notice in the pics before I bought it was that it would require, or it would appear to need, a knobby bushing instead of the normal smooth one. Not a huge issue, but still different enough I’d rather avoid mixing them up.
The undercoating from hell
I am very thankful the mineral spirits soaks of the parts has been helping to easily break down the undercoating.
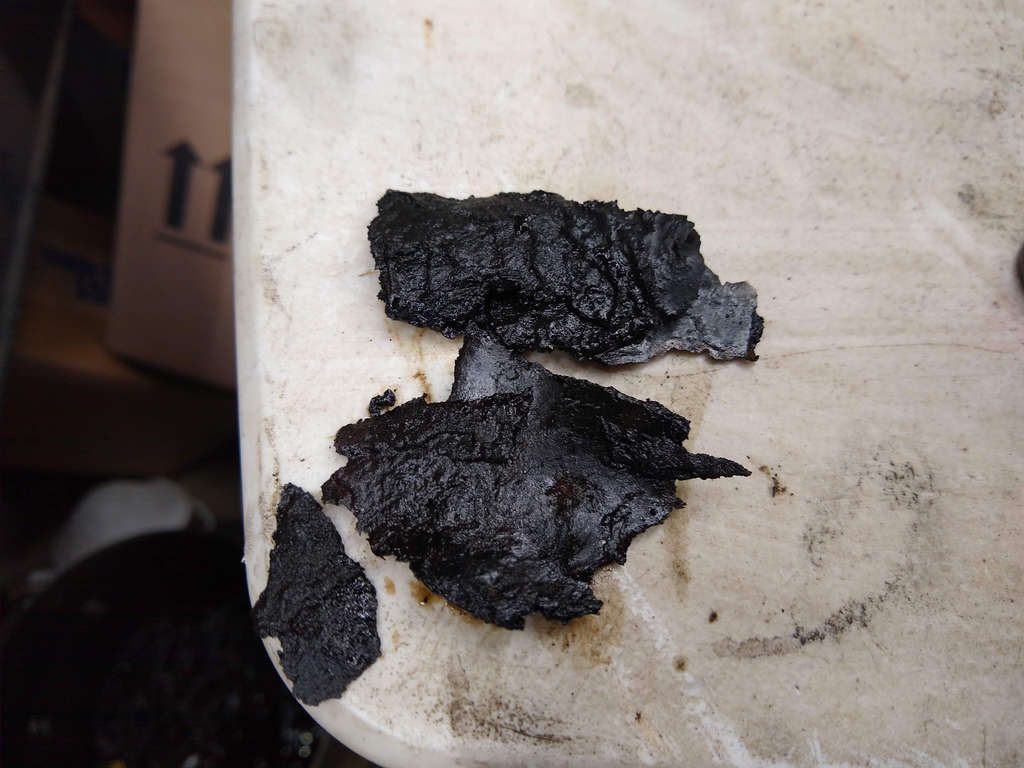
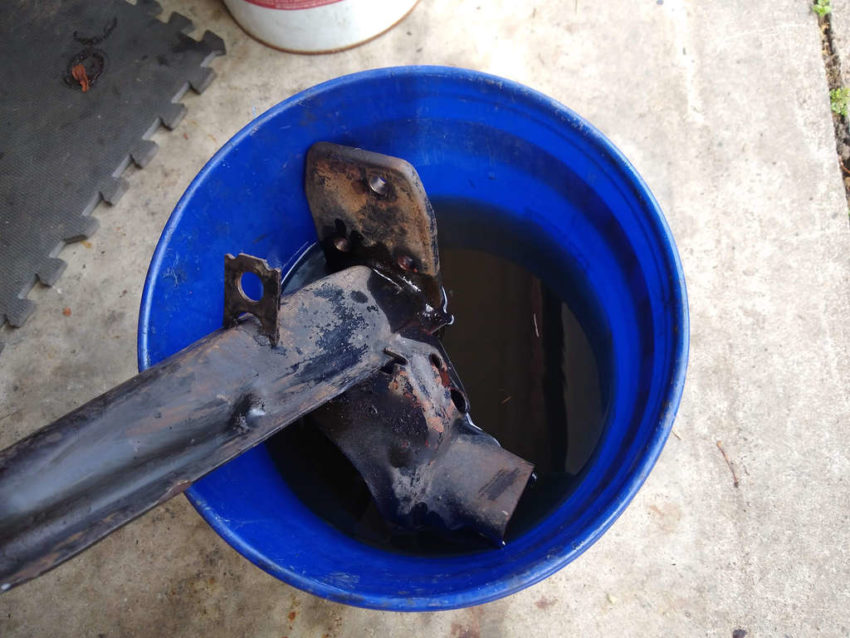
The passenger side trailing arm had the worse of the undercoating and after soaking overnight it just fell off (above).
I’ve been pouring the solvent over more areas, and the driver side trailing arm is soaking in a bucket of solvent..
It is supposed to be nice again tomorrow so I may be able to get all of these scrubbed down with some purple power and see where I stand before the sanding.