Today was a major day of accomplishments.
Pistons and Cylinders
So the issue I had with Cylinder #1 not going in yesterday was caused by the wrist pin / piston relationship. With some effort I was able to shift the piston towards the flywheel about 2 millimeters and it solved the problem.
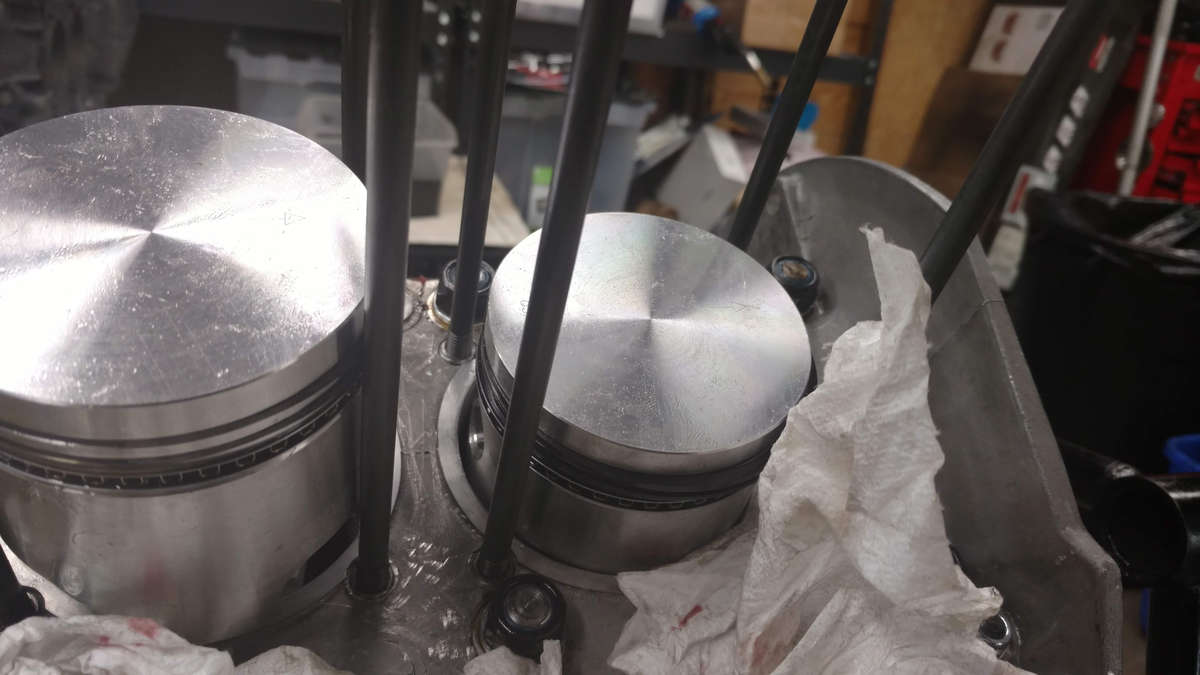
I was worried I had really screwed up or missed something but nope. (At least I hope not!)
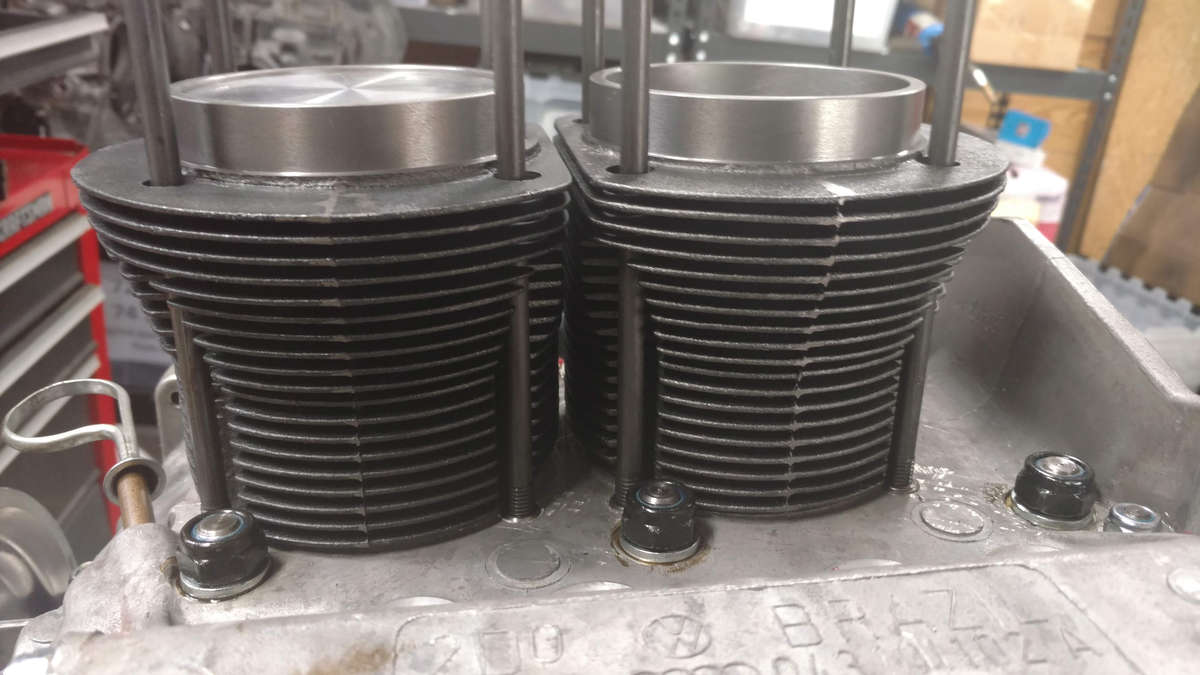
The cylinder went on perfectly (above) and with that, I was able to check the deck height tolerances and they are all fine, which is what I would expect with a stock piston/cylinder set and 69mm crank.
Assembly
With that done, I could finally turn my attention to actually assembling the long block instead of just mocking it up.
Each of the cylinder bases was coated with Permatex High-Temp Red RTV Silicone Gasket Maker. Now Wilson’s How to Rebuild Your Volkswagen Air-Cooled Engine used the Permatex Aviation Sealant which I used to seal the case but I figured I’d try the RTV since I’ve seen a variety of people recommend using it for this specific area.
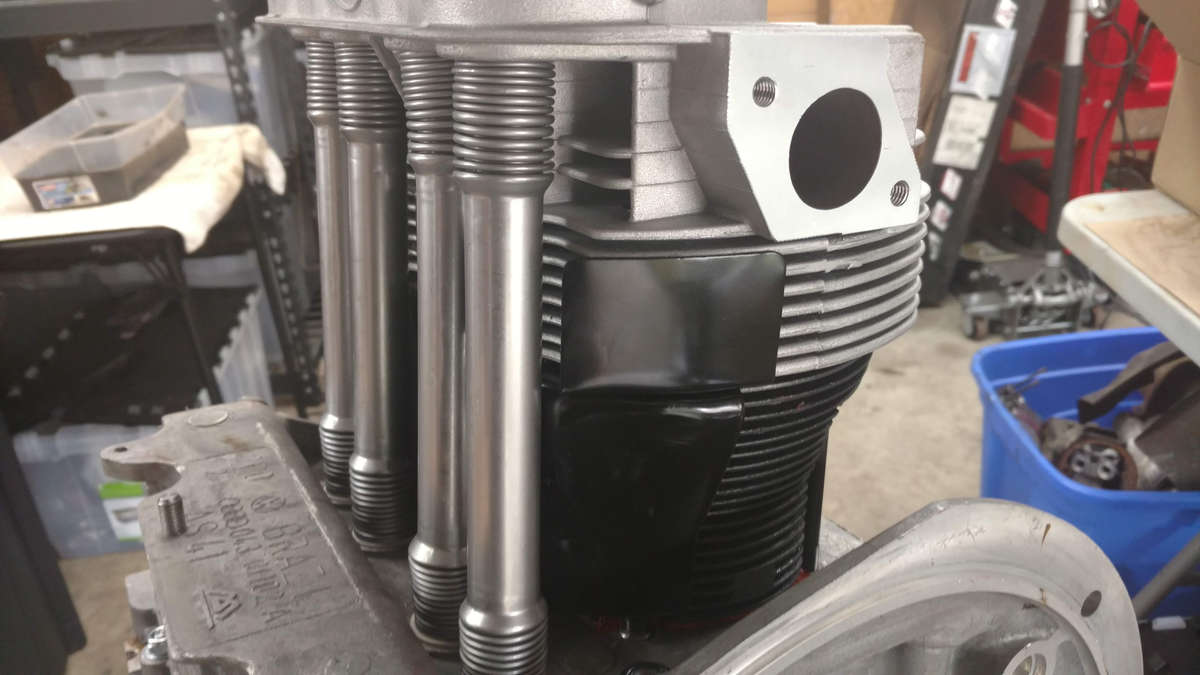
I had started assembling the heads and push rod tubes and had realized I had totally forgotten the under-cylinder are tins. I decided to try the Type 3 ones that surround most of the cylinder, The fit on in the same way as the smaller traditional Type 1 air deflectors, but there is no way to install them if you miss them in this step. In a way, it is kind of like the crank pulley tin. You have to get it installed prior to the final crank pulley bolt or your screwed and have to undo it all.
It was actually quite a pain to get the push rod tubes in and I realized afterwards that doing those with the engine horizontal would have been much easier.
I repeated everything on the other side and then the head nuts were all torqued down in increments and in the order recommended by the Wilson book.

It really started to take shape.
I put the rocker arms in but realized I am still not comfortable with the whole rocker arm geometry thing so decided to switch to some top side installs.
The Brosol fuel pump went on and then the alternator stand. I used the Gaskacinch on the gaskets and surfaces for all those areas.
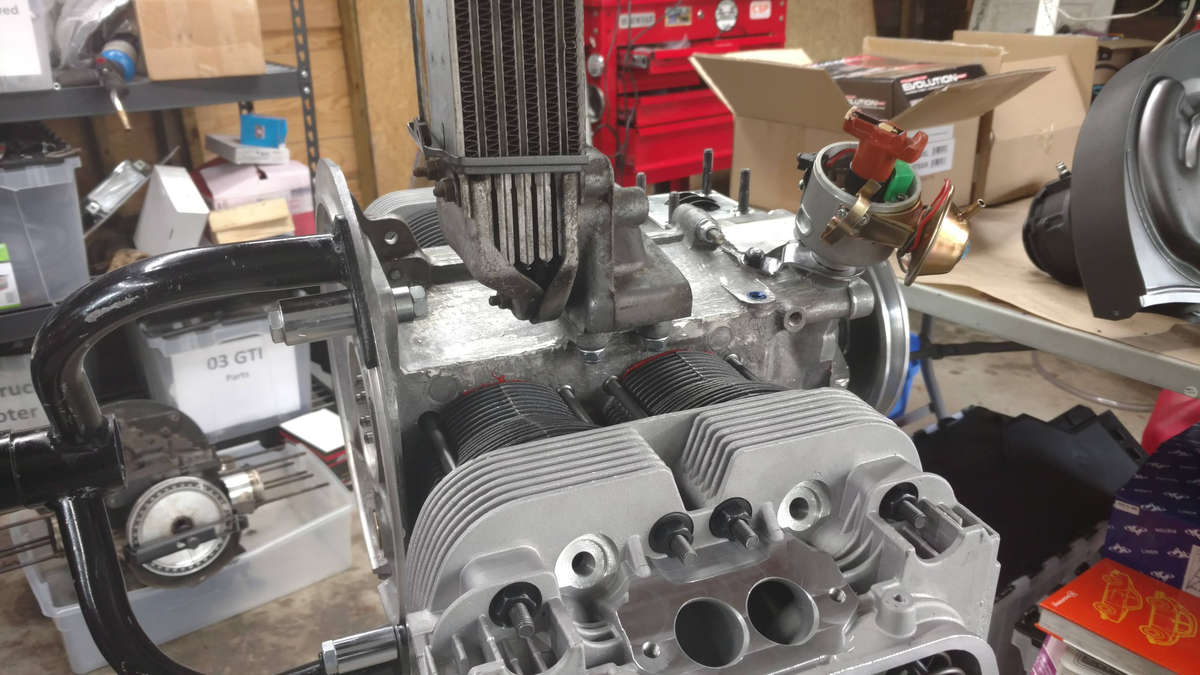
Next the original AH engine’s oil cooler went on. This also has to be done prior to the cylinder tins.
I still haven’t’ figured out what foam tape product I am going to use to seal the the oil cooler space. I know it has to be able to handle high temps and should be closed cell, but the one product I really wanted to use doesn’t seem easily available anymore. I’m going to go to the one local hardware store tomorrow and see what they have. (What sucks is I was at Lowes earlier in the morning and forgot to look there!)
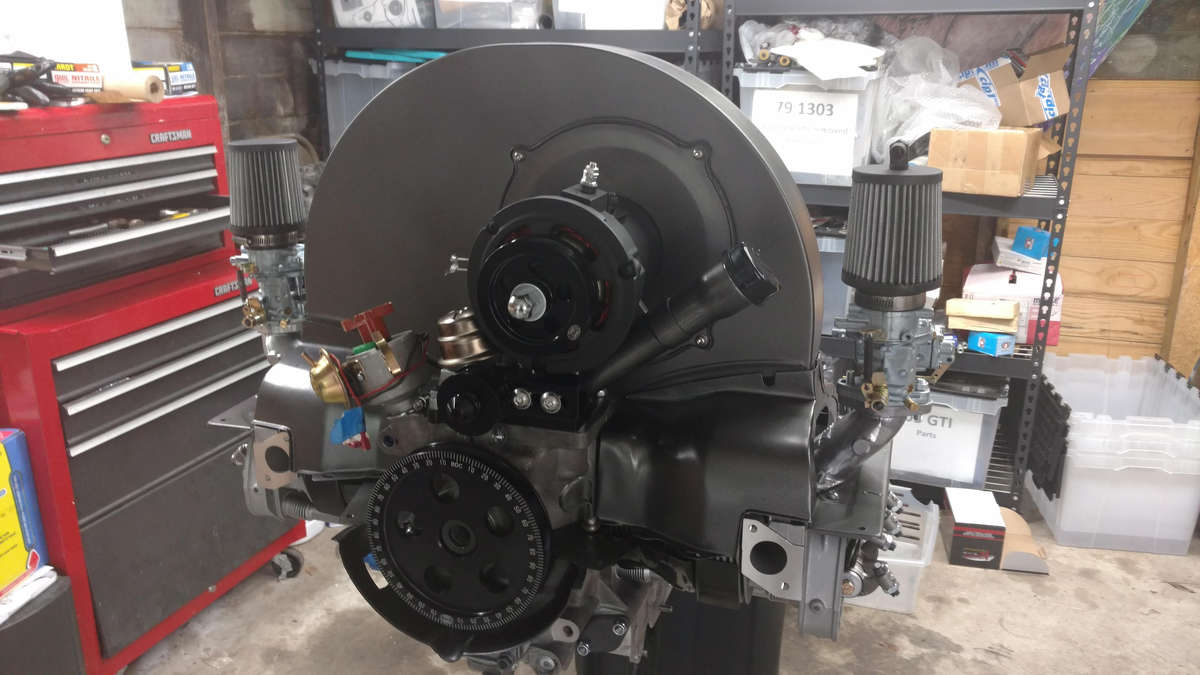
Now a few people warned me about the potential issues with aftermarket tins and fan shrouds fitting so I decided to do a dry fit of everything.
The cylinder tins went on fine, but getting the 36HP style shroud down on them is proving to be an issue. I’ll work on that this weekend.
I figured, with so much assembled I may as well do a mock up of the carbs to see what it all looks like together.
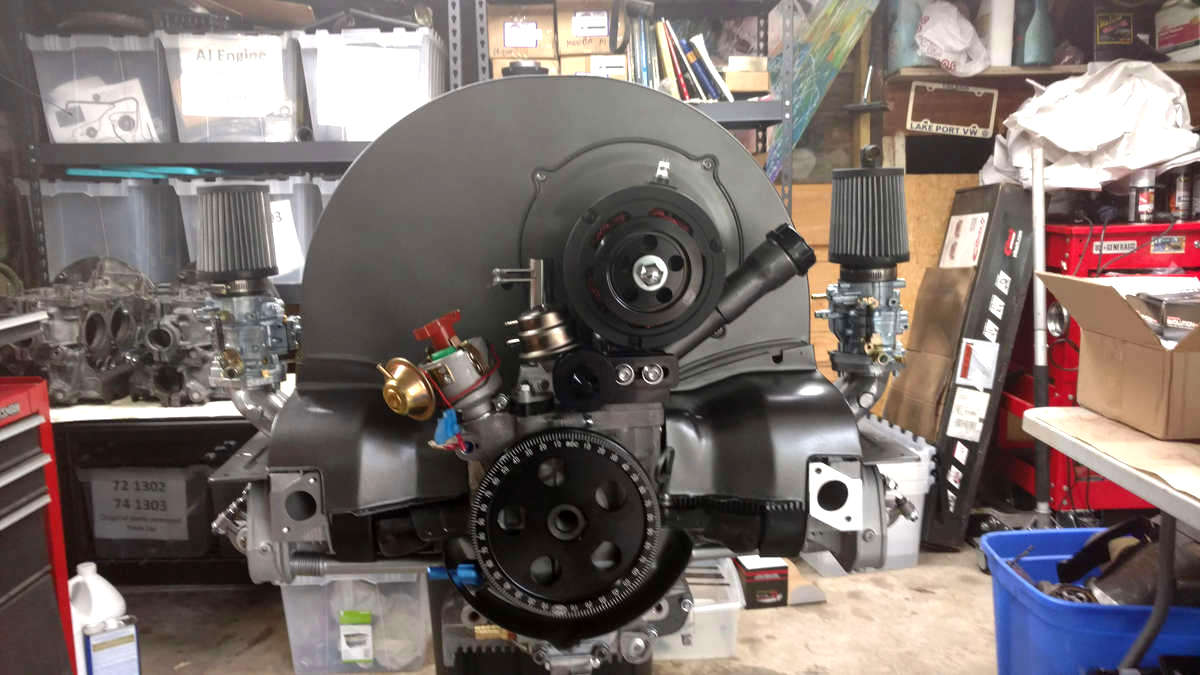
And you know… it turned out exactly like I imagined.
The black and the cast iron looks perfect together. Putting a light coat of flat black on the alternator also made a huge different.
I kind of wished I had just put a light coat of the black on the exposed topside parts of the case but meh, it’ll be fine.
Now the big question is how will it start up and run! That is still a few days away.
Lessons Learned
- Make sure you get your underside cylinder tins on in the correct order or else you are screwed and have to undo all your work.
- The recessed allen head tins screws are so much nicer than the flat head or phillips screws.
- The aftermarket pulley tin is actually “universal” so it has the notch for the Type 3’s long dipstick. That of course leaves a hole if not used.