
I spent many hours trying to bathe the case halves and free up as much crud as possible. I was shocked at how much accumulated age and filth washed off and out of the case halves.

I finally had to turn my attention to the parts that had not easily come off, namely the corroded screws. I had soaked them in mineral spirits to clean them of the crud, I had bathed them multiple times in penetrating oil. I hate probably heated each of the problem areas up over 20 total minutes each with a torch to still not have them come out.
Ultimately, I ended up purchasing a special set of sockets aimed at removing stripped nuts and such. I was able to attach it to a break bar of all things, and that finally was enough torque to remove all of these horrible tin screws.

It is really rather shocking how bad the magnesium allow case has corroded around what I assume were basic steel screws. The internal threads seem ok, and the corrosion is pretty much only on the surface and not structural.

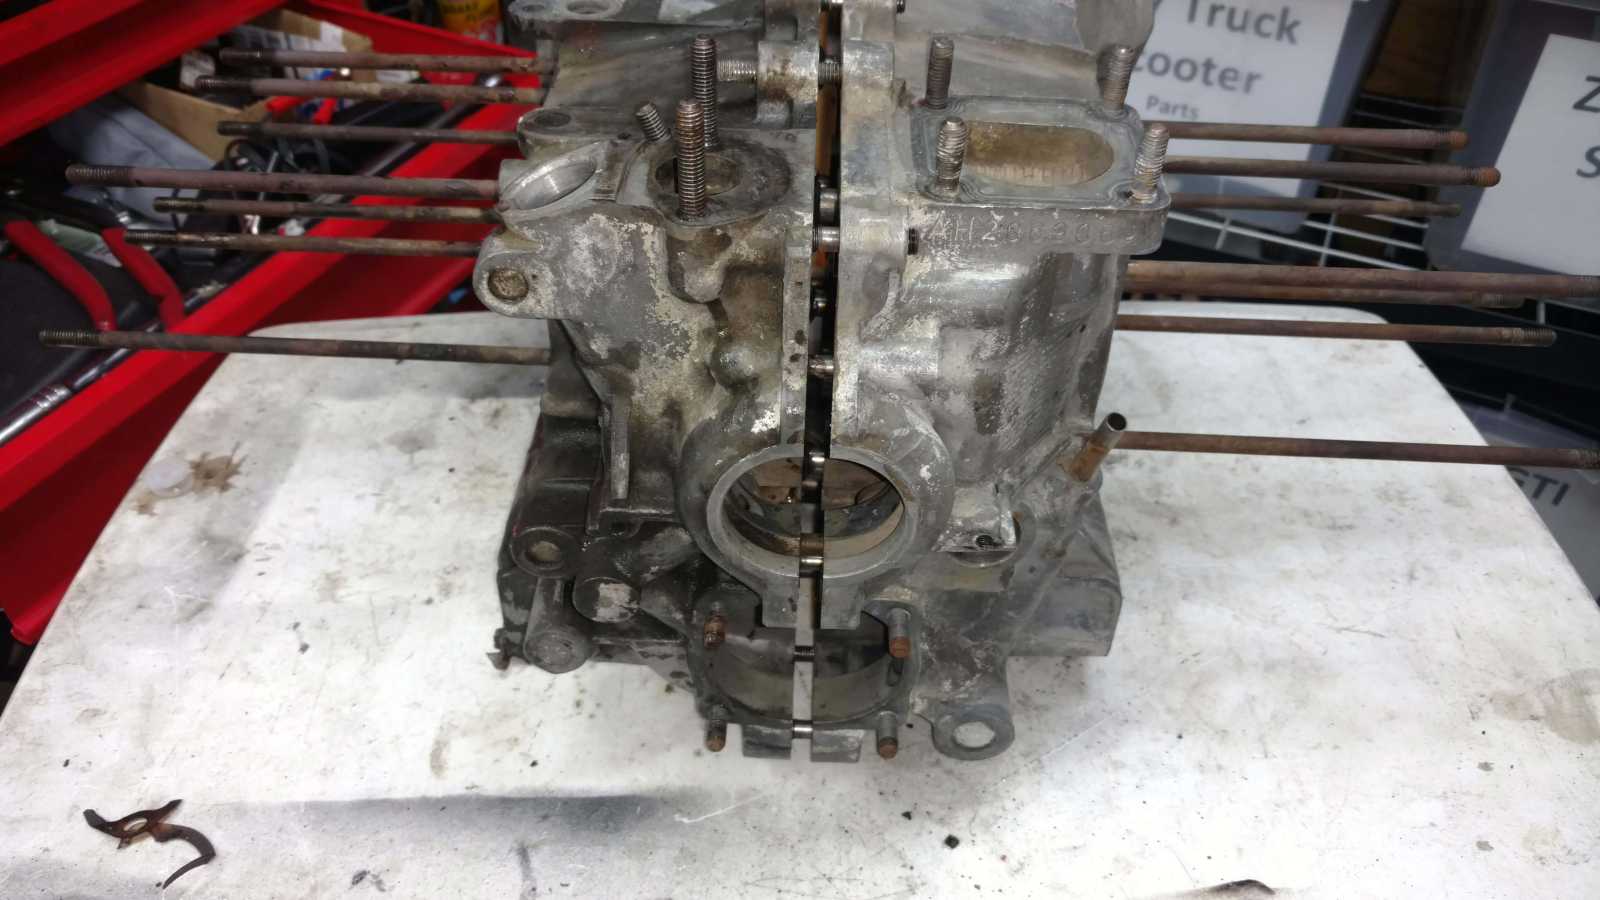
Now from my research, I know a lot of people leave the cylinder head studs in but I they are so extremely awkward to work around that I decided to use the old two nut method to remove them, along with the other bolts out of the case. Everything was going along smoothly until… and I kid you not… the last stud.
The case saver came out with one of the lower studs at cylinder 1!
I started what would amount to probably 4 total hours of heating, penetrating oil, freezing, heating again, more oil, etc. with the case saver still refusing to come off the stuff.

It was like there is a conscious intent to not come off. (Ultimately, I bought an aftermarket case saver to put back in the case.)
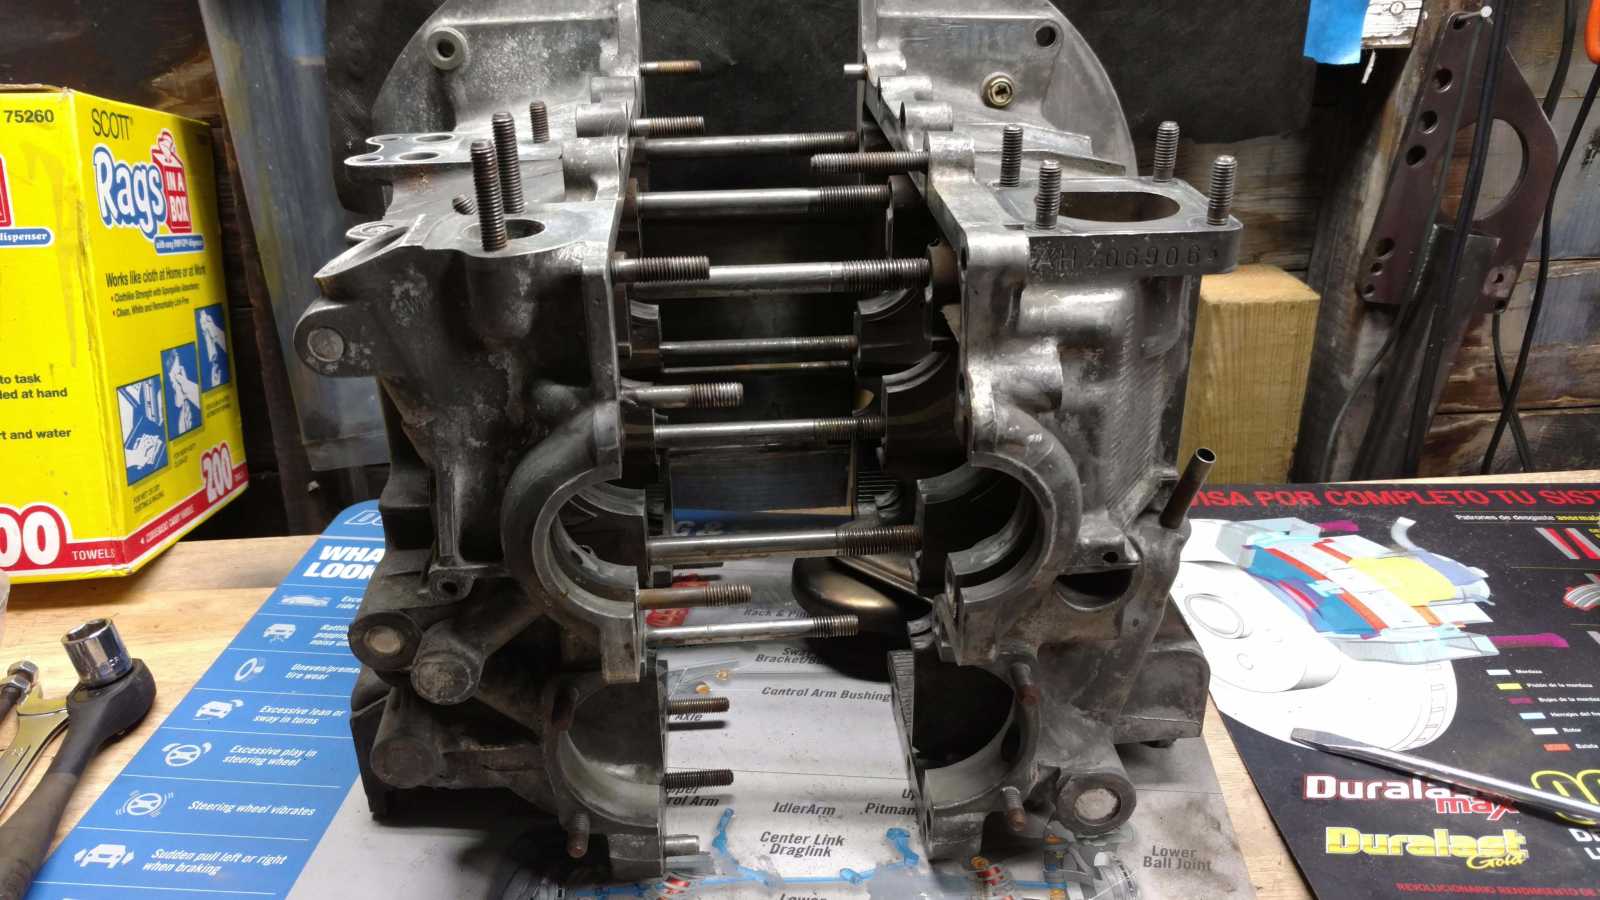
With the studs all out, I continued working on scrubbing the oil out of the accessible galleries and sump. Finally, when mineral spirits seemed to run out clean, I washed it the case with a hose and soapy water and then dried it out with compressed air, trying to force everything through the galleries.
Unfortunately, I had put my power washer away for the year but I decided to do what was mentioned in the Bug Me Videos Vol 3 on engine rebuilding and take it to a self-service car wash. Honestly, that was the best $3 I think I could have spent on this (below). The water is hotter than anything I could easily produce at home, and the pressure at full blast really moved material and can create some massive friction.

It made quick work of the remaining soap and any other debris in the or on the case. Hell, it kind of soaked me as well!
All in all, the deconstruction of the case could have been done in a few hours but I don’t move as fast as I used to. Plus, this entire process is for me to learn, so I spend a lot of time looking at things and inspecting them. Then there’s the various roadblocks I hit along the way involving the corroded tin screws and such that really added to my time.
All in all, I feel like the AH case is ready for rebuild. Well… almost ready.
1 thought on “AH Engine – Deconstruction – Part 6”