Engine – Day 12
So I had written about seeing the different oil strainer setup in a JBugs video and that gave me the idea to built into the new engine a bit of future-proofing against something that has always driven my crazy with my other original engines.
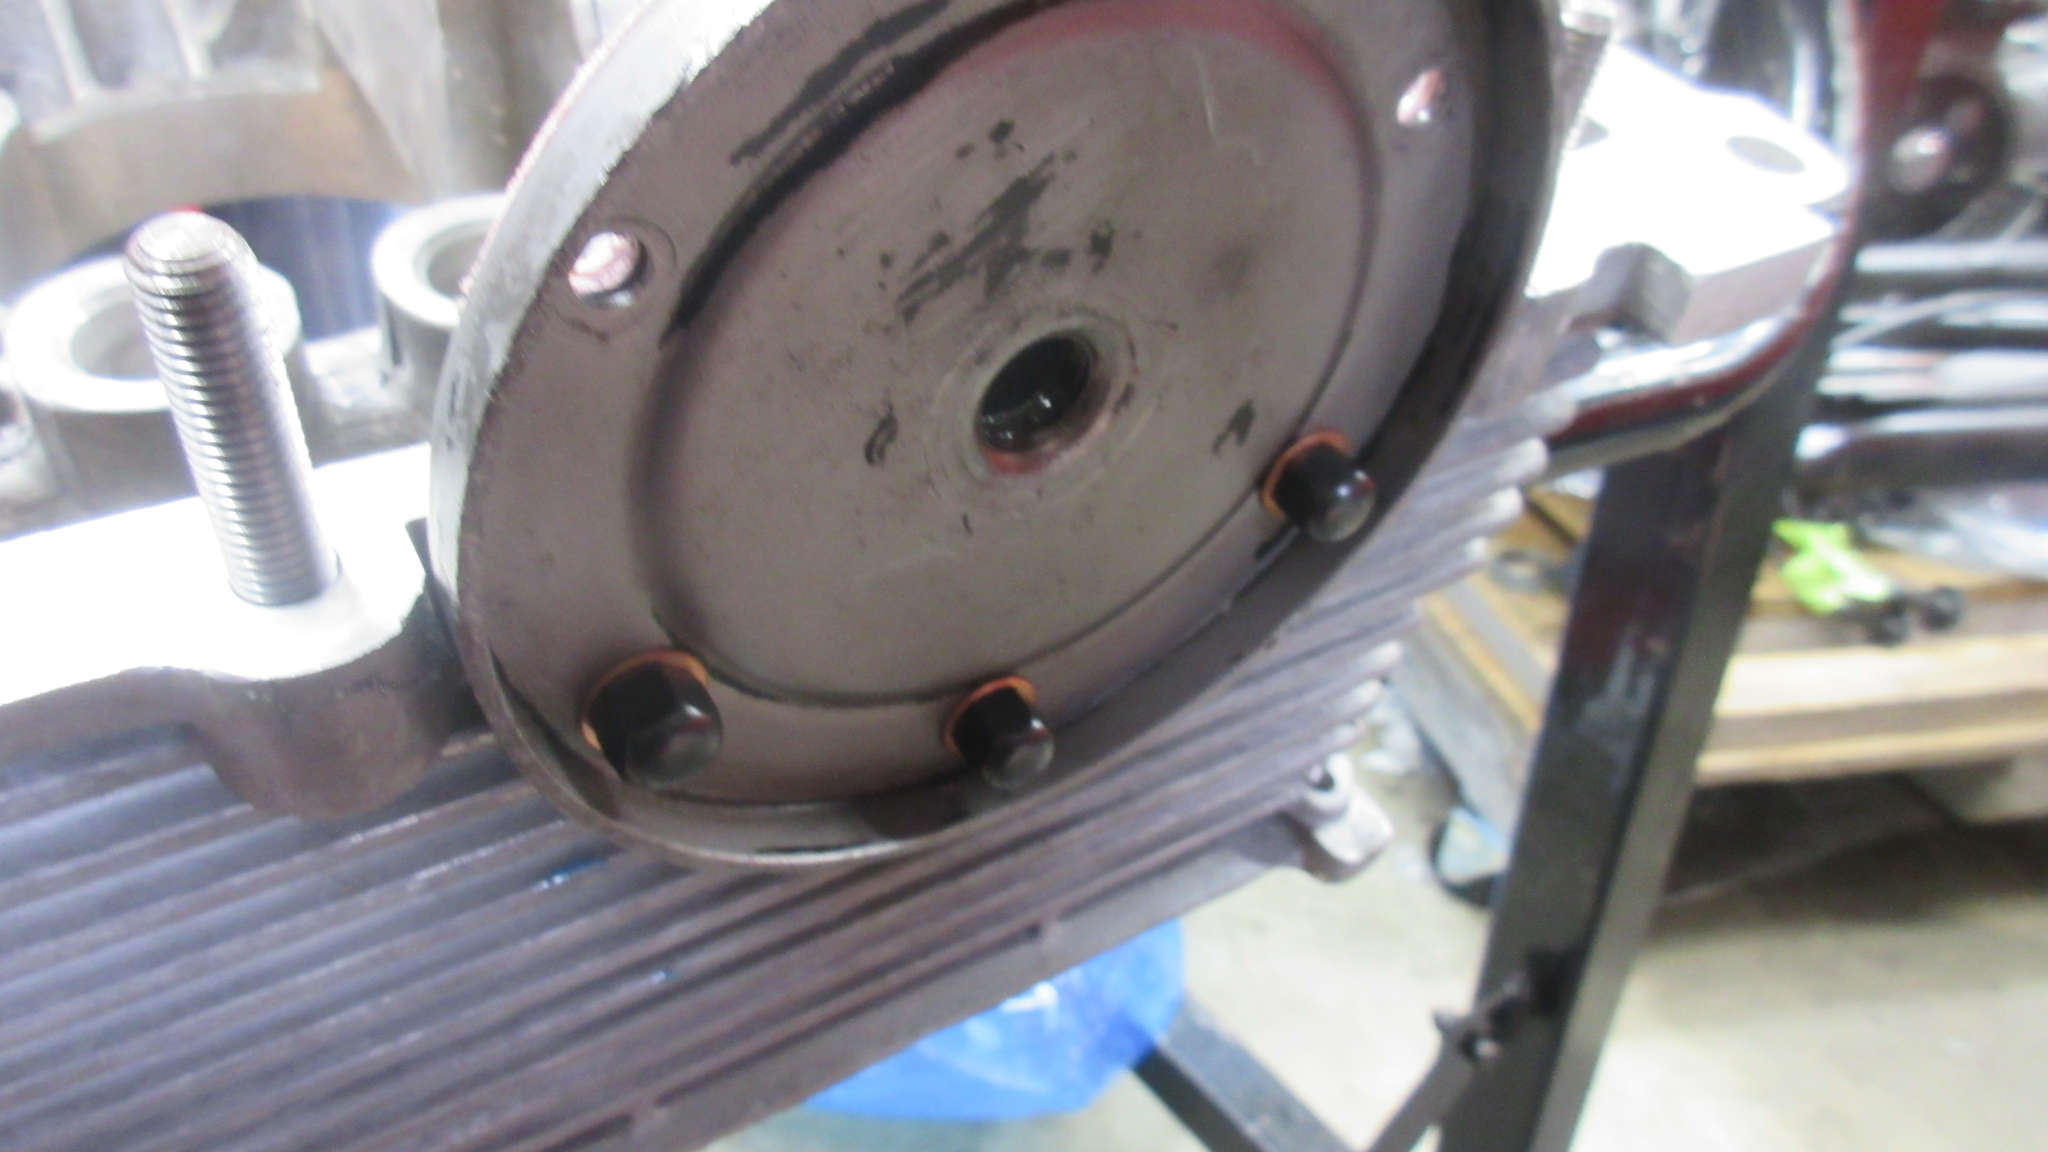
On the AJ (1979), AH (1974) and AE (1972) engines, 2 of 3 which were never rebuilt, I encountered pulling out oil studs entirely at oil changes. This annoyed me to no no end as the acorn nut could sometimes not be removed, and I’d have to keep a stock of studs on hand or else risk having to wait a week for a new stud to arrive. (The threads are too delicate to hold in a vise.)
I also experienced a problem with oil change gasket sets over the past few years. Different sets from difference sources seemed to have gaskets that varied in thickness, and a few times it felt like I was struggling to get the acorn nut to grab the tiny bit of stud thread that was showing to even get the plate put back on.
So the video gave me the idea, which cannot have been an original one by any means, to put in 5 new studs to match the oil sump pickup stud and then use a nylok nut to secure them within the case itself, thereby adding some prevention if even pulling them out by accident.
In addition, the longer stud would allow me to make a slightly longer stud below that would allow for better tolerances of different thickness of gaskets.
So I pulled out 5 studs and went to work.
Removing the studs was easy, but figuring out the optimal length to both inset into the case, as well as have below really took some trial and effort with mockups.

Of course, I could not find Murbella’s oil sump plate that I had cleaned up the other week and I managed to find the AE engine’s plate while rummaging through a bin.
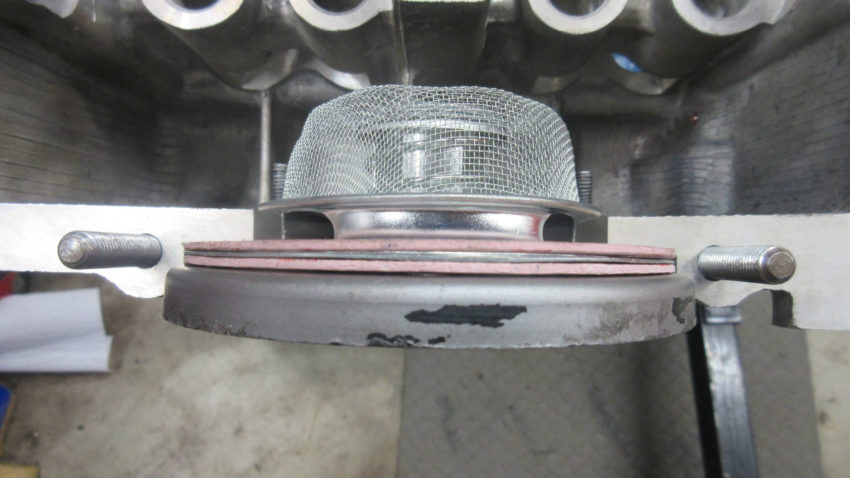
I had bought a set of 20 oil change kits a few years ago and they all have a very thick gasket set in them and decided to use this as the mockup.
You really have to think about how thick of materal gets added onto the exposed studs. I mean, you have a gasket, then the strainer, then another gasket, then the sump plate, then a copper crush washer and then finally the acorn nut!
My first pass was with the new studs at roughly the exposed length as the ones I pulled out of the case.
This of course resulted in pretty much the same problem I’ve experienced, with just enough stud to finally get the the acorn nuts to find the thread.
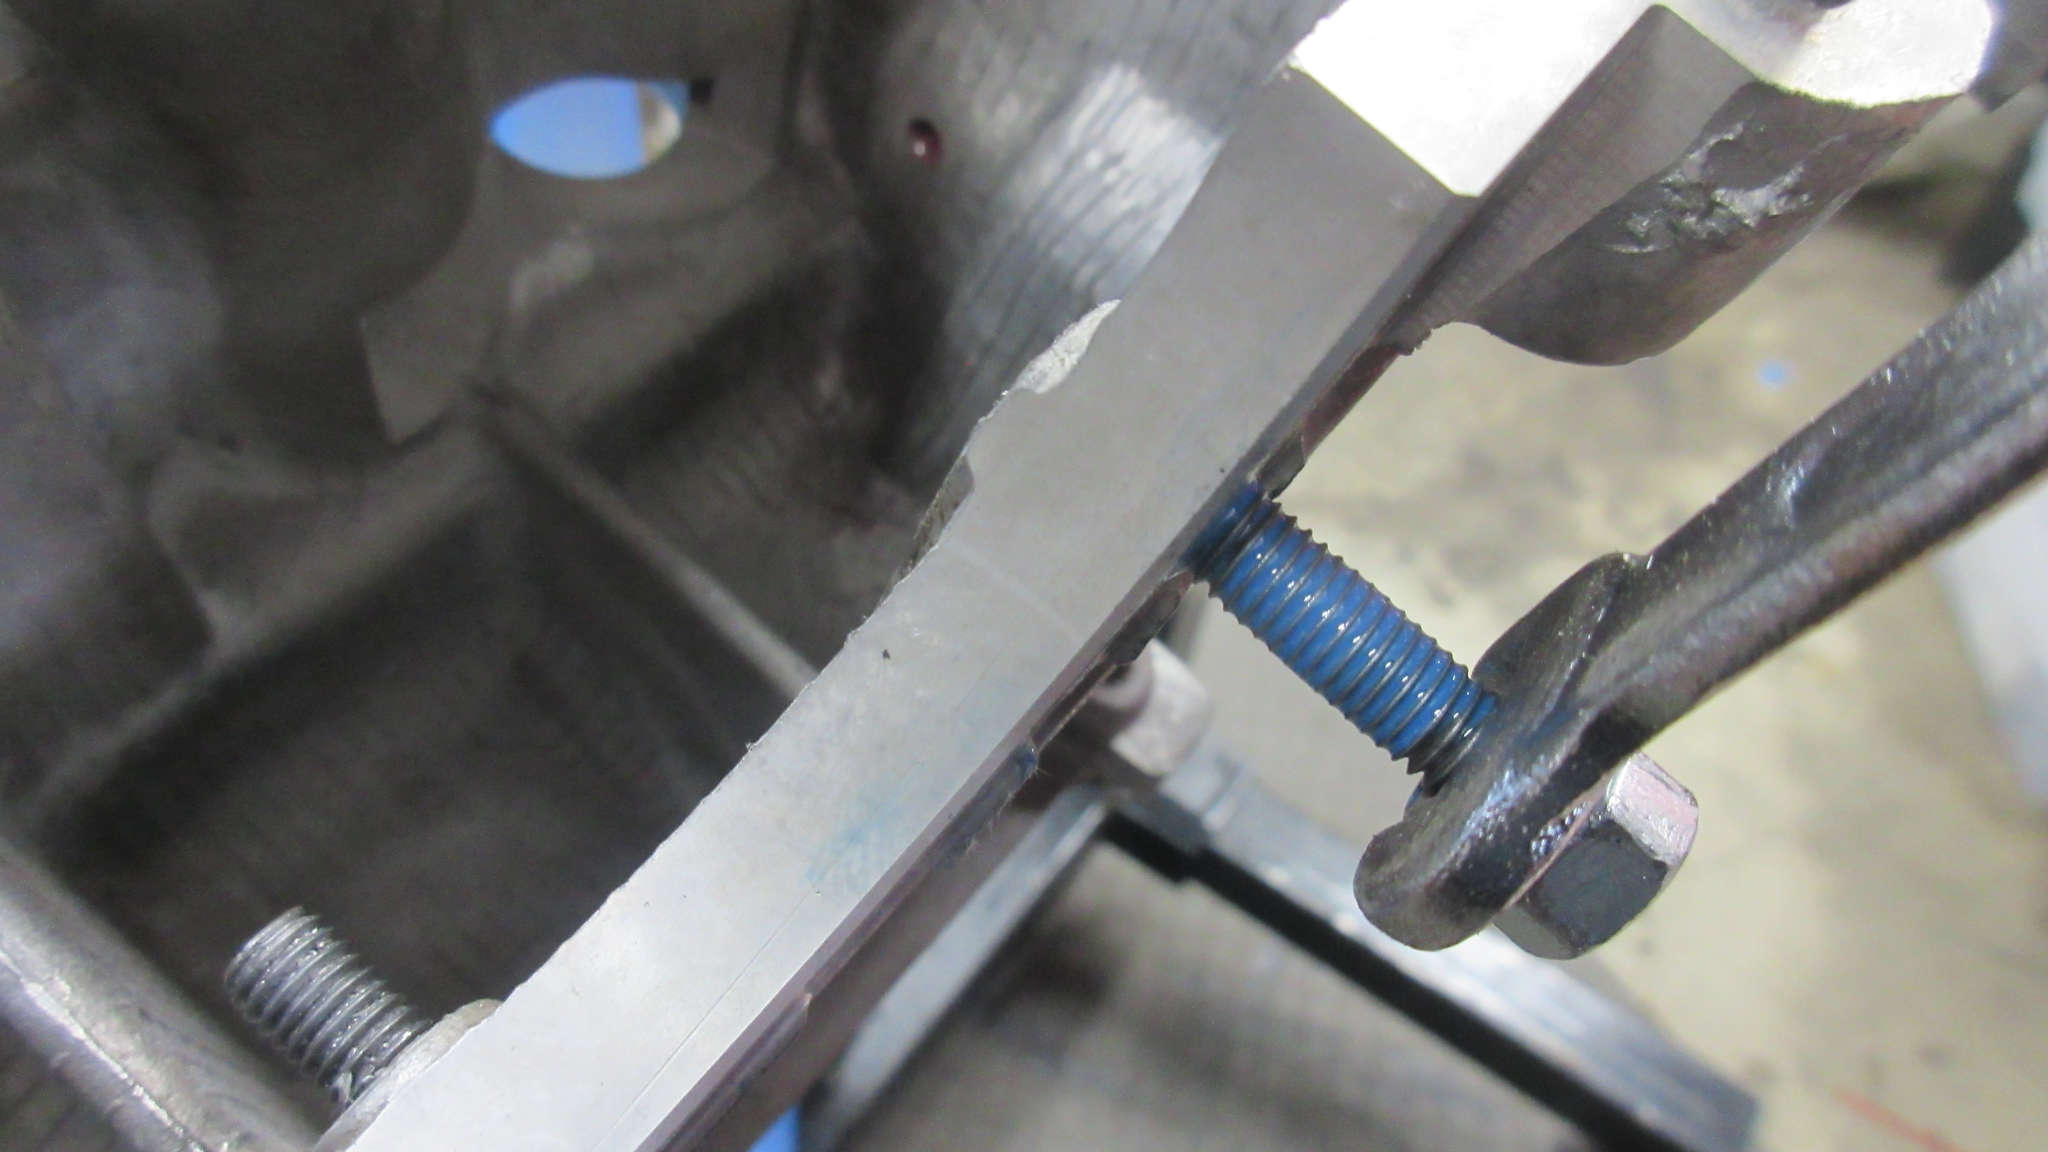
I pulled them all out and added about 2mm to each and that small difference has made a huge difference, with the nuts having far more initial material exposed to grab onto.
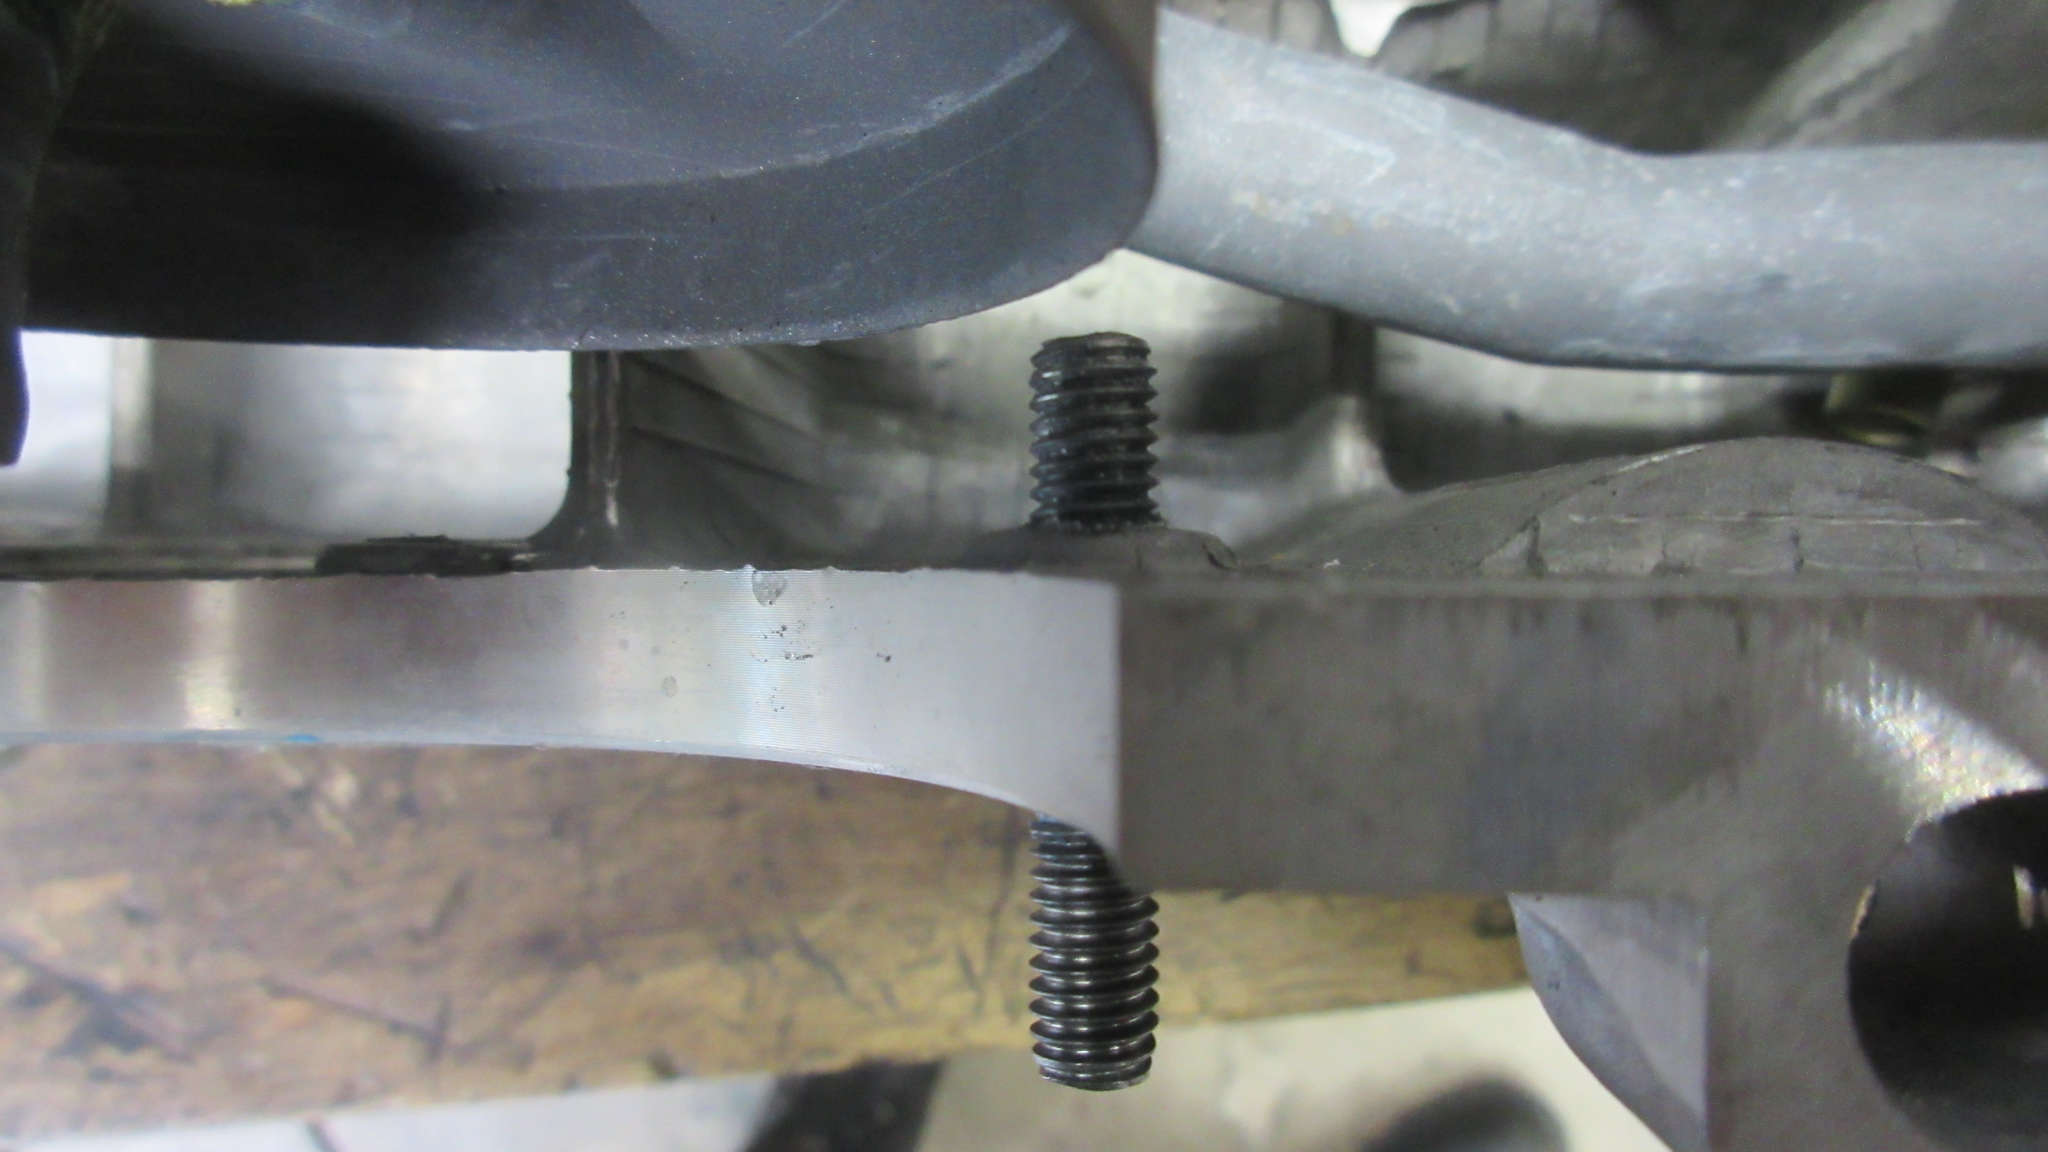
Now the 3/4 side of the case will be simple to install the nylock nuts on the inside of the case.
However, the 1/2 side has an issue that I hadn’t thought of – the sump pickup is in the way!
It won’t be a problem with the case split to hold the nut onto the hole and screw the stud up and into the nut instead of screwing the nut down onto the stud.
Of course, I thought I bought the nuts I needed the other day but apparently I did not. I found only one in another box but it would enough for the mockup.
I was going to head out but then realized that today is the 4th of July and my usual places are all closed so I kind of reach an stopping point until tomorrow.
I think I’ll put a slight dab of aviation sealant at the base of the threads prior to the nuts to help keep oil inside the case and reduce the chances of seepage out. I’ve seen the remains of sealants in almost every used engine I’ve bought or have taken out of my own cars and all had the remains of sealant in them so I doubt a little bit around these threads will have an negative impact.
The ideal exposed length of the stud is about 12.3mm or so. At least I hope so as it feels right and allows the nut to go on much easier and have just a tad more space to torque the plate up to the case.