Engine – Day 7
So as I’ve mentioned in other posts, I was going to try to do the method of initial end play determination up front like shown in the Bug Me Video Volume 3 crank assembly guide.
I figured it would be good to just add this in now, and then have that set aside the then verify later right before the clutch gets installed.
It did not turn out as I expected..
So I expected the crank dowels to be a little rough to get into the flywheel dowel holes since these are both new parts and have never been mated to anything.
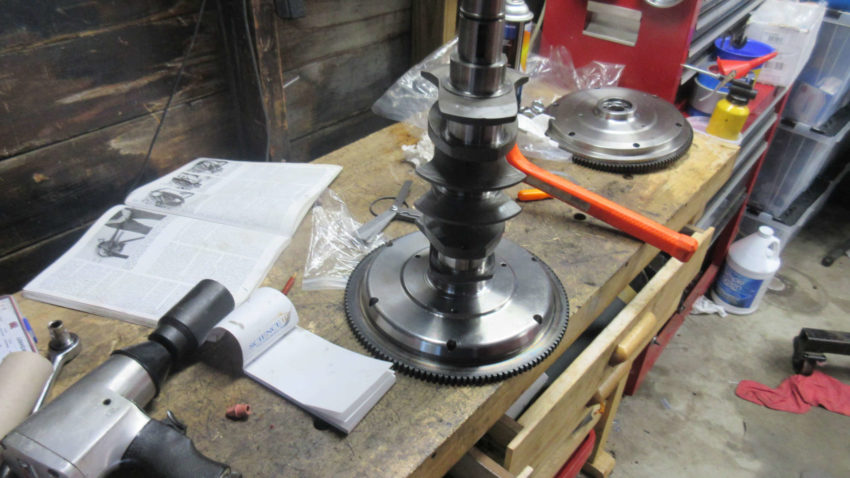
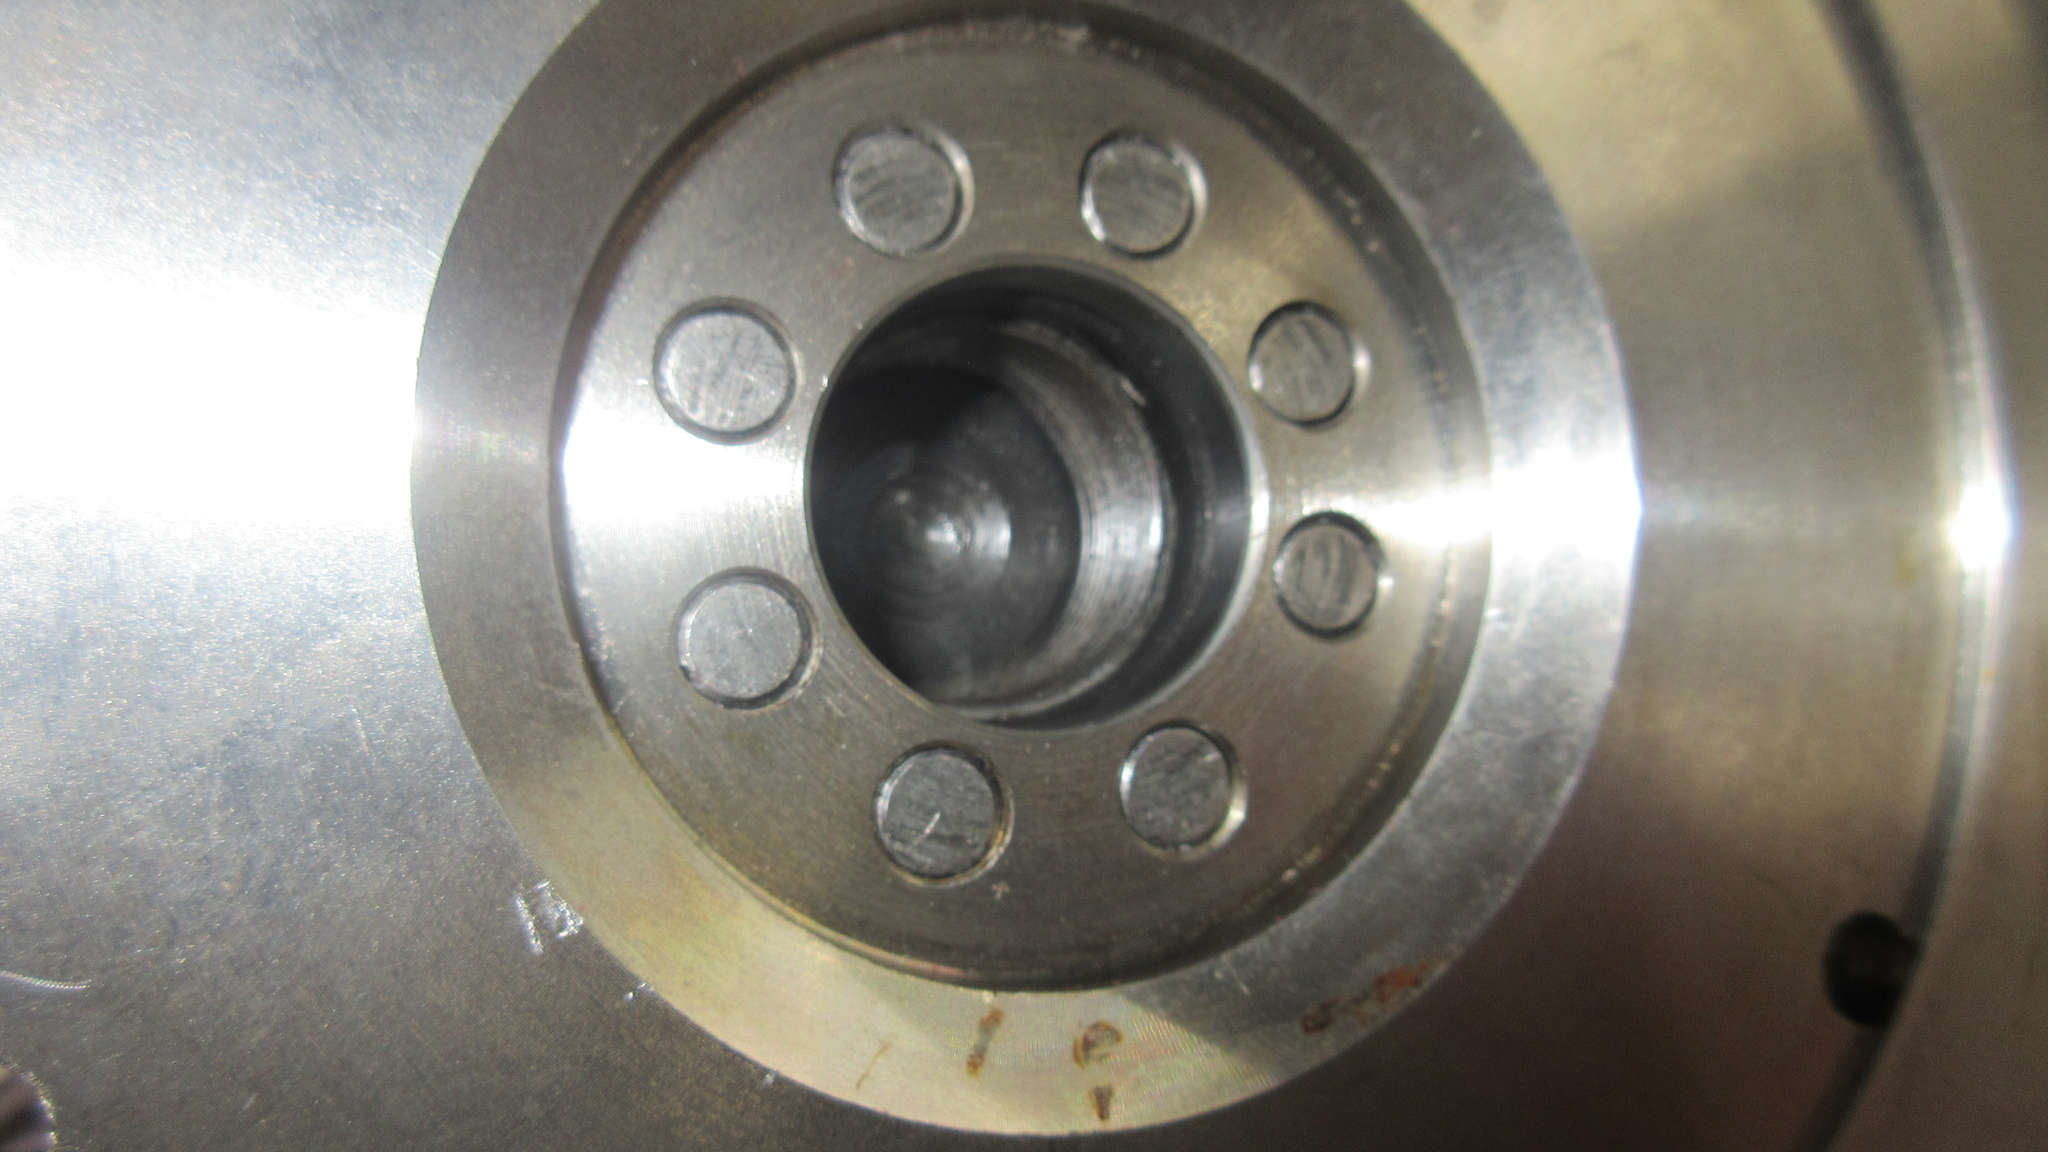
I installed the bearing and aligned the special hole patter for 8-dowels until the sequence was correct and then, with my mallet, banged down on the flywheel until I could not not get it down further.
I installed the gland nut and washer and while torqueing them to the final insane 253 ft-lbs, I did it enough to what I though mated them well.
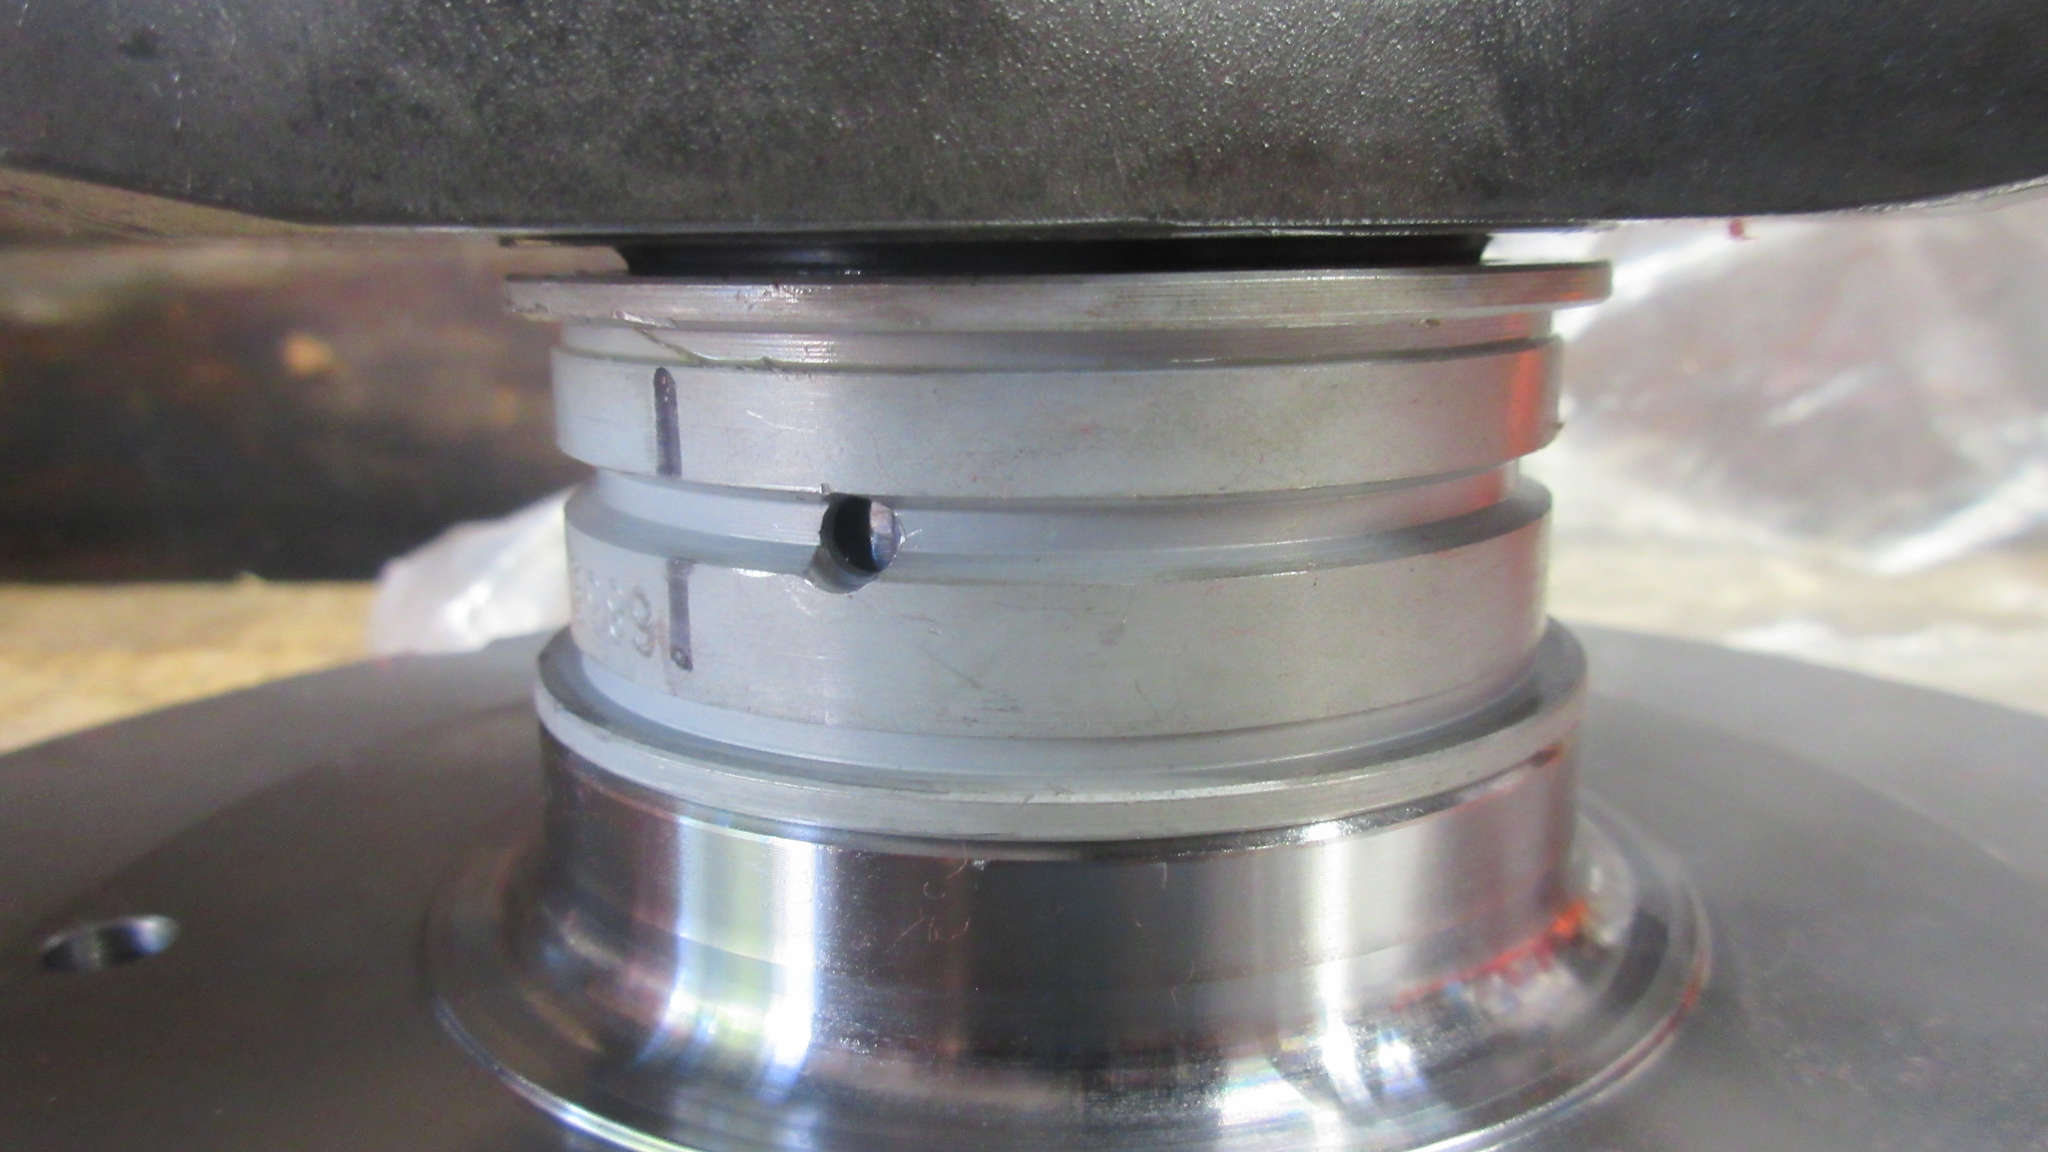
This method allows you to have full access to the bearing/journal/flywheel surface and measure the gap so you can determine the total thickness of the 3 flywheel shims you’ll need + the .004″ clearance necessary per spec.
Well…
Let’s just say that the gap is far greater than it should be.
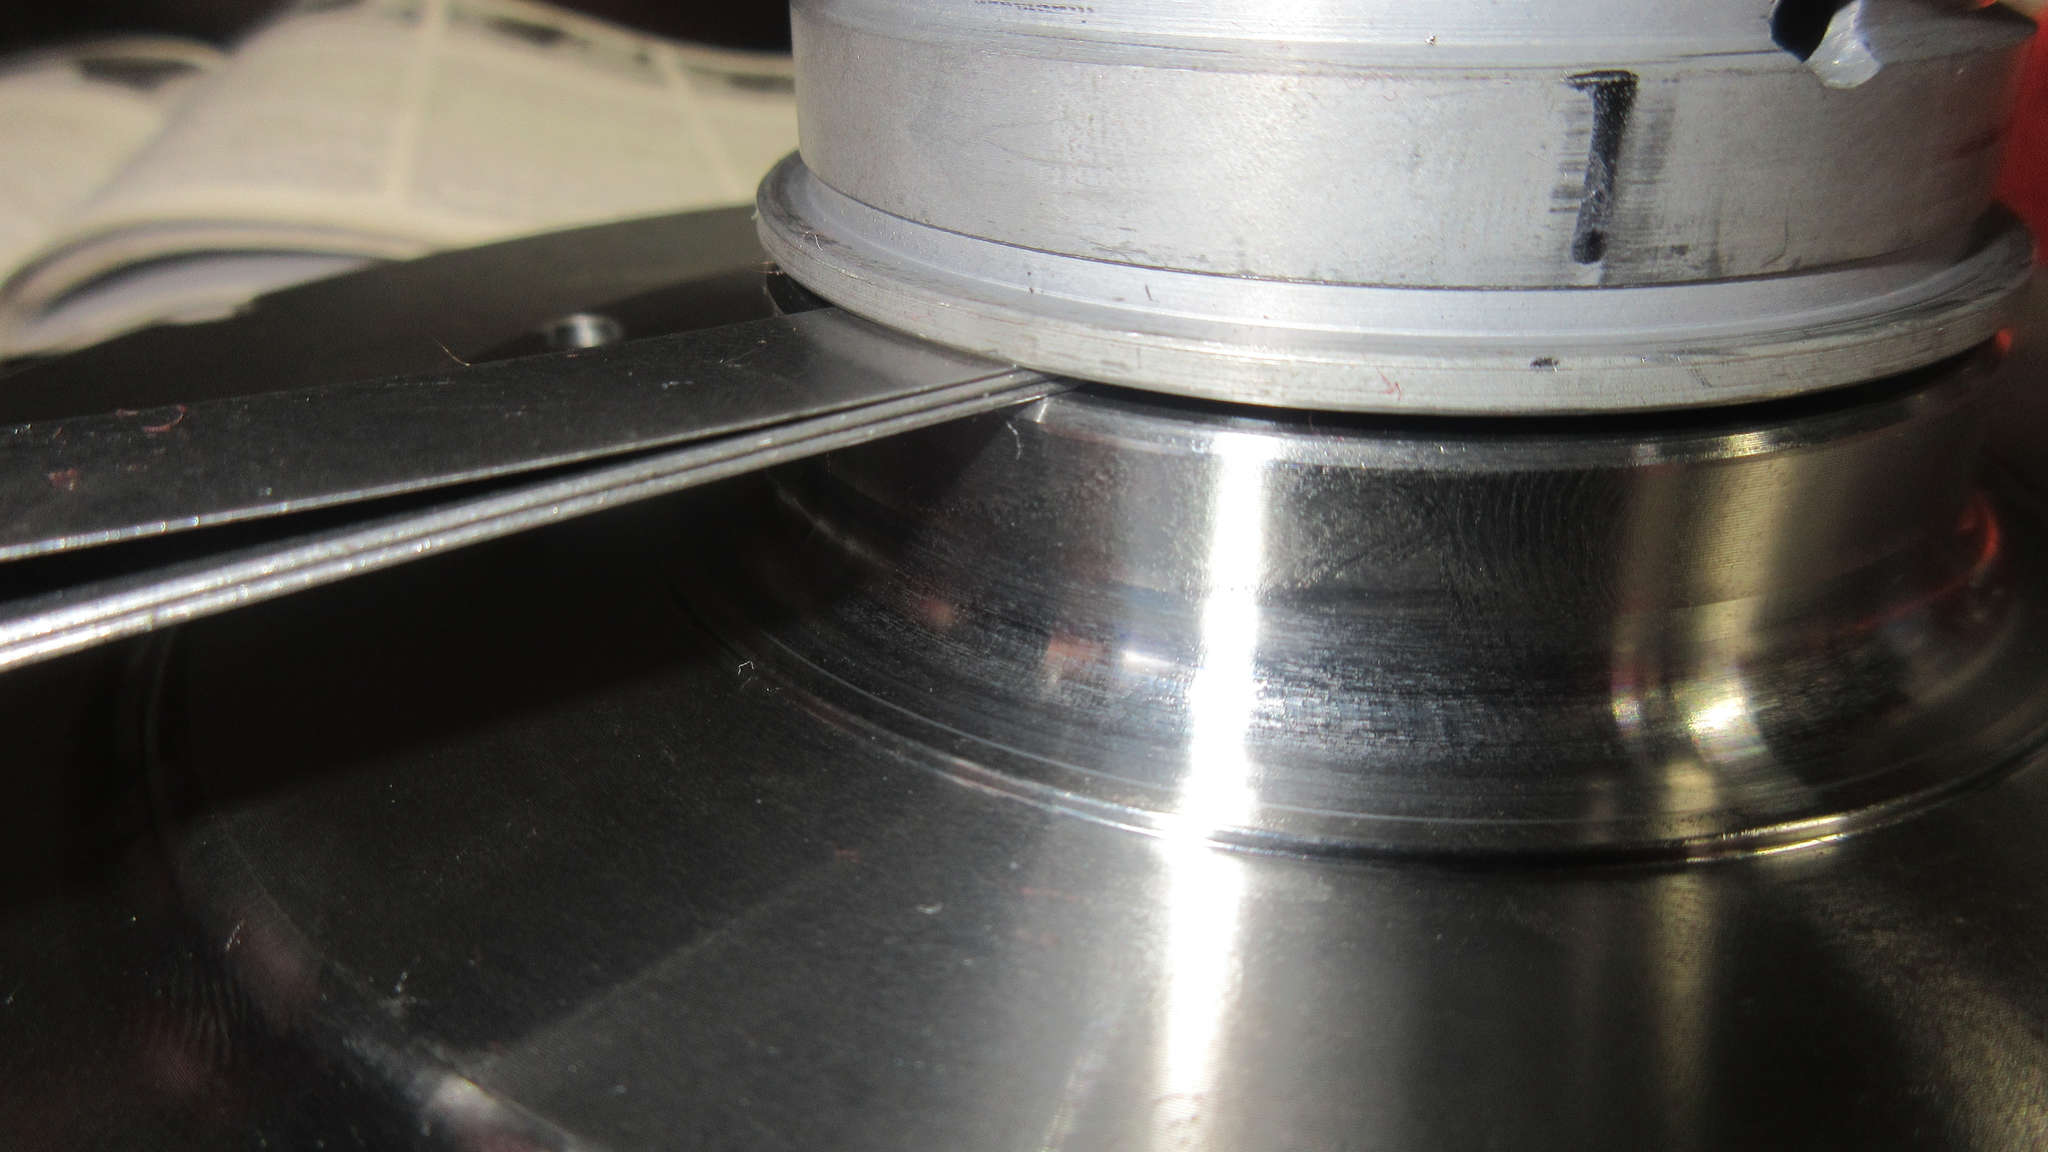
I measured .57″ (1.43mm) in gap and there’s literally no combination of shim sizes possible that could close that gap.
I took the gland nut off and removed the flywheel, then reset and put it back on trying to ensure it went as far onto the dowels as possible (pretty much like the first pic already showed. The gland not went back on and tighted up and I remeasured.
And once again I basically measured .57″ (1.43mm) in gap.
I consulted with some people on Facebook and one person brought up the dreaded “machine shop” need which of course, isn’t just a slight inconvenience for me but a major days-to-weeks delayed hassle.
Someone suggested removing the dowel pins to take the measurement but I haven’t quite figured out how to do that without damaging them. (The vids and diagrams I’ve found or for removing damaged pins by drilling into them, something I am not going to try to do by hand.)
I ended up removing the new forged flywheel and putting on the cast 8-hole flywheel I have and while the gap was in fact reduced, it was still large enough not the be filled by 3 shims.
I removed that one and tried the forged one again hoping that the repeated on and off hammering would have allowed the holes to open a bit more and force the flywheel down as much as possible.
Still too big a gap.
So… I’m stuck and at a loss for words.
Of course, there’s nothing technically faulty other than perhaps not being machined properly at original creation. I think it may be the crank’s problem, but it could very well be these new flywheels as well.
The cost of shipping these parts back to either vendor (CB Performance or AA pistons will be astronomical given their weight and I doubt they’d RMA them since there’s technically no damage nor are they the wrong part.
Frustrated, I had to leave everything there or else I would have thrown the crank or a flywheel into something out of my anger and inability to buy parts that just “work”.
So I came inside and others had commented on my post including the great Marc Vellat who I believe I’ve mentioned here before.
He wrote a very long post full of great information that I’ll include bits of here.
Marc wrote…
I’ve heard from several sources that with Silverline bearings .004″ is too tight, and that .005-.006″ works better.
The “3 and only 3” shim dogma has no sound basis, if it takes 4, so be it.
Silverline bearings are pretty much the most common aftermarket bearing available these days. I’ve used them on 1 previous rebuild and the 2019 New Build.
He then added…
There’s never been any white paper published to explain why three shims are used. In fact, other engines (including Porsche) typically use only one, which makes me question the argument sometimes put forth that using three allows one to “stick” to the flywheel and one to the bearing while still leaving one to “float” between them. The only time when there’s a significant load on the surface of the shims is when the clutch is depressed, and at that time all the oil’s been squished out from between them and there’s no relative motion between them anyway. More often than not when you remove a flywheel and front seal all three shims come off together as a unit. Personally I believe it’s for manufacturing and inventory economy. By using three shims the required range of total thickness can be met using only five thicknesses of sheet metal stock, rather than having to produce a single shim in every foreseeable thickness that might be needed.
Shims are made in .24mm and .30mm to .36mm by .02mm steps (approximately .0094″, .0118″, .0126″, .1338″, and .1417″)
I’ll drop the decimals for simplicity from here on.
24+24+24=72
24+24+30=78
24+24+32=80
24+24+34=82
24+24+36=84, 24+30+30=84
24+30+32=86
24+30+34=88, 24+32+32=88
24+30+36=90, 24+32+34=90, 30+30+30=90
24+34+34=92, 24+32+36=92, 30+30+32=92…and so on up to 36+36+36=108; with a single shim that would mean producing seventeen different thicknesses of shim, and stocking 17 unique part numbers, rather than only five to cover the same range.
I also find it noteworthy that two of the thickest shims add up to the same as three of the thinnest, and that you can also get 108 with one 36 and three 24s – it’s as though they chose these numbers to accommodate a much wider range if necessary …that could be interpreted as tacit approval of the use of more or less than three shims.
Now he mentioned the whole “rule” of 3 shims since I had said something along the lines of I could probably get the right tolerances and clearances if I could use 4 shims.
I mean, it made sense to me that your goal is to shore up the amount of free play in the crank between the flywheel and the forward and back play they exhibit not to mention optimal oiling.
I absolutely trust Marc’s statements. He knows his ACVW’s in ways I have not seen any other person talk. Minute detail. Overall logic of why VW did something. I mean, he worked for them for years so it makes sense his answers to questions are always so in-depth.
I decided to call it an evening as my anger was getting the worst of me.
Tomorrow I’ll clean up my mess and start from scratch, perhaps reaming out the forged flywheel’s holes just a bit to ensure that the pins can go in as much as possible. Though from the photo I posted, I don’t think they can without impacting the gland nut washer.