
Today was about getting the heating connections separated, the fuel lines and other lines to the engine off, the rear tin out and ancillary pieces removed, and the engine out.
Rear Tin
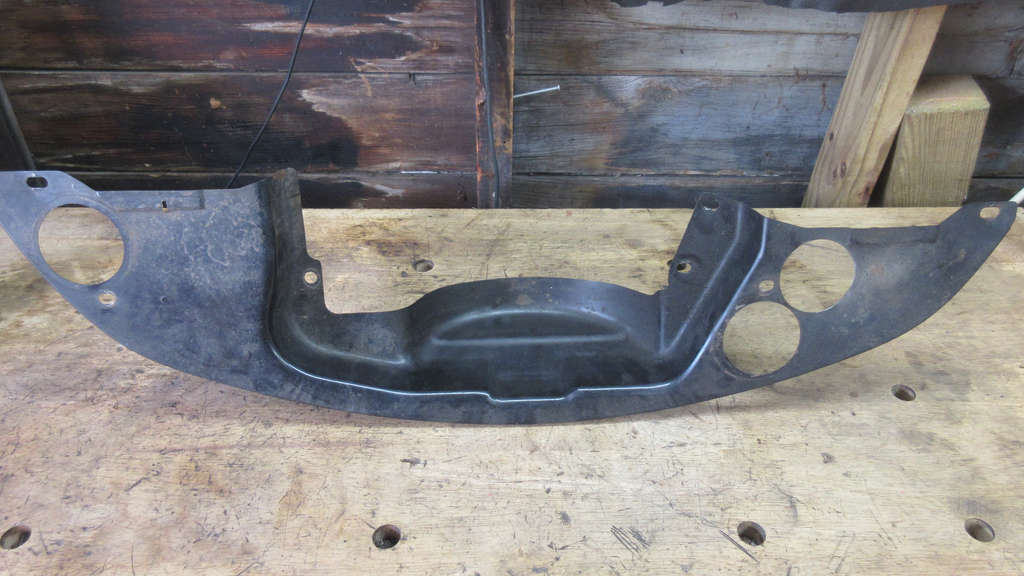
As the a carb engine removal, the rear tins needs to come out to allow the engine to be pulled forward off of the transaxle bellhousing. It was all a simple matter with all screws coming out cleanly. This will need to be cleaned up, sanded a bit, and repainted along with the other engine tins.
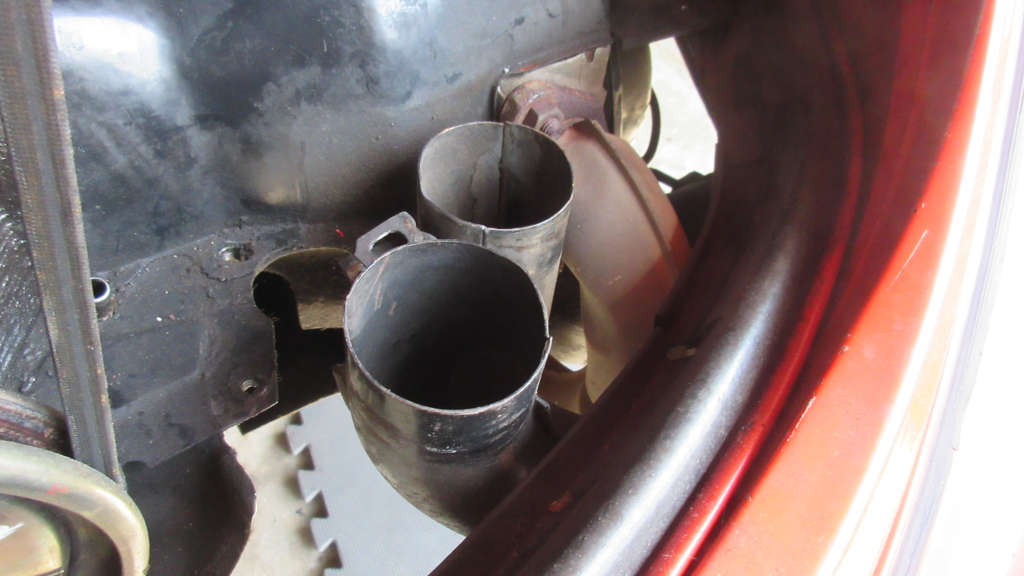
On the FI engine, due to the significant difference in the exhaust/heat exchangers, as well as the need to place things differently, the connections from the rear tin where the fresh air goes is much nicer than earlier engines.
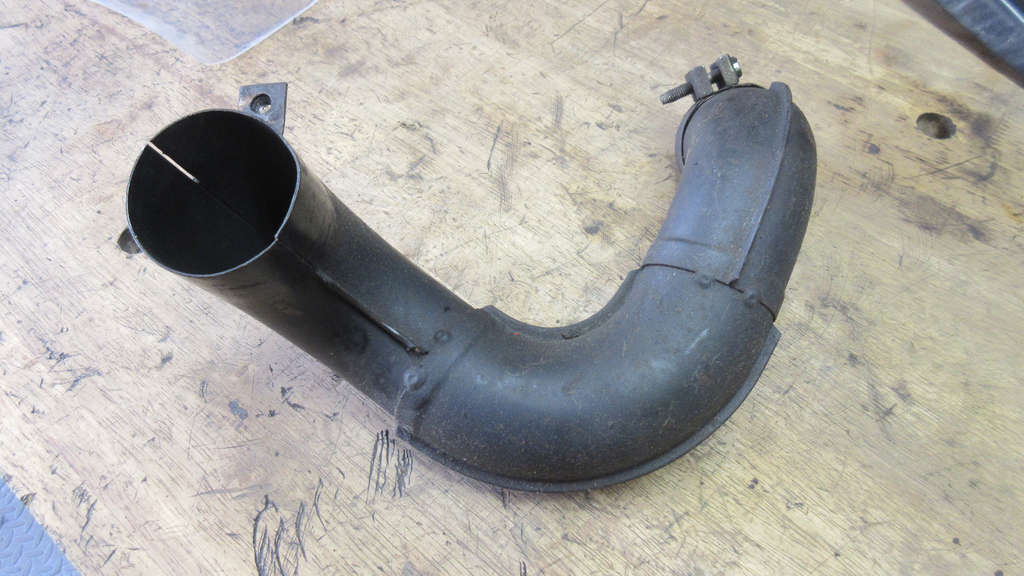
Both driver side and passenger side pipes will need to be scrubbed up and repainted. Bot are in great condition other than grime and such since they are exposed to the elements.
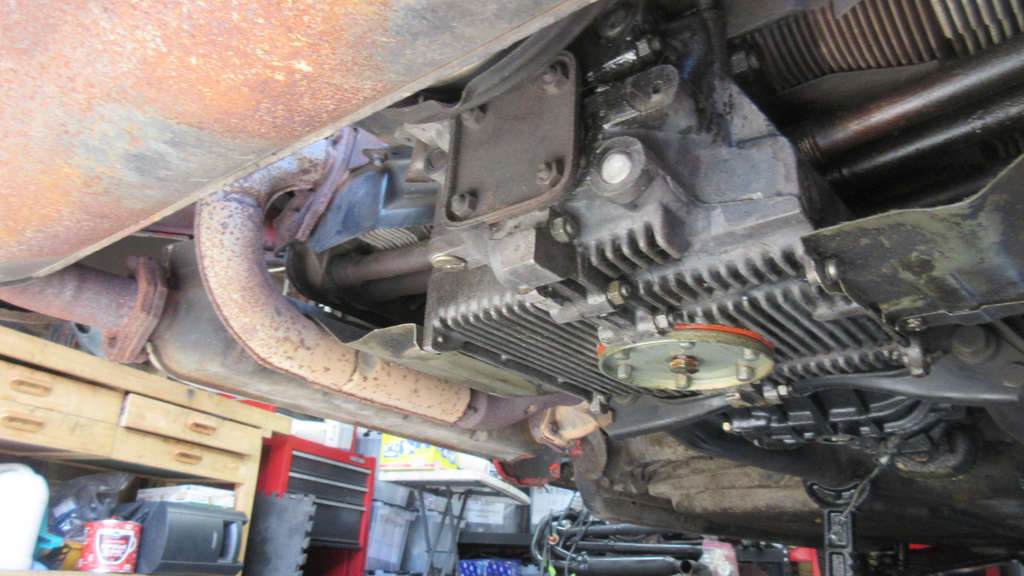
With the rear tin off (above) you can really see the difference between FI and non-FI engines. The exhaust ports from the cylinder heads go into what into front to rear exhaust manifold. This then connects to the heat exchangers near the bellhouse. The muffler actually attached to the flanges on the heat exhchangers.
Heat to Body Connections
The heat exchangers have a separate heater box/control flap unit that attaches under the car. The heat adjustment wires basically connect like they do on tradition Beetles. The heater box to body accordion hose mounts to the flap control and then heads back to the heater channels as it typical of Beetles.
Unfortunately, I ran into my first original piece breaking today. And it was completely unexpected and I don’t think I could have avoided it.
The hoses slid off the control flaps and as I was going put a bungee on it to support it up and out of the way it just cracked right and the hanger support. Now this plastic is 41 years old, has been covered with undercoating and filth for decades. I really had no way of knowing it was going to break like this.
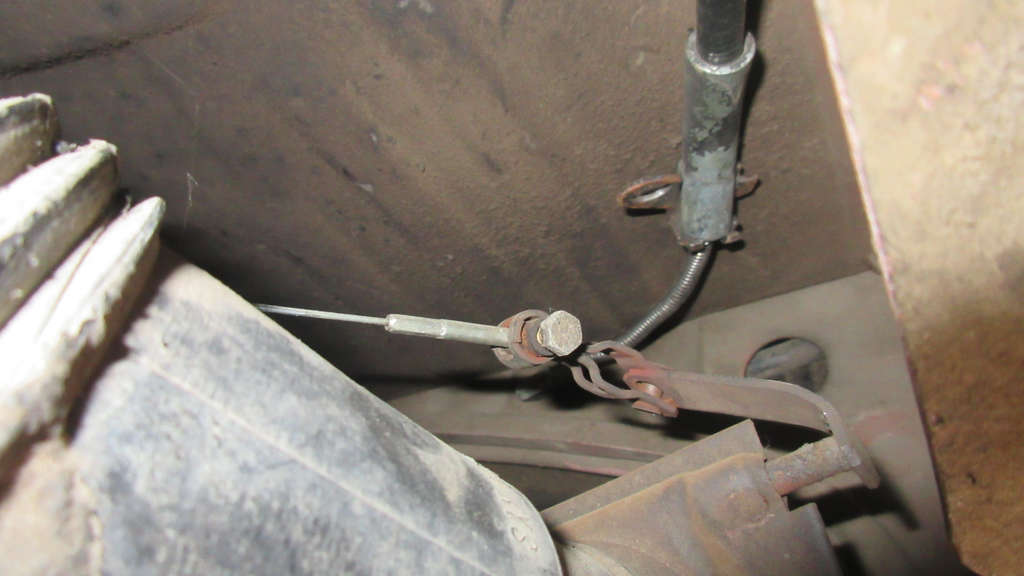
On the 1/2 side heater control I discovered a major half-ass repair job (above). Instead of repairing or replacing the flap connection point, a previous owner or mechanic just shoved a cotter pin into the mechanism and bent the flap wire through the eye hole. I mean. Yeah. It works. But that is so half-ass. I’ll now need to investigate replacing this entire passenger side heater box wiring which is something I did not have on my agenda.
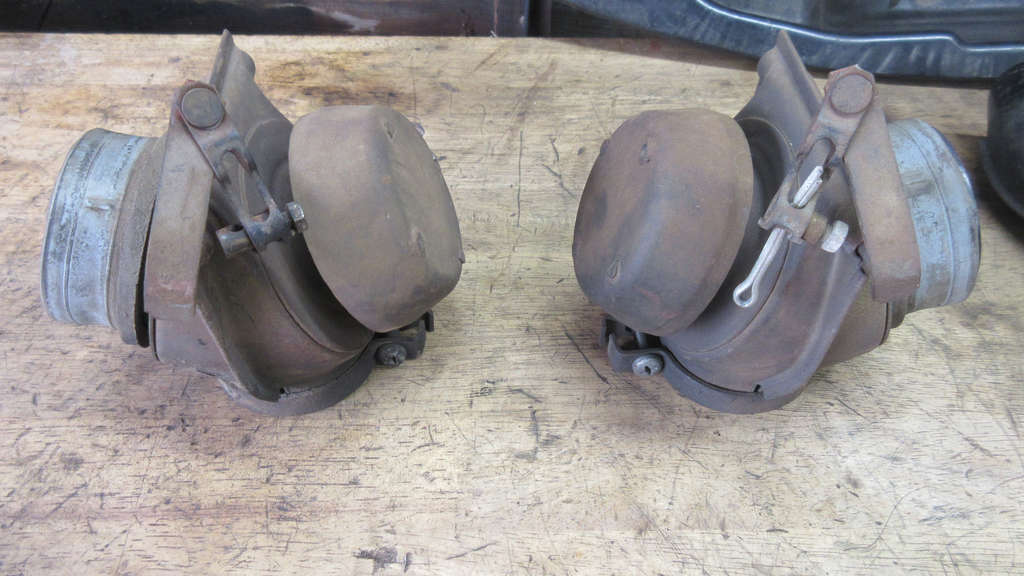
You can really see what they did when comparing the driver side control to the passenger side control. As I said… it works. But damn. I guess they didn’t want to run the entire new wire through the body.
Fuel Lines
Now the 75-79 Beetles have 2 metal fuel lines in the tunnel, as well as 2 connections at the tank.
Fuel Injection systems are a circulating high-pressure (though regulated) system with fuel going out to the injector’s fuel rain, then cycling back to the tank via a return line.
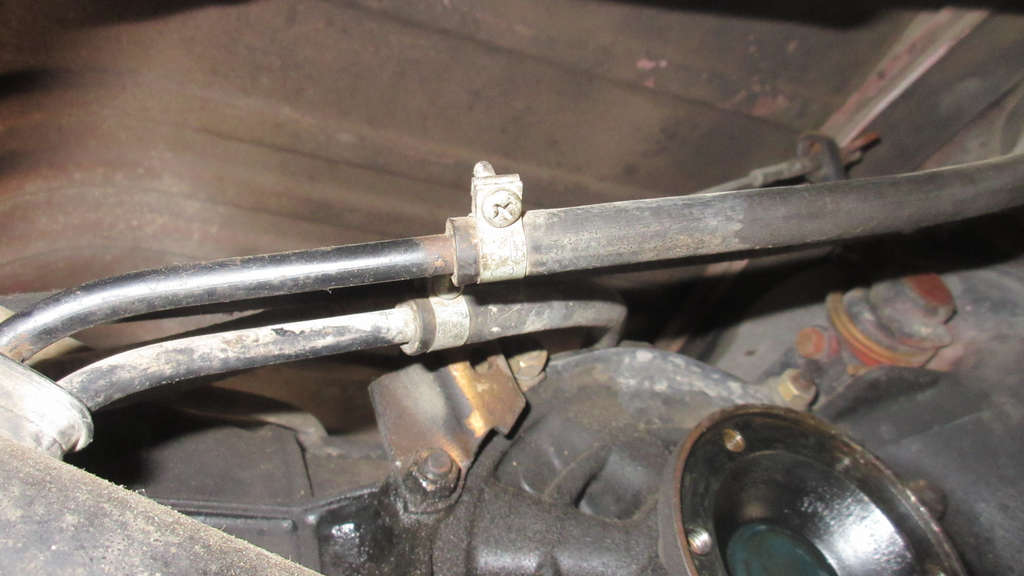
Now both metal lines exist the chassis at the same point (above), but the one on the top mirrors the traditional carb setup by going up through the engine tin near the dog house’s outlet.
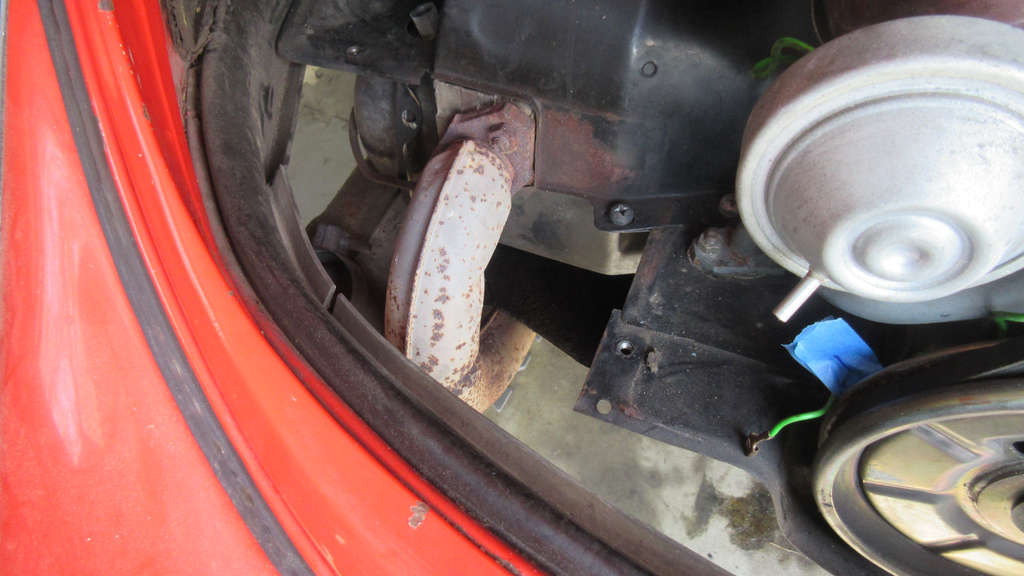
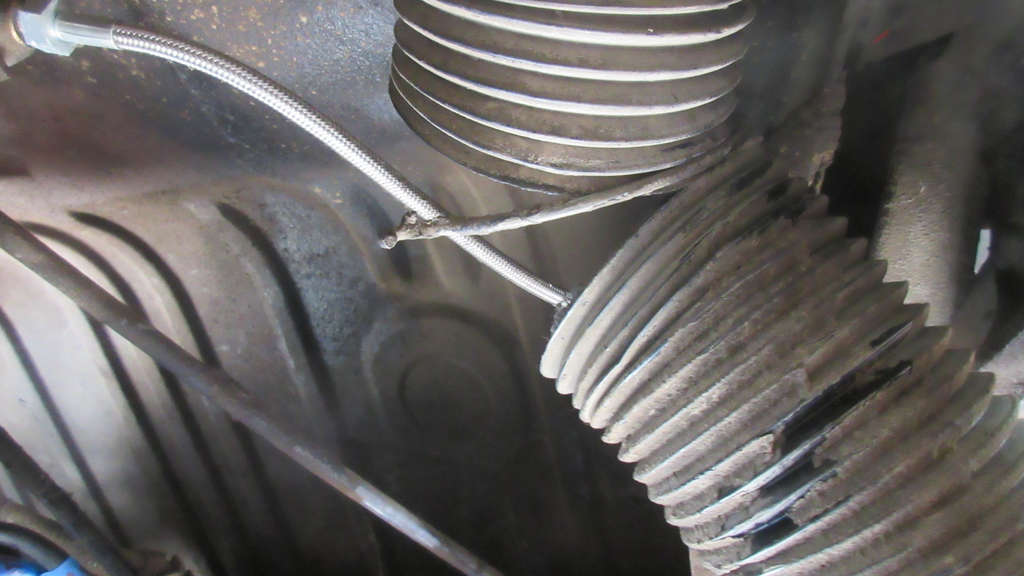
The other line goes up and over the the transaxle, and at least on Murbella is running under the starter.

The line came under the starter just above the axle and then connects at the tin to the fuel pressure regulator.
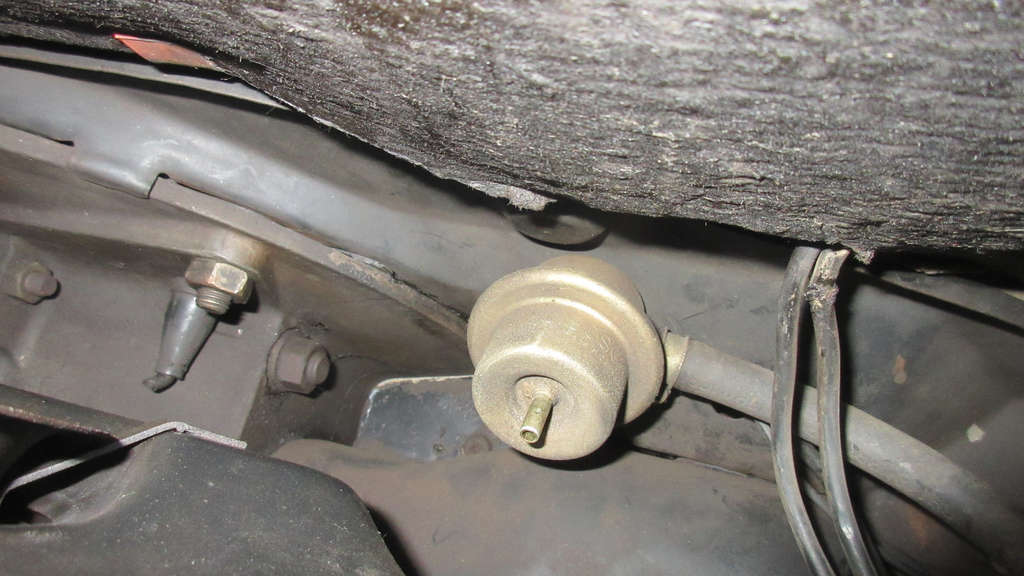
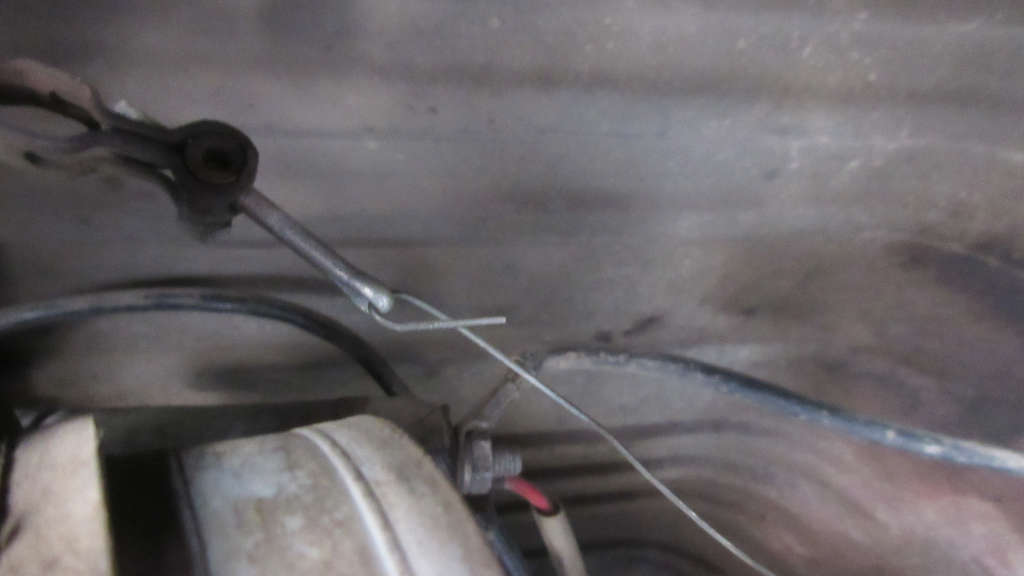
The fuel pressure regulator is mounted to the rear tin near the bell housing connection. The line coming out of it (above) goes to the 1/2 injectors. The open port is a vacuum line that is connected all the way at the front to the plenum.
Note: I discovered someone had cut the old legacy diagnostic wiring (in the above pic). Murbella has obviously had other work done in the past 41 years that I have no record of and is far more molested than I had originally assumed.
I disconnected both fuel lines at where they came out of the body. One I could not slip off so I had to cut. They’ll both be fully replaced with new lines anyway since this stuff is ancient.
Starter
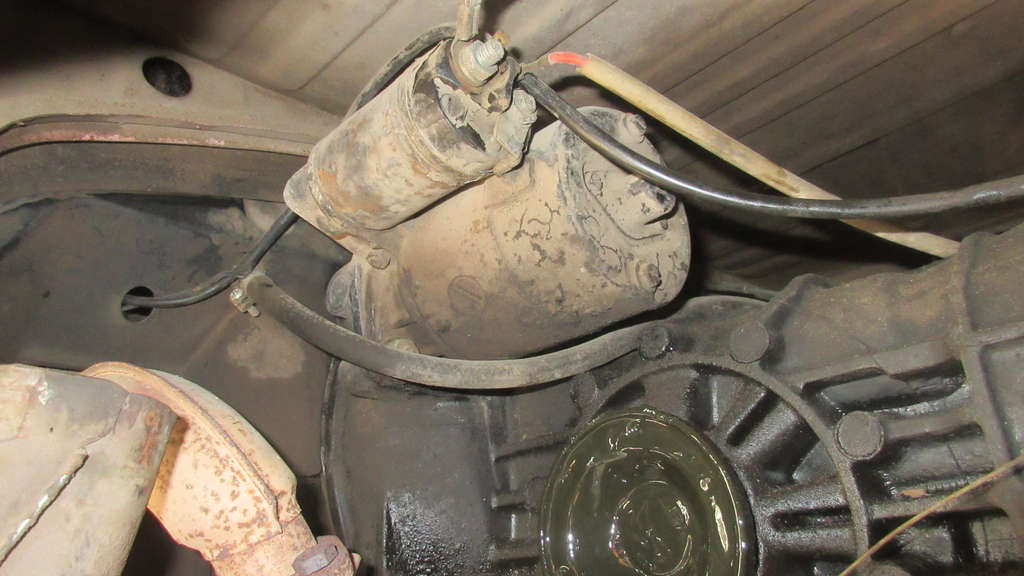
I left the starter wiring connected for now. I’ll disconnect all this when I drop the transaxle.
I’m debating out buying a new starter to just install when all of this goes back in. I’ll keep this original as a back up, but I may as well spend the money now while all of this is easy accessible.
A lot of grease and oil all over
With the tins off, and more natural light available, I’ve noticed out “oily” it is under the pulley tin just above the oil pump plate (above). No I plan to remove the oil pump to inspect it and put new gaskets on and all but I’m beginning to wonder if I may need to crack the case to reseal all surfaces. I had no intentions of doing anything that extreme, My plan was to only replace the pistons and cylinders, seal that cylinder/case area, and then replace the heads once the new push rod tubes and gaskets are installed. But now, I’m wondering if I should not just crack the block, inspect the innards, etc. I really really don’t want to replace the crankshaft bearings or any of that since I had breaking cranks down. Still. If I did that, and the engine has never been align bored, I do have new crank and rod bearings on hand. I even had new camshaft bearings I could install. At least I’d know that all that was new and how many miles it would have on them. But that’s more than I planned on ever doing.
Has this engine been rebuilt/touched before?

So I’m going across more and more evidence that this engine has been dropped and obviously, more than just a clutch has been replaced on it.
I noticed some nicks on the oil pressure relief valve bolts.
Knowing what a pain in the ass it is to get this style of bolt off, I suspect that maybe this was rebuilt. I could be wrong and I’m reading too much into the nicks on the bolt.
Given this and the fact the thermostat has been removed which definitely indicates definite engine removal in the past.
But what work and to what extent?
I started to pull the engine off the transaxle and discovered a situation I was not aware of and everything today came to a complete stop.