So I tried to avoid repeating the problem of the driver side removal but I ran into other issues with the spring plate.
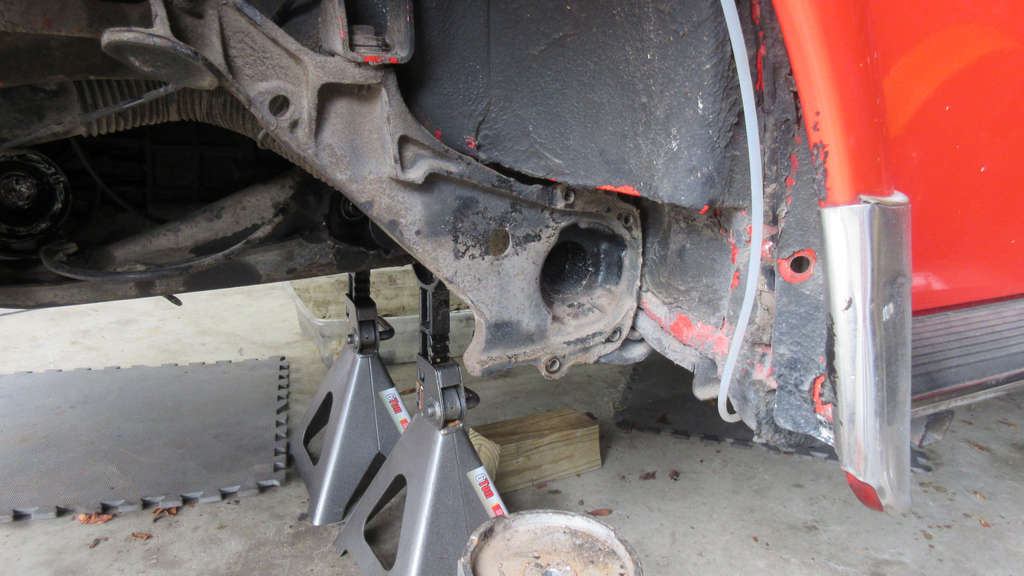
Now this side had the worst undercoating coverage.
It was caked up on many of the bolts and all over the torsion bar section of the spring plate.
I had to chisel it out to be able to get sockets on bolts on the cover plate and the fender bolts.
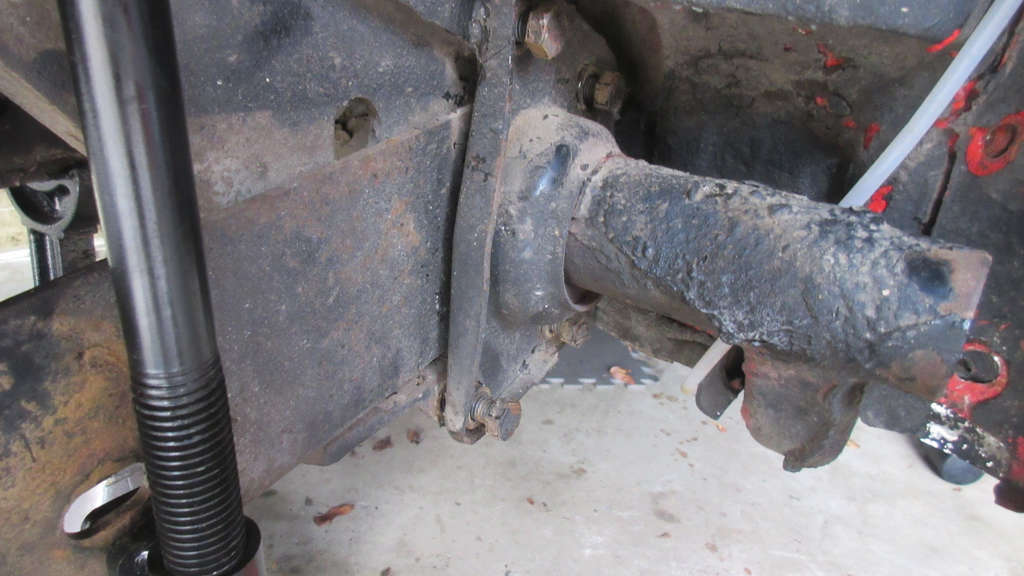
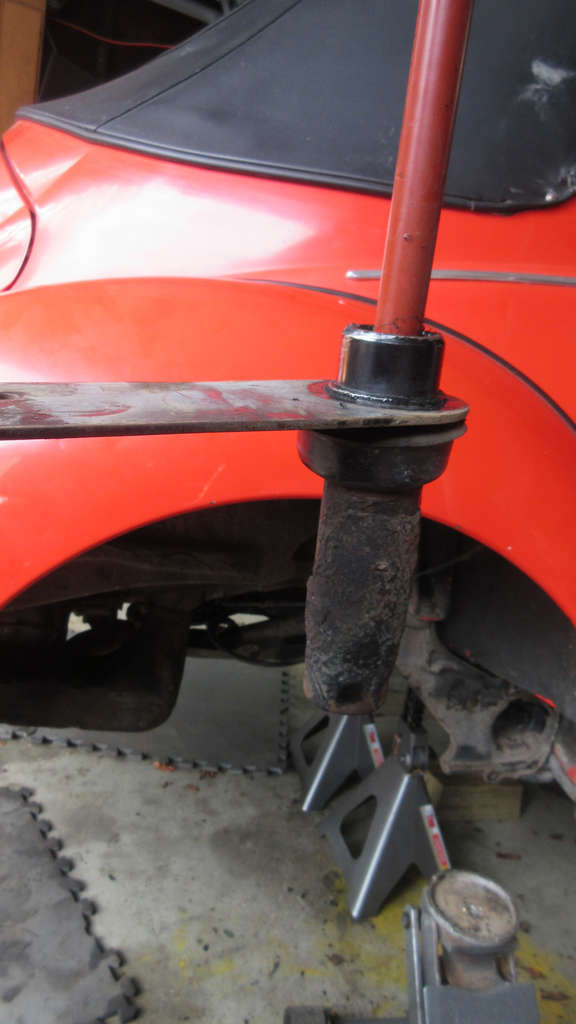
I loosened the cap bolts to pull the cap back a bit in the hopes to that it would allow the spring plate to move up and over the stop a bit.
It was having none of that!
I tried using the jack to get the plate to move up a bit but all that did was actually life the car up off the rear stands.
There was zero movement in the plate in much the same way as the driver side.
I had to resort to hitting it from the inside with a mallet to finally get it to move out a bit and release the damn preload on it.
I was trying so hard not to move the actual torsion bars but the spring plate was not come off the outer splines at all.
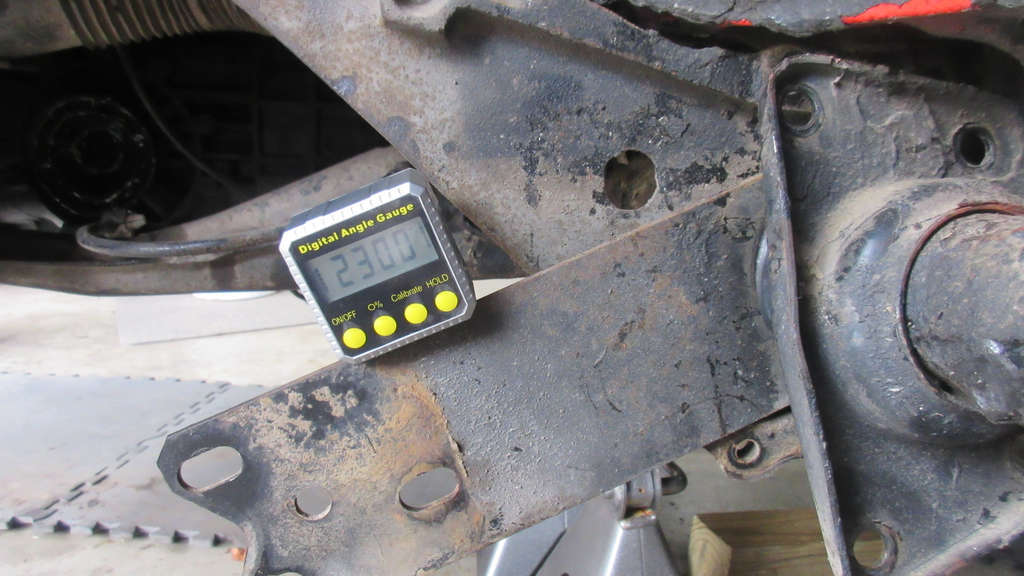
When it finally did drop off the rest it showed 23° and not the 21° 20′ I’d recently come across a reference.
Now I could just as well have mess all of this up but I’m doing what I’ve seen others do in videos but they obvioulsy weren’t dealing with the removal problems I have been up against.
Now I always felt that Murbella’s rear “sagged” from a purely visual standpoint. And I know from reading that over time (especially 40+ years), the torsion bars can sag a bit.
Now is the 2° or so difference from stock a result of time or did someone adjust it in the past 41 years? Who knows.
She never had what I would call a lowered stance.
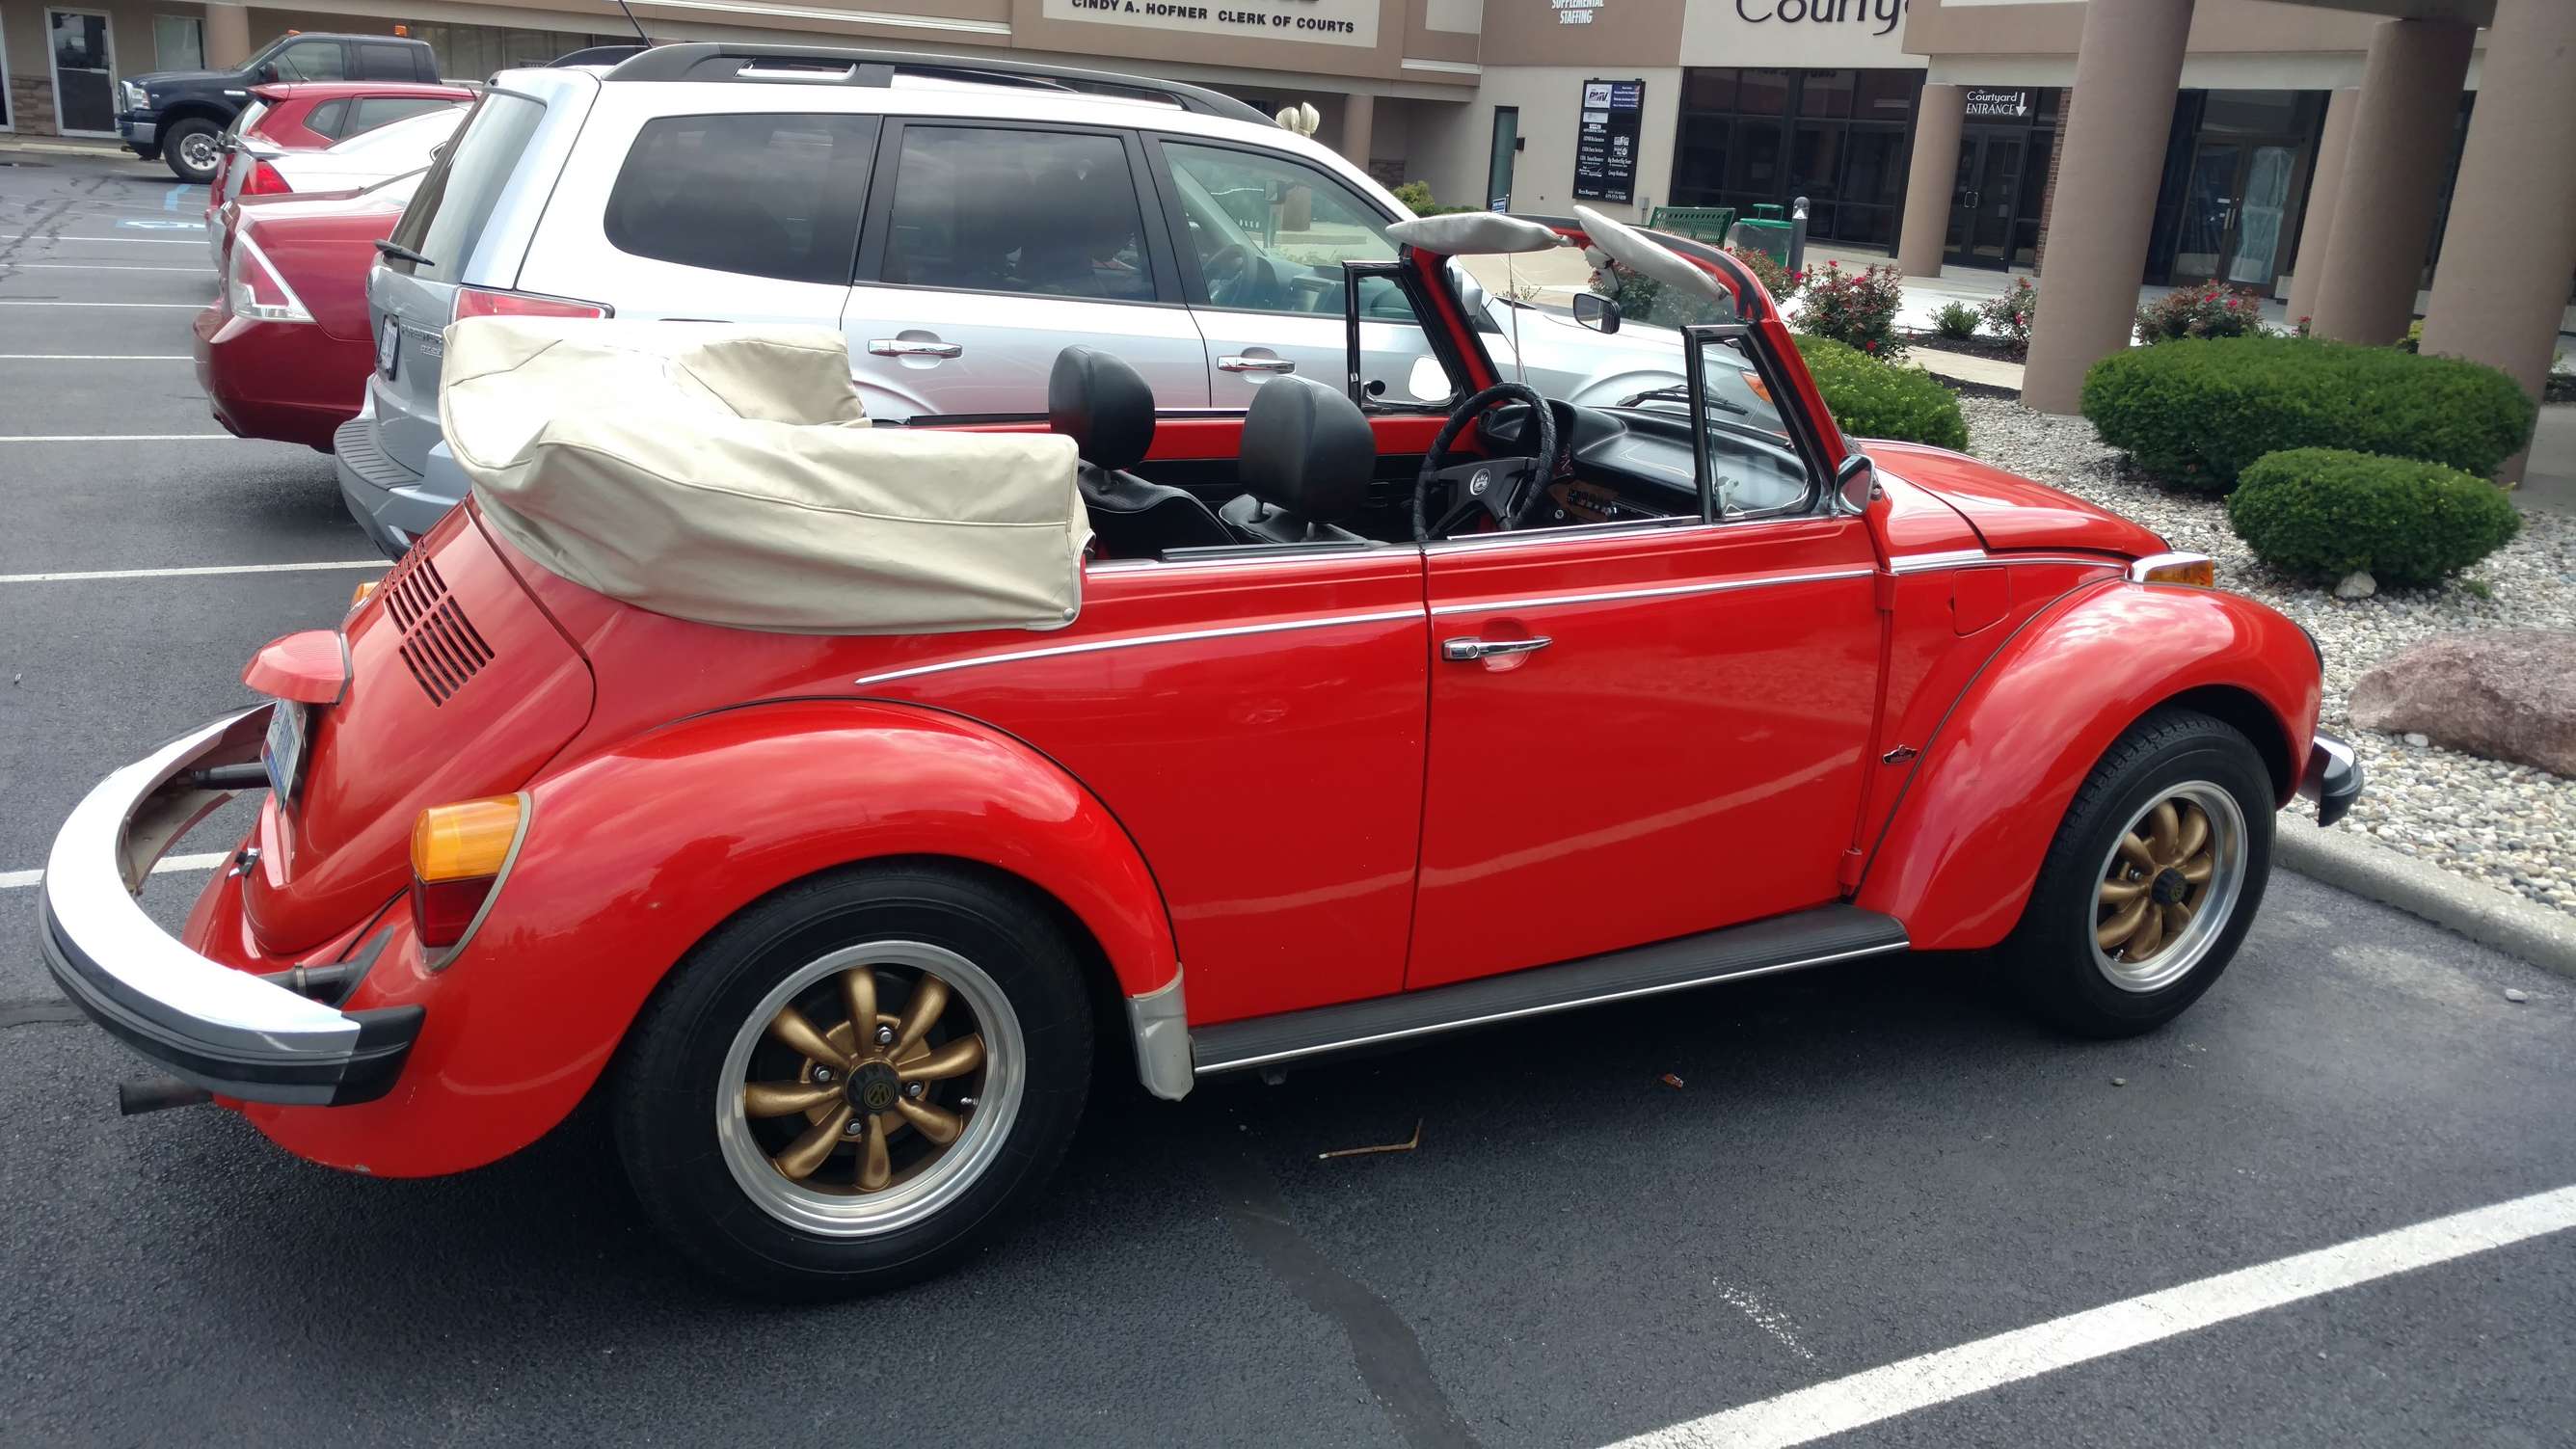
Now in looking back at her purchase pics, I do think she looks like she was lowered a bit from stock. She’s always run a bit higher in the front, especially after I replaced her original front inserts and springs.

I was given the above photo from her previous owner but I have no idea the year.
She has the bias-play early 80’s white walls on which will contribute somewhat to her stance. I think she does look lowered just a bit across the board. I’ll have to ask others what they think.
Anyway, I tried to remove the spring plate without removing the torsion part itself so I could mark it but of course, that was not meant to be.
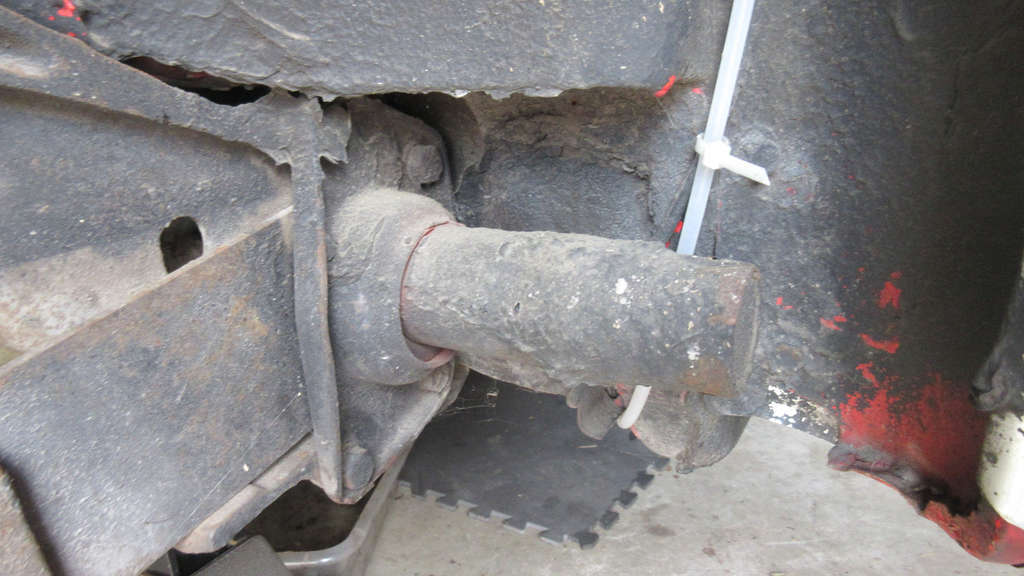
The outer torsion bar splines are completely rusted or gunked onto the spring plate splines and it all came out as one unit. I’m holding the thing by the inner spline end (above) there’s no motion.
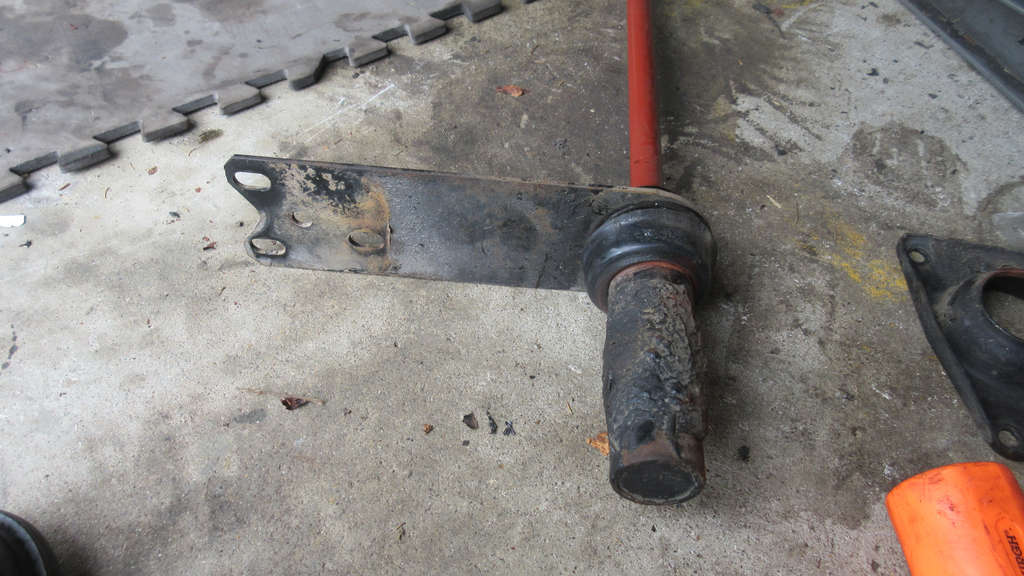
While the outer bushing has signs of being deformed as I expected it should, I cannot remove it due to all of that undercoating.
This is probably the worst of the undercoating I’ve seen on the entire rear of the car. I have no idea why it was sprayed so heavily here and on this part.
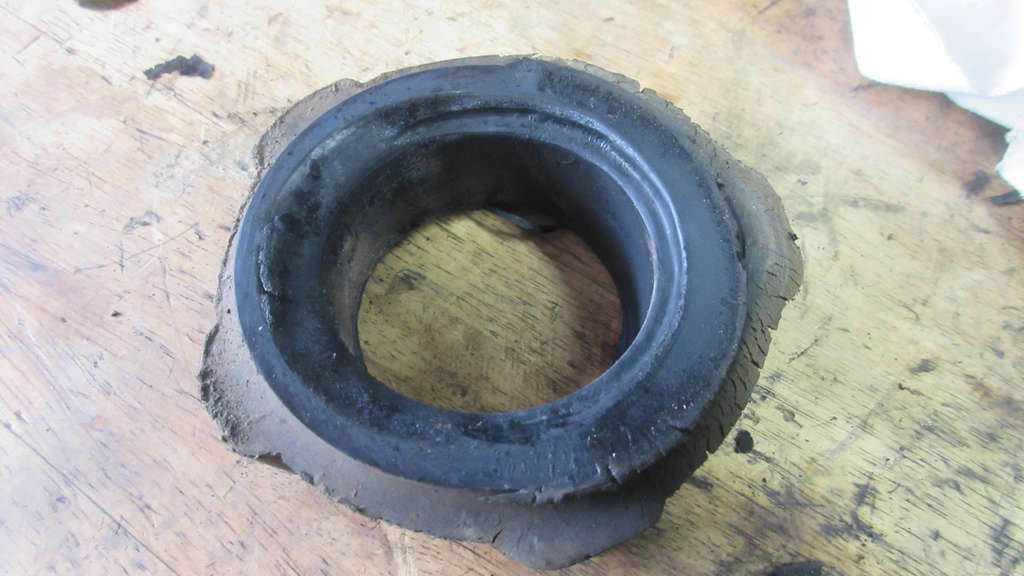
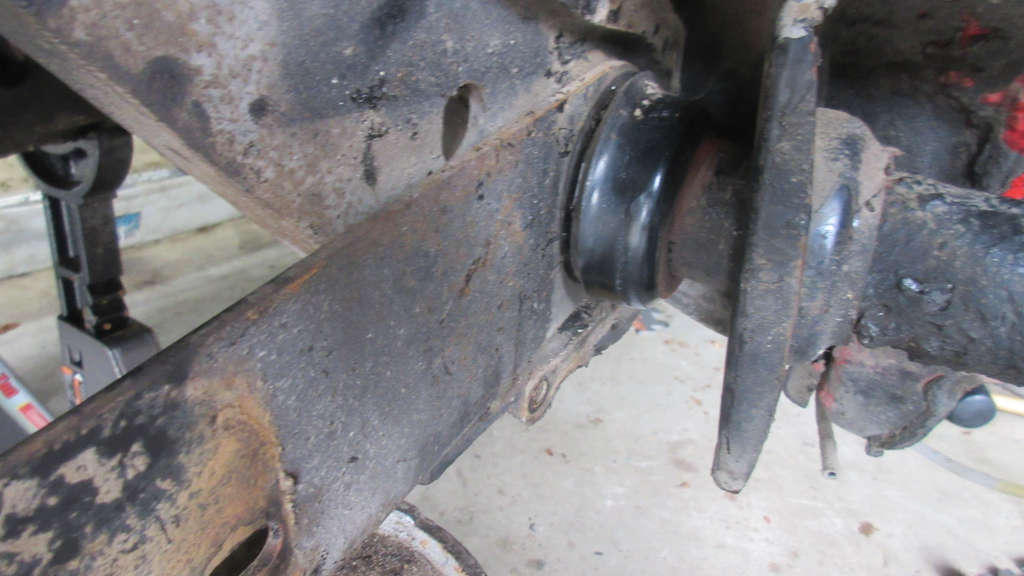
The inner knobby bushing is showing age, being frayed and cracked around the entire exterior rim. The rubber has even changed color form the age.