I wasn’t feeling all that great today but I needed to get out of the house for a bit so I went out and tried to get the trailing arm off. It did not go as planned but other stuff was removed.
Partial Fender Removal
To actually make room to work and be able to angle drills in properly, not to mention pulling out the spring plate over the torsion bar, you to remove several fender bolts to be able to pull this back.
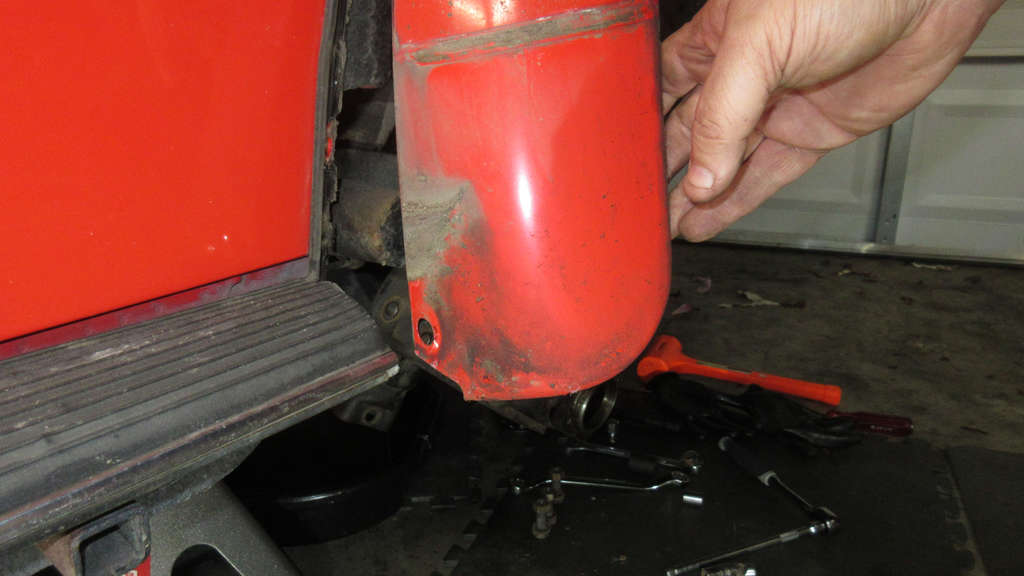
The whole gravel guard came off here. I am assuming, with some clean up, the real luster of the original paint will be noticeable here. I don’t know how long the gravel guards have been on.
The fender bolts had a lot of undercoating I need to scrape off just to properly get the socket on them.
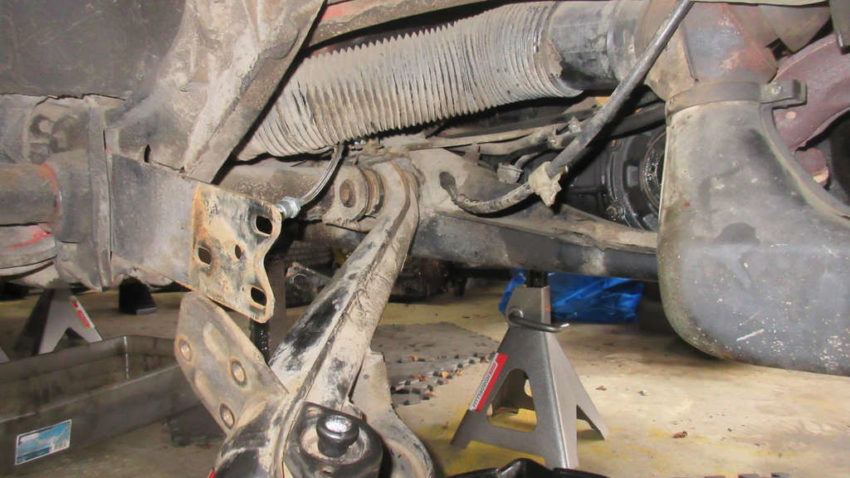
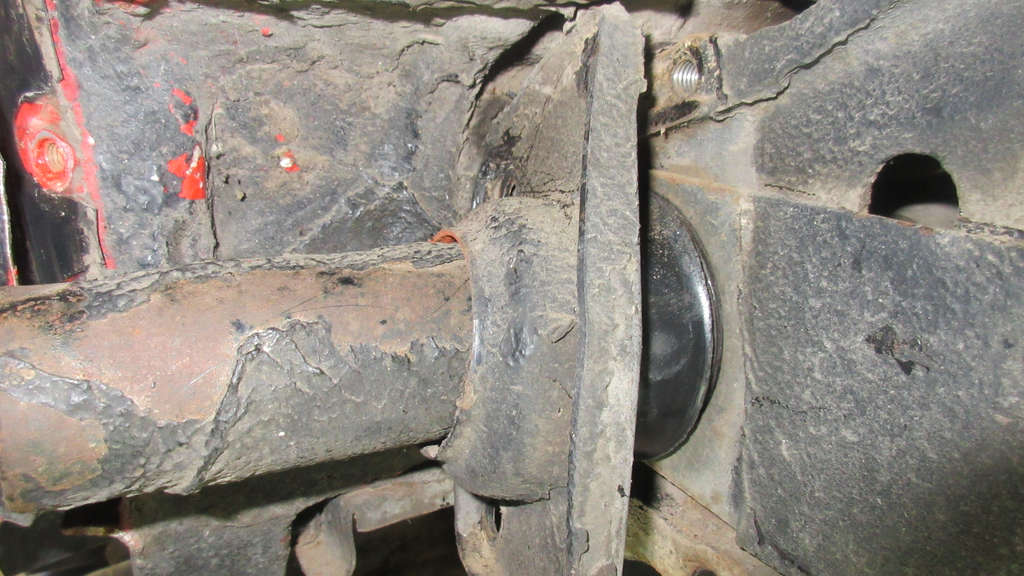
Trailing Arm Pivot Bolt
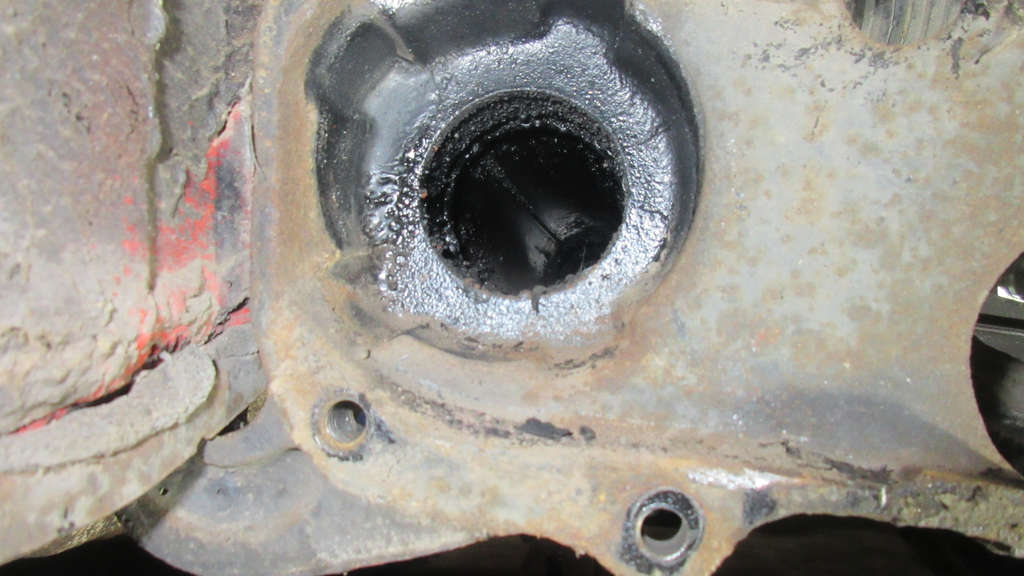
For the life of me I could not get this 17mm bolt to budge.
I applied heat for a bit but it did not make a difference.
I cannot easily get a breaker bar under here with any space to move nor is this easily accessible with my current impact wrench.
I decided to try and get the trailing arm off the spring plate in the hopes of introducing some motion.
Spring Plate Removal
I need to thank the person who created the impact wrench because these nuts would never have come off otherwise.
The bottom 2 just pop out but the top one really requires a bit more finesse to get out since it right against the best in the trailing arm. I can only imagine what it will like to install the new ones.

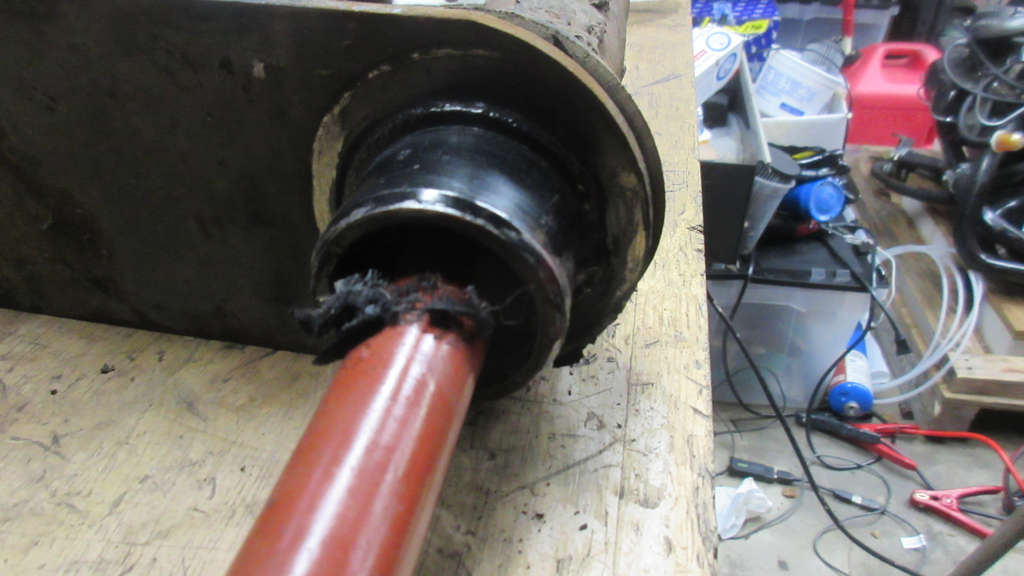
I expected the whole trailing arm to drop but it really didn’t. That old bushing at the pivot joint is actually not giving it much range of motion at all.
I had to dead blow it several times just to get this pushed down off the spring plate.
Once again that undercoating proved to be the bane of my existence. I had to scrape each bolt clean or else the socket would not go on. I finally loosed them up and was able to get the load off the spring plate but I could not get the plate moved from the car.
I struggled with this for some time. The plate would not come off the torsion bar’s splines at all.
I really wanted to avoid removing the torsion bars but it pulled out from the inner splines as I tried to get the spring plate off.
It required quite a bit of effort to get the bar out.
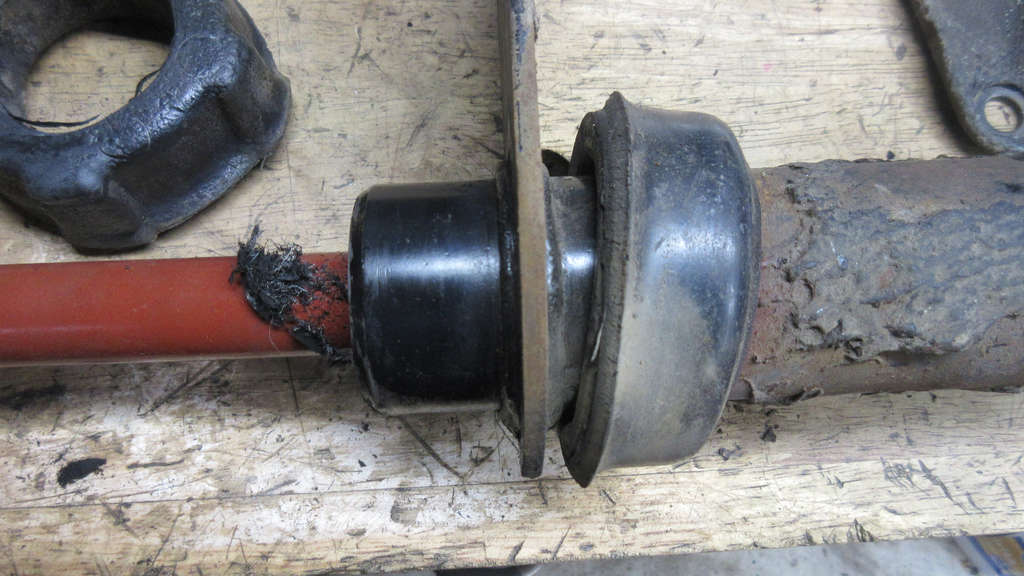
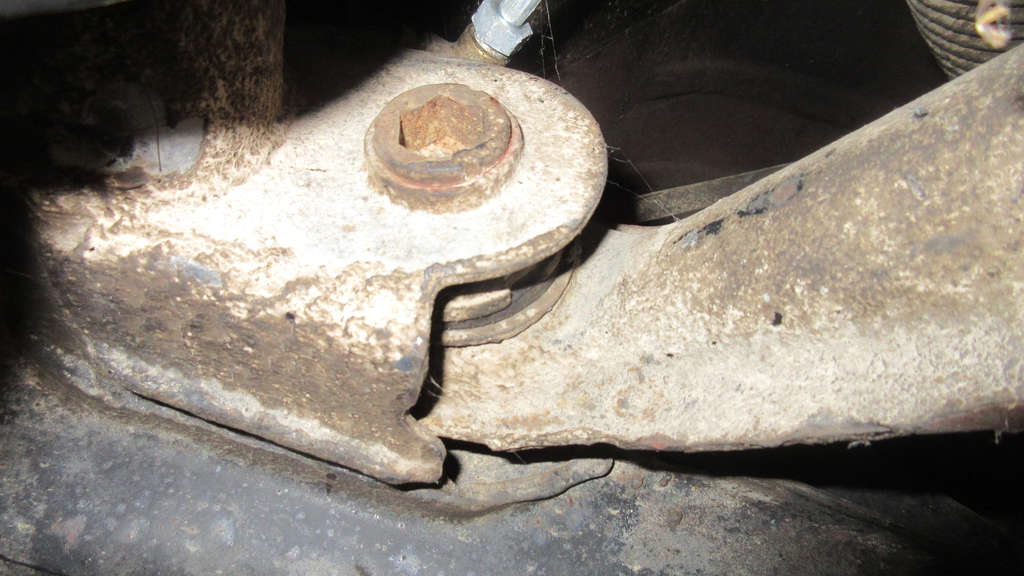
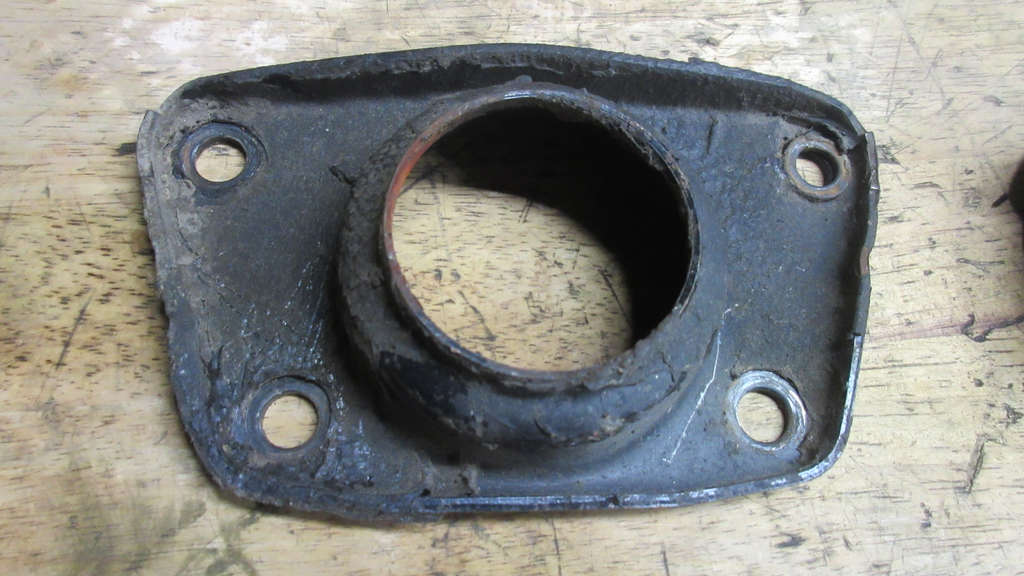
Now the bushings appear to be the 41 year old originals. Both are deformed from the years installed and you can see the outer smooth bushing is starting to show some cracks in the rubber (above).
You can actually see the original paint of the spring plate above where it was inserted into and protected by the inner knobby bushing. However, the inner bushing has started to fray a bit. You can see the rubber debris. This is what was keeping the torsion bar in.
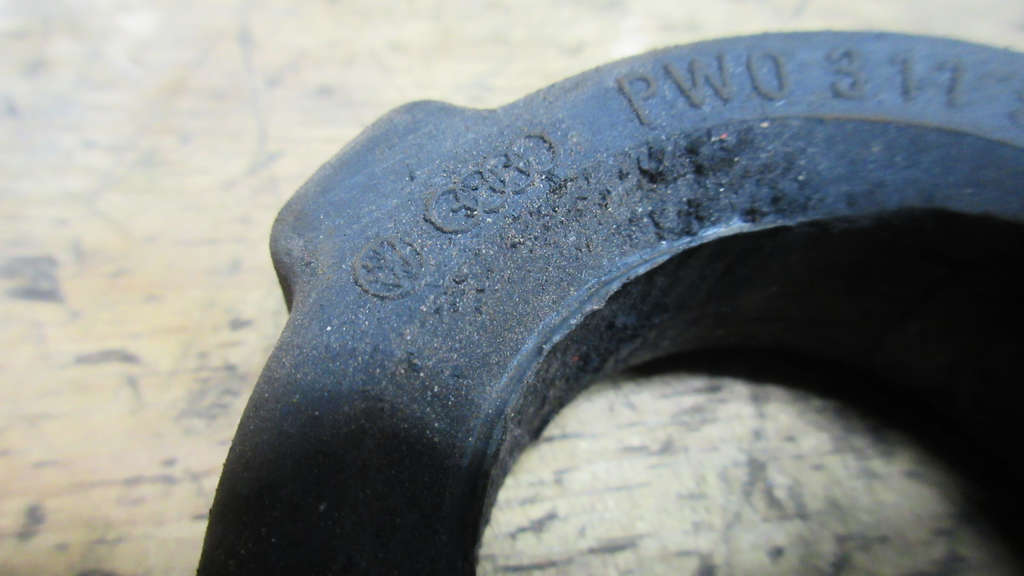
For a moment there I thought they’d been replaced and were black urethane but nope, they are original VW rubber bushings. I am likely going to go with the urethane though I have new versions of both so I can change my mind.
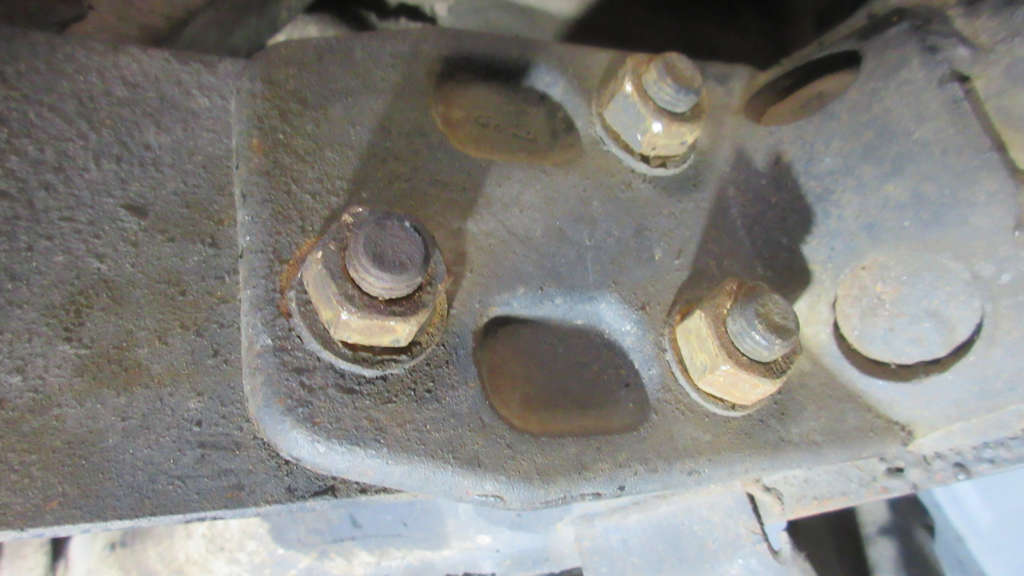
The cap is an undercoating nightmare. All of this has to come off so I can sand these down and restore them to a better cleaner surface.
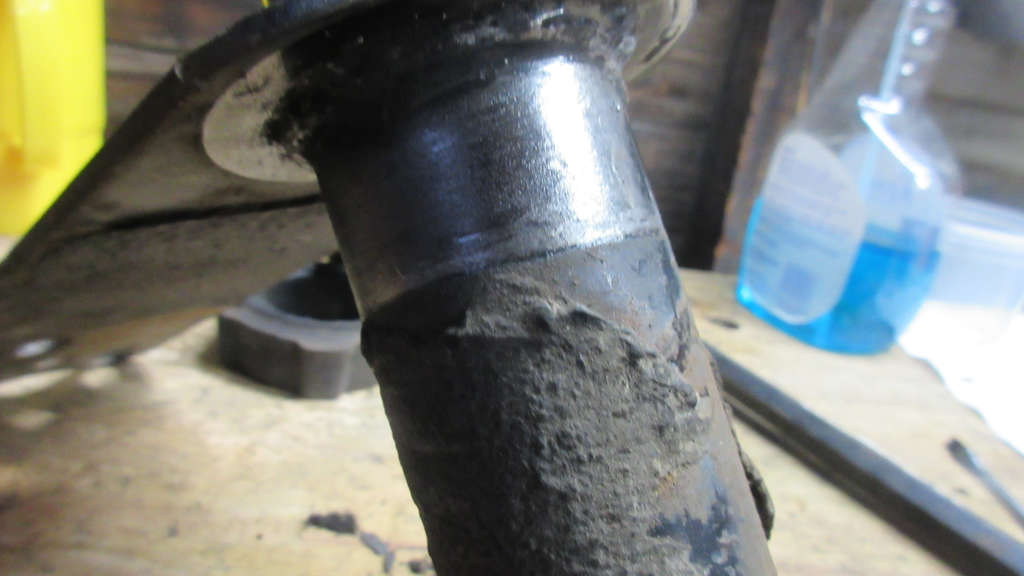
You can really see how bad it is on the spring plate “tube” section. Getting the smooth bushing off over this was a bit of a pain in the ass.
I don’t know what to really have expected here. With it open and everything removed you can really see how the knobby bushing fits into this. I’d love to know the design history for this bushing.
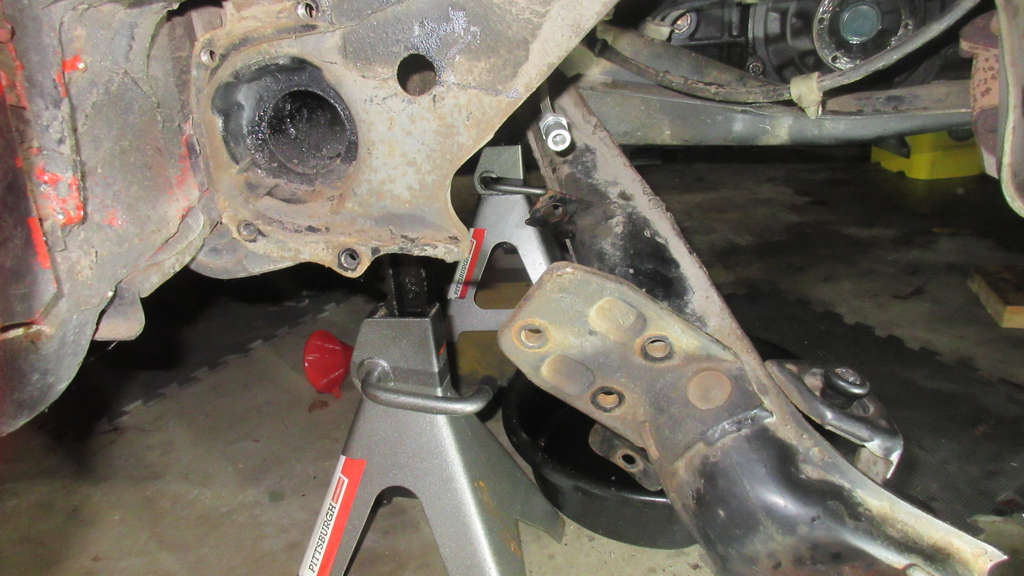
So that leaves me with only having to get the pivot bolt out and the disassembly of this side is over with and I can begin the parts restoration.
My son thinks his one swivel impact can work on that joint and will no doubt be what is needed to get that pivot bolt out.
I still need to think of how I’ll get that old OEM rubber bushing out.