So all of a sudden a new program showed up on my MotorTrend OnDemand called Vintage Voltage and seems to be a full broadcast version of the YouTube channel Vintage Voltage Conversions.
Let’s just say they couldn’t have made a more perfect show premiere aimed right at me.
Well… maybe if it had been a 70’s Beetle instead of an early 60’s Karmann Ghia! But I forgive!
The premise of the series is that they take vintage cars and convert them to electric vehicles.
Now from a practical side, I don’t know if a $45,000 or so upgrade such as this is practical by any means, but it still was great to watch and I look forward to their other work that airs as well as digging into their YouTube content. (I think they mentioned the final cost was £40,000 or so.)
The increase in weight from the batteries required some changes in suspension and braking as well so that no doubt added to the cost over just the electric conversion.

So they had to drop the entire Type 1 swing axle out of the car so they could create and adapter plate between the electric motor and the transaxle bellhousing. Instead of the motor driving the axles it will still use the existing trans to channel drive to the wheels so it all needed some basic mods.
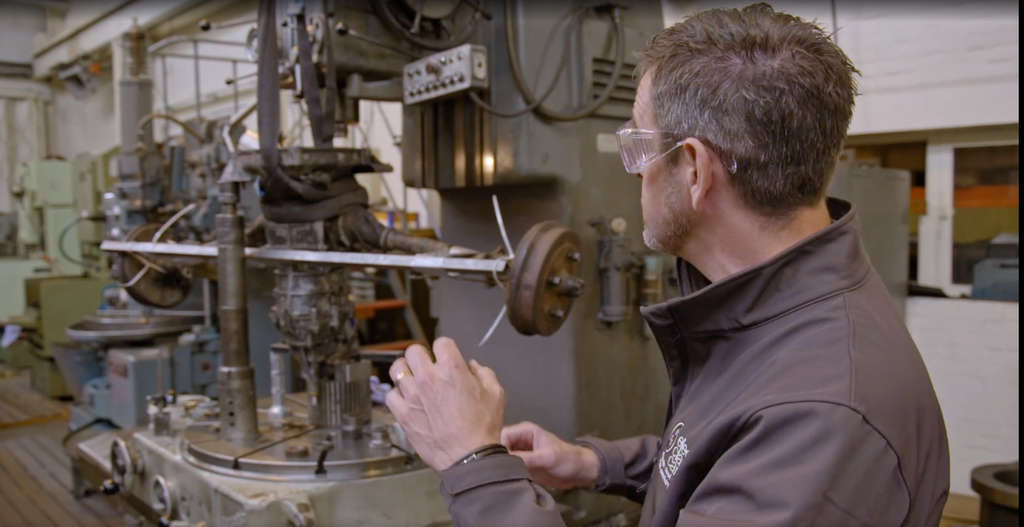
Apparently the general awkwardness of the transaxle would not let them 3D scan it. Or that’s what I gathered.
I am not sure if they did not want to remove the axles from the differential and this was causing the issue or what. (I’m shocked they didn’t remove the brake drums and plates given how much extra weight both of those add to make this generally a pain to move.)
However, they took insanely detailed measurements of the bellhousing shape and bolt hole placement and then ultimately fed all of that into a CAD program. A CNC custom adapter piece was then made to allow the electric motor to drive the transaxle like a typical Type 1 engine would. (And now they have the CAD file they can make this as many times as needed for other similar swing axles.)
They upgraded the disc brakes a bit but it didn’t not look like that much of a better kit than an EMPI one, though the rotors were drilled and such.
They redid the stock swing plates on the back and installed adjustable ones. Now I have zero experience with swing axle setups, but they seemed to have some issues with the installation over the new urethane bushings. They kept talking about having a few millimeters extra space and having to use some kind of space. This seemed odd to me, as I’ve seen similar issues with people redoing IRS spring plates and bushings. However, in those installations, they basically used a C-clamp to help compress the cover and new bushings into the housing, allowing the bolts to finally seal the whole thing. Perhaps it is the use of these specific swing axle adjustable plates, but I just though it odd they used a space.
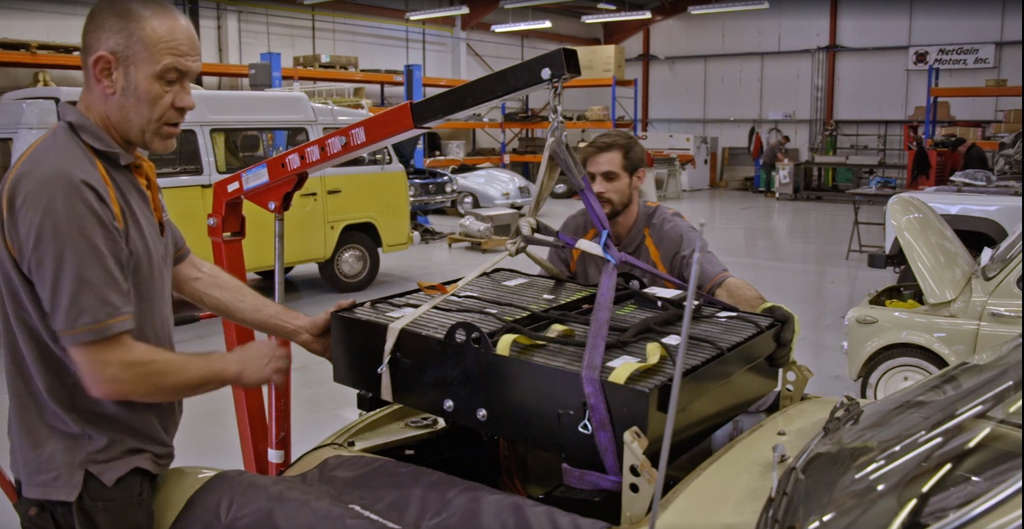
The 16 batteries are rather massive, and 6 managed to be placed in the well behind the rear seat and then the other 6 into the front vacated by the fuel tank and spare tire.

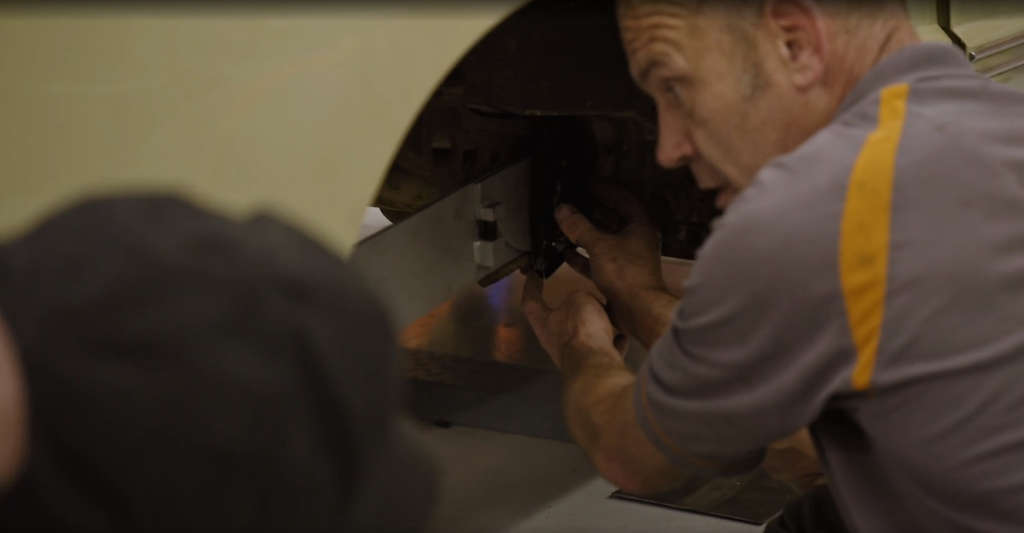
They had some problems installing the electric motor from below as you would reinstall a Type 1 engine. The connectivity points did not allow any sort of movement so they had to drop it in and fidget with it from above before it would marry to the gearbox.
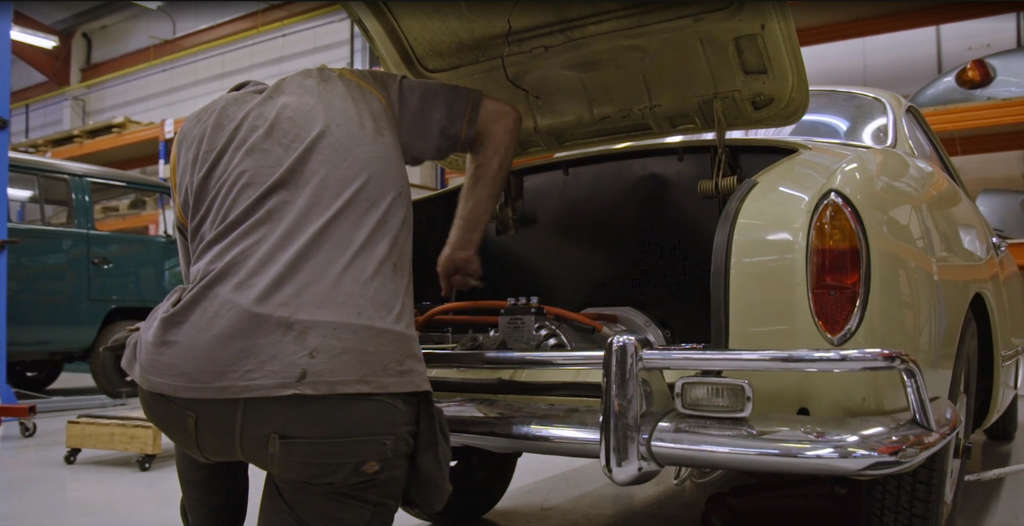
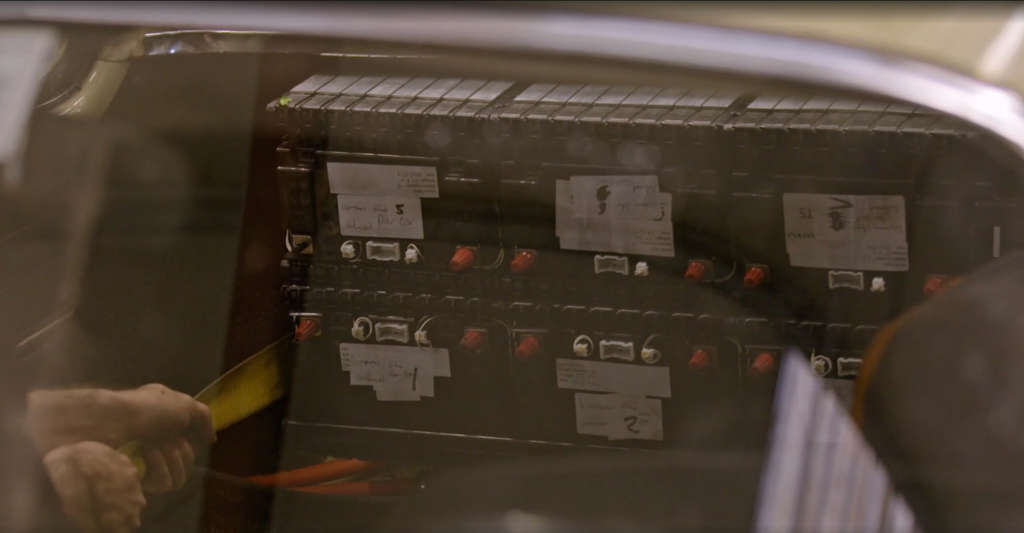
There were some additional cooling fans put into the sides of the engine bay, as well as some of the control units for the wiring harness and power distribution.
Frankly, it makes for a pretty barren engine bay.
All in all, the final product allows for some regenerative braking, and I think they said ultimately would result in a range of about 150 miles given the batteries used.
The shop had some other VWs so it looks like they may do this for a lot of other VW models. Perhaps they’ll air the bus upgrade or one of the Beetles.
I look forward to watching more episodes with other car models. I assume a lot of European cars from the YouTube videos.