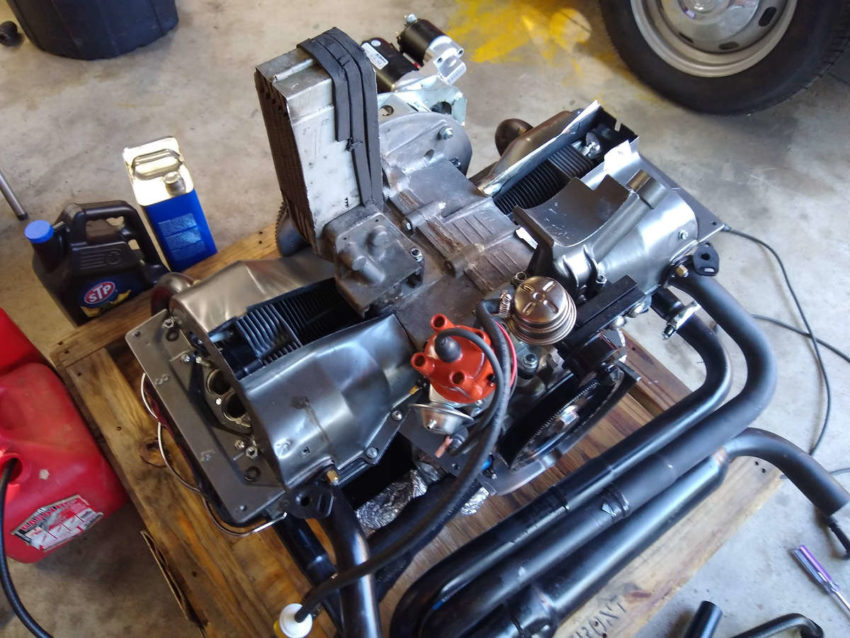
So after 90 minutes of trying to start the engine with the EMPI EPC 34s and the extractor exhaust, as well as that 90 minutes consisting of nothing but gun shots out of the carbs and exhaust, I gave up.
Yeah. I could have taken a sledge hammer and pretty much just destroyed the whole engine.
Instead, I calmed down, and just decided to do the final thing I can which is to tear the EPCs off and go back to a single stock carb.
I really really really wanted to have a cleaner look for this engine, hence so many of my choices and purchases, but now I am literally back to basically being a stock engine with the awful cluttered everything.
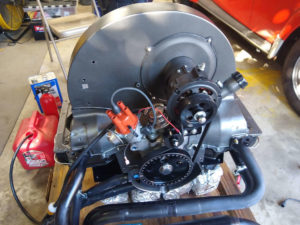
One thing I had forgotten was what a pain in the ass it is to get the stock air intakes and manifolds on so of course, once I had the dual and linkage off I remember that pretty much the entire fan shroud also needed to come up and off to be able to fit all this.
I went through the bins and pulled the AE engines manifolds and scrubbed them up. I needed to sand the main surface a bit and I coated them in a quick coat of the same cast iron as the rest of the engine.
The intake and preheat risers from the AR engine tear down looked to be be pretty much the best share of all the ones I have (the AH engine’s is pretty bad) so I decided to scrub that up and do a quick full black paint on it.

I also had bought this universal air cleaner to through on the AE engine when I had still planned to just quickly refresh it to sell the 74. Since I hate chrome I sanded it up and also coated it in the cast iron color to hopefully just disappear into the engine.

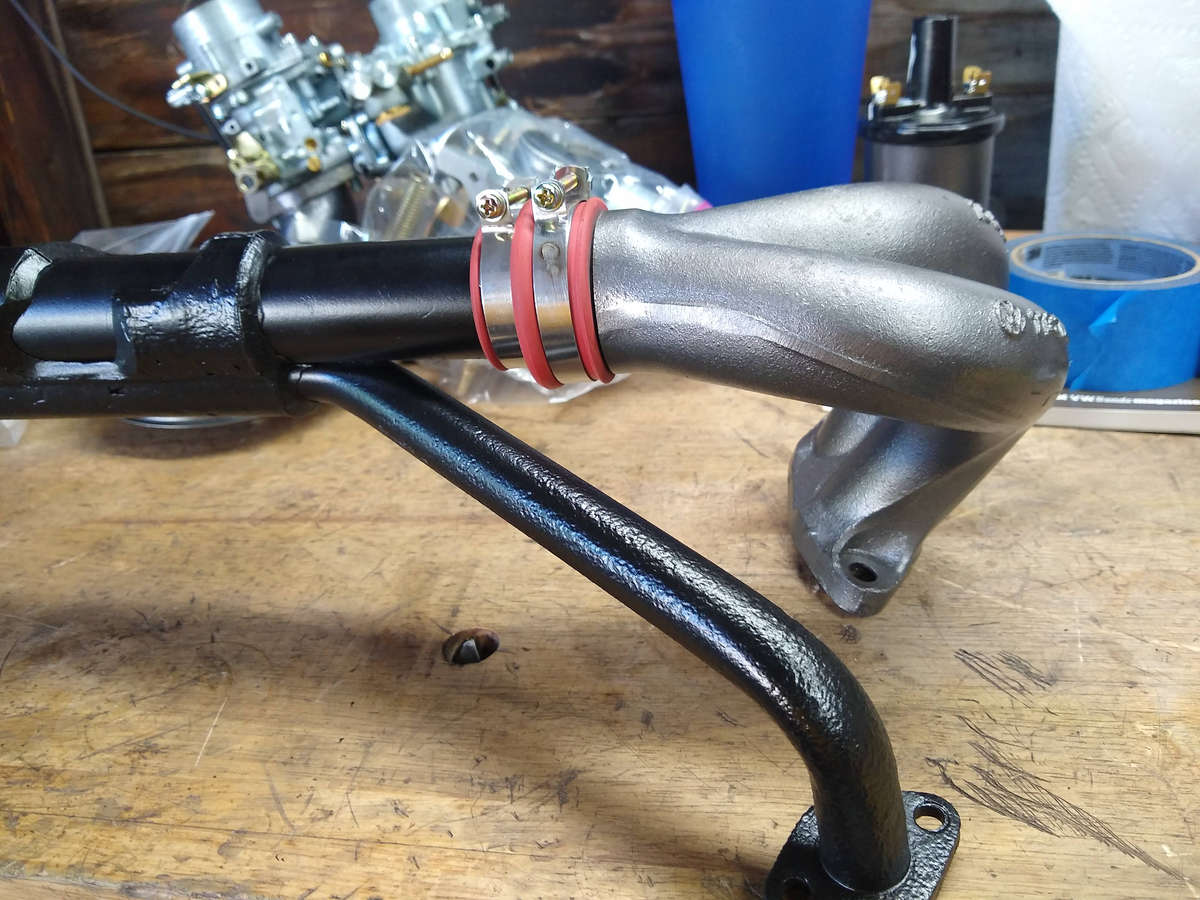
I had bought new manifold boots and some stainless steel clamps that had been sitting in a bin since 2017. Dry fitting was relatively easy, though these clamps, especially the part that goes over the rubber on the manifolds, required some forcing.

The screws on the clamps are just a tad short and to get them on basically meant the clamps needed to go on the rubber, and then the manifold more or less needed to be “nudged” into the boot with a bit of force.
Everything seemed to be going well until I went to fit it onto the engine.
Of course it doesn’t fit… like anything I touch works on this thing…

I pulled off the fan shroud and alternator making sure to scrape up as much of the paint as possible to.
And then… the intake would not fit!
Oh, it would lay across the bolt point and such but the heat risers do not match up to the heat risers on the exhaust! If one side was made to fit, the other was way off… I mean major league difference with zero alignment.
It didn’t make any sense so I went into my photo archives when I bought the AR engine 2 years ago and sure enough, this was not the intake on it.
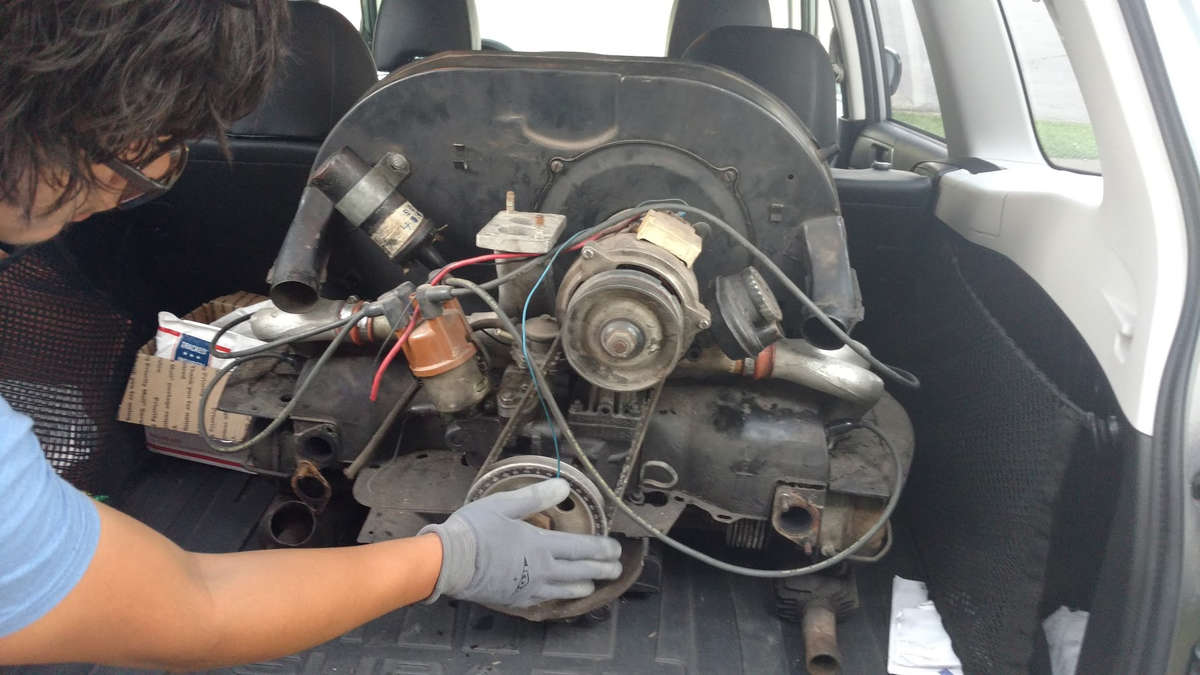
So as you can see from the pic above from August 20, 2017, that engine had neither an exhaust on it nor did it have a stock carbs setup. I had totally forgotten that I did not buy it as a functional engine. Hell, it was bought to be my first engine to tear down and learn on. I was told this was on a sand rail and from the looks of that manifold it was some kind of progressive carb or something that was used. There was no carb on the engine when I bought it.
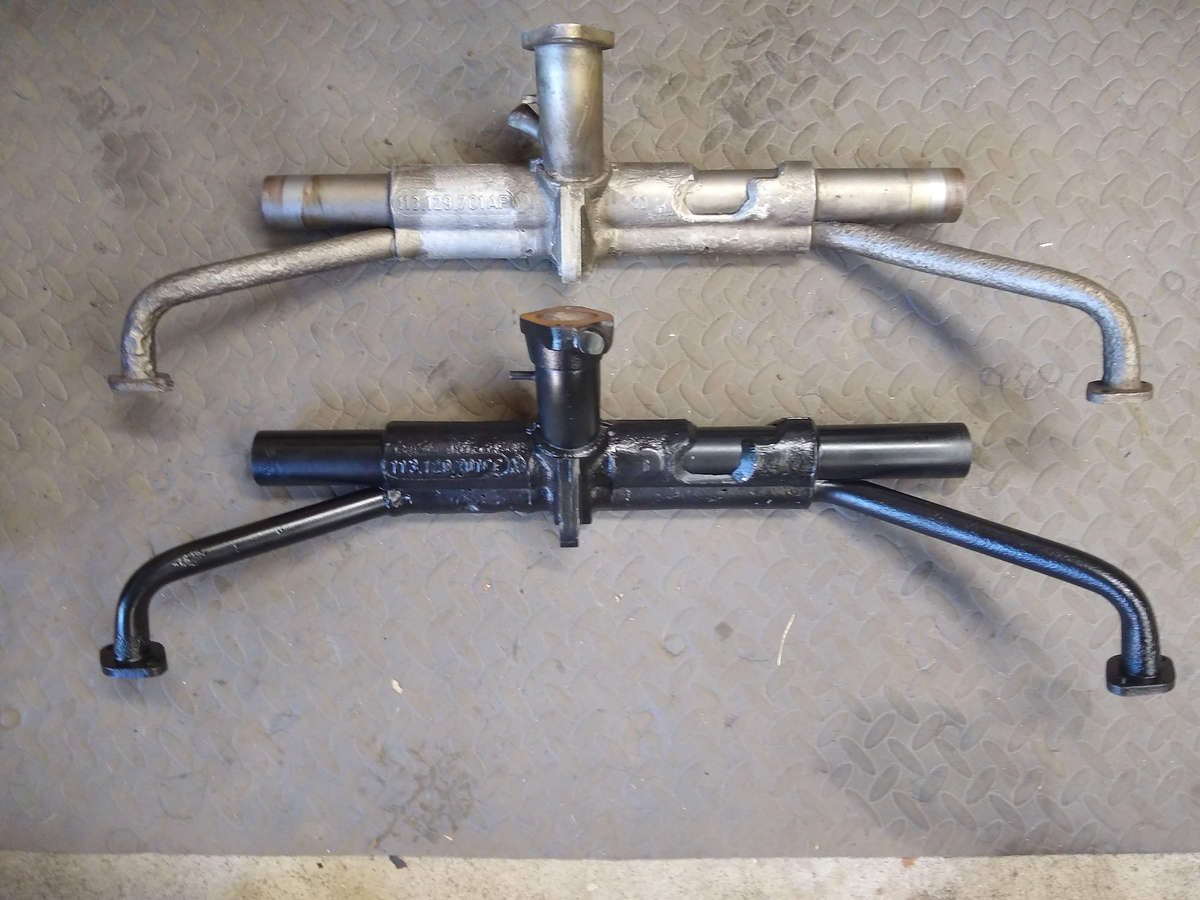
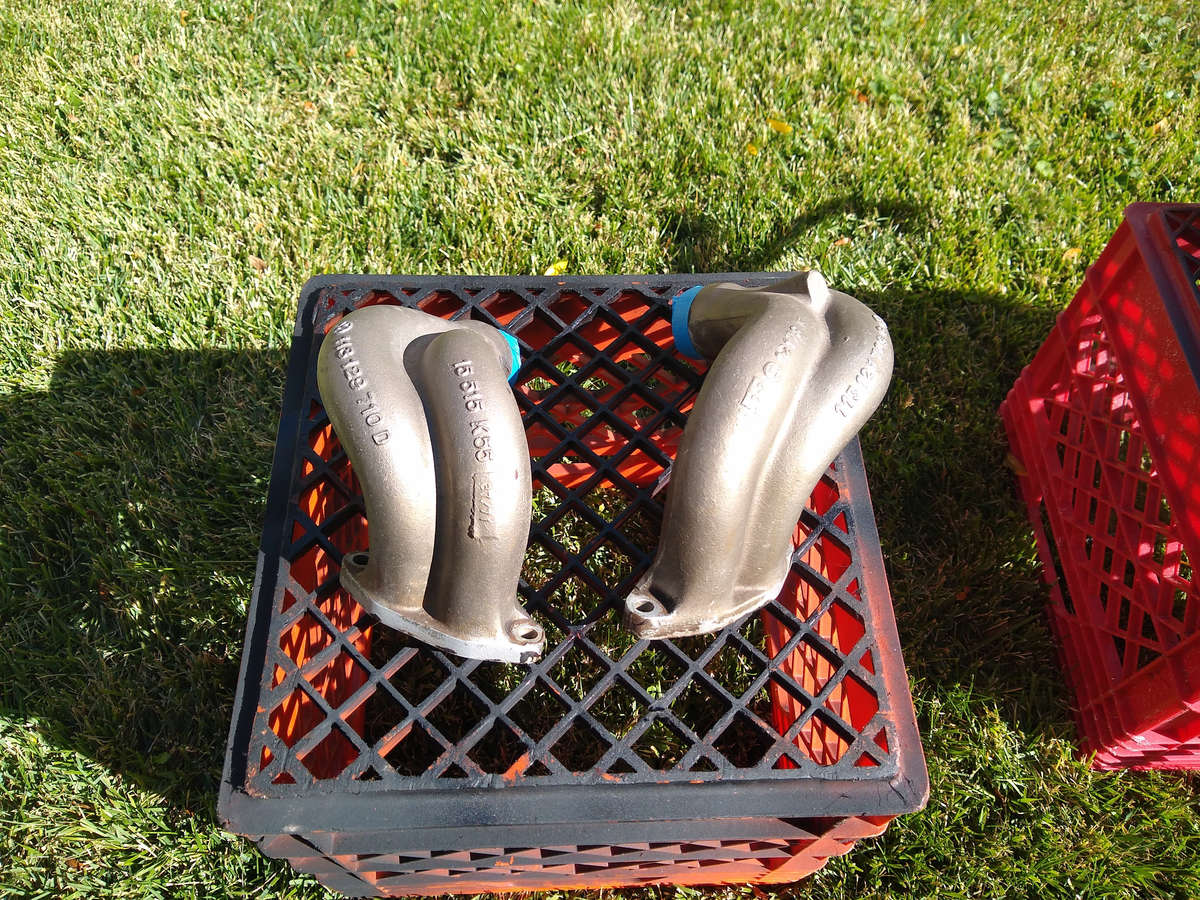
So I dug around and found the AE’s intake and as you can see from above they are different, but they are also different in length. The one I painted black and planned to use is actually a bit longer at the heat risers.
The VW part # for the one off of the 72 AE engine that was in Żuczek is 113.129.701AP and has that large vacuum intake on it (welded shut) as well as the smaller vacuum intake.
The other one is part #113.129.201CE and as you can see, someone broke off and welded part of the EGR connection on up top. So while I would have thought the top part could be different, since there were different modifications to it for emissions things as well as the autostick, I did not expect the heat risers to vary so greatly. A search online turned up a link of one the these with the emissions connection port still fully intact are European parts vendor Mecatechnic.

I assembled the manifolds onto the AE intake and it does fit, with the heat risers fitting on the pre-heat outputs on this exhaust at least.
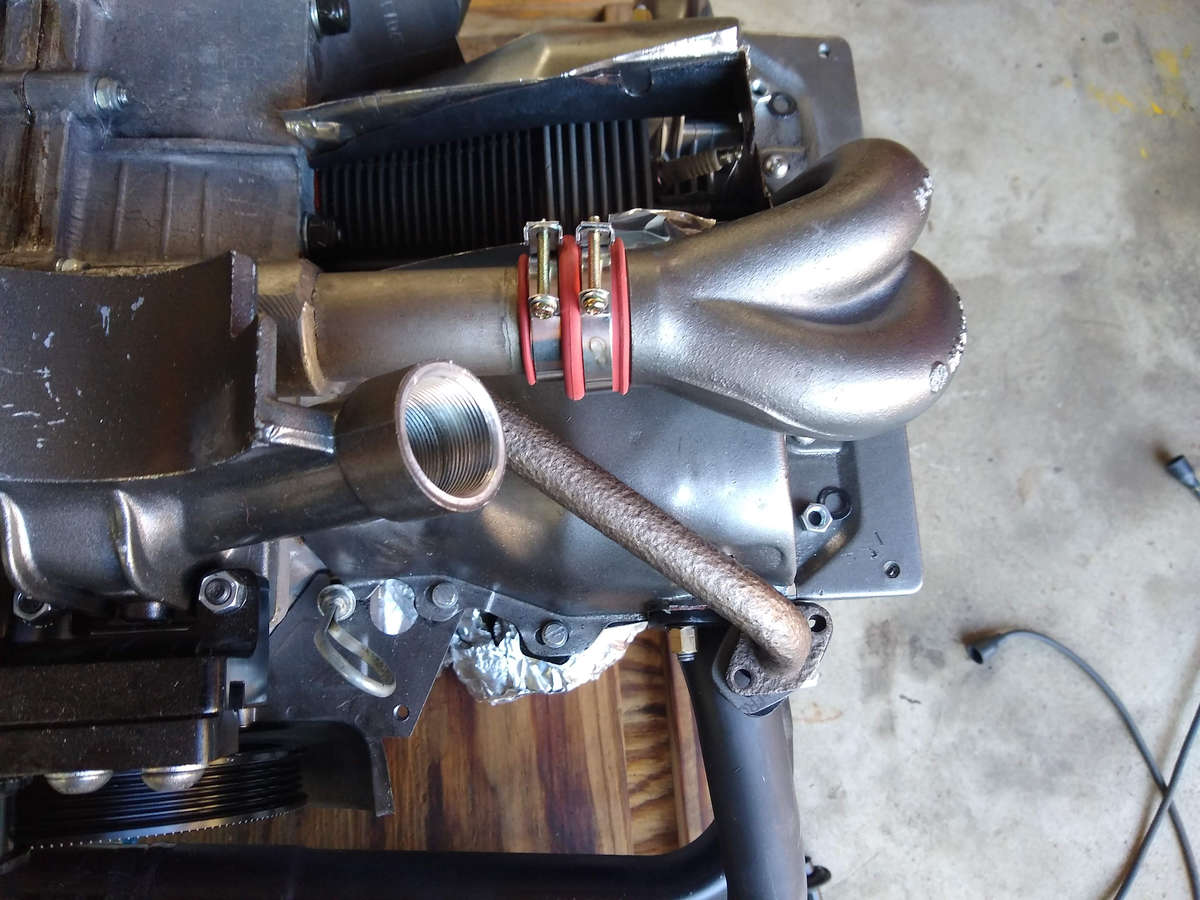
I still need to do a test fit of the fan shroud and alternator on this and of course, I need to find some bolts and nuts to work on locking the heat risers down to the exhaust. I still aim to use this exhaust. I suppose I could try to put the other one back on now that I’ve gone to a stock carb setup. (I do hate the sound of this one.)
So where does this leave me?
I’ll need to do additional work tomorrow to clean up this intake and hopefully it’ll be warm enough to throw a coat of paint on it.
I need to figure out what the hell I’m going to do with wiring the carb’s solenoid, as I really didn’t want to reuse the wiring for the AE engine. I’ll likely need to pull out that one, get an idea on the wire gauge, and try to make a new fresh one.
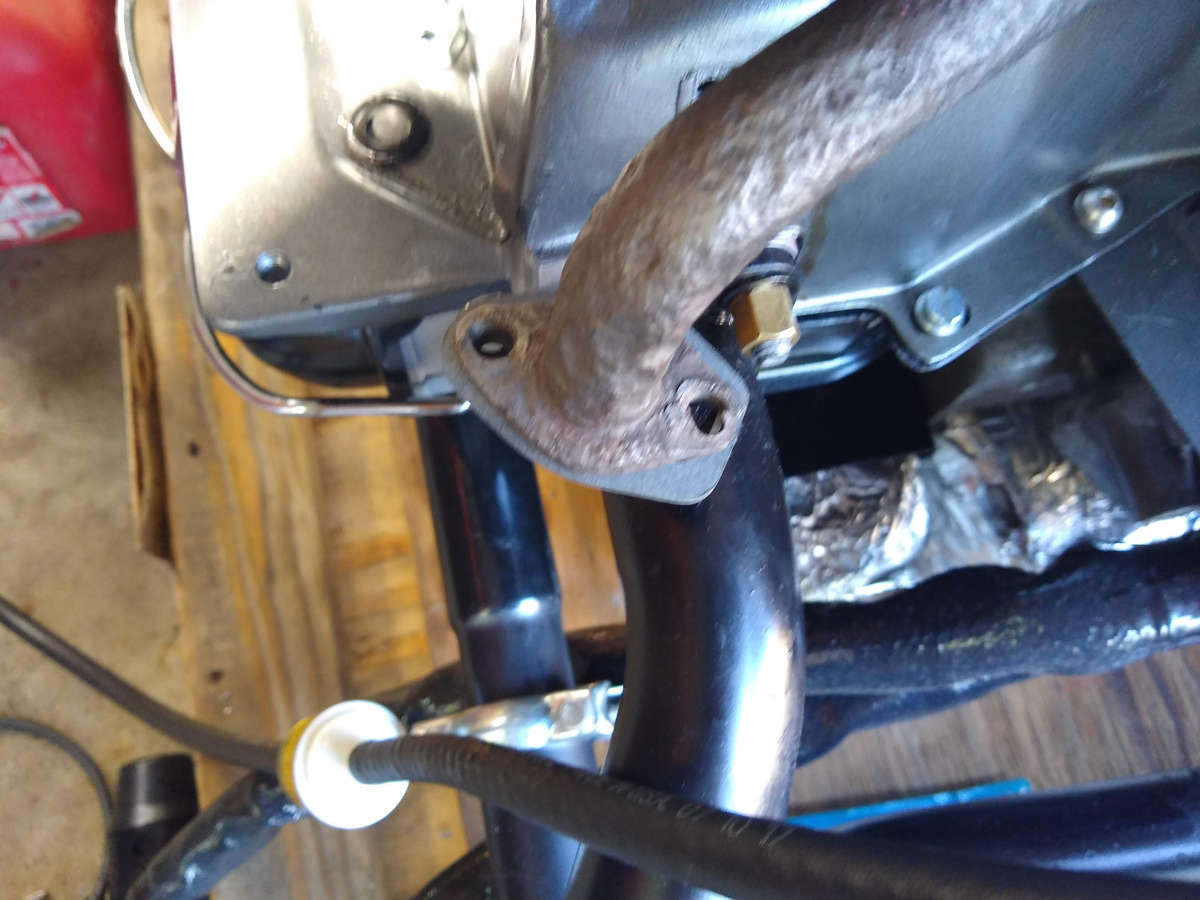
I also need to get bolts and nuts to hold this together. A stock exhaust serves are the mounting point, and no nuts are needed. Not so with these aftermarket ones.
So much for all the money wasted on dual carbs and never getting them properly functional.
Hell… I don’t even know if I’ll get this functional enough to get it running and back into Żuczek for the winter.