So the previous days have been nothing but struggles with the aftermarket tins. I’ve had to cut them and hammer them and bend them and still they refuse to accept their fate and bend to my will.
I was able to get some original VW tins from Eurowerks Garage in Columbus and today set about attempting to restore one of the cylinder tins I got from then as well as a matching paired one I had that survived a prior engine disassembly. (I hope to buy some additional tins, fan shrouds, thermostat flaps, and other assorted parts from Eurowerks Garage so I can at least have enough key tins to finish building the AH and AR engines. )

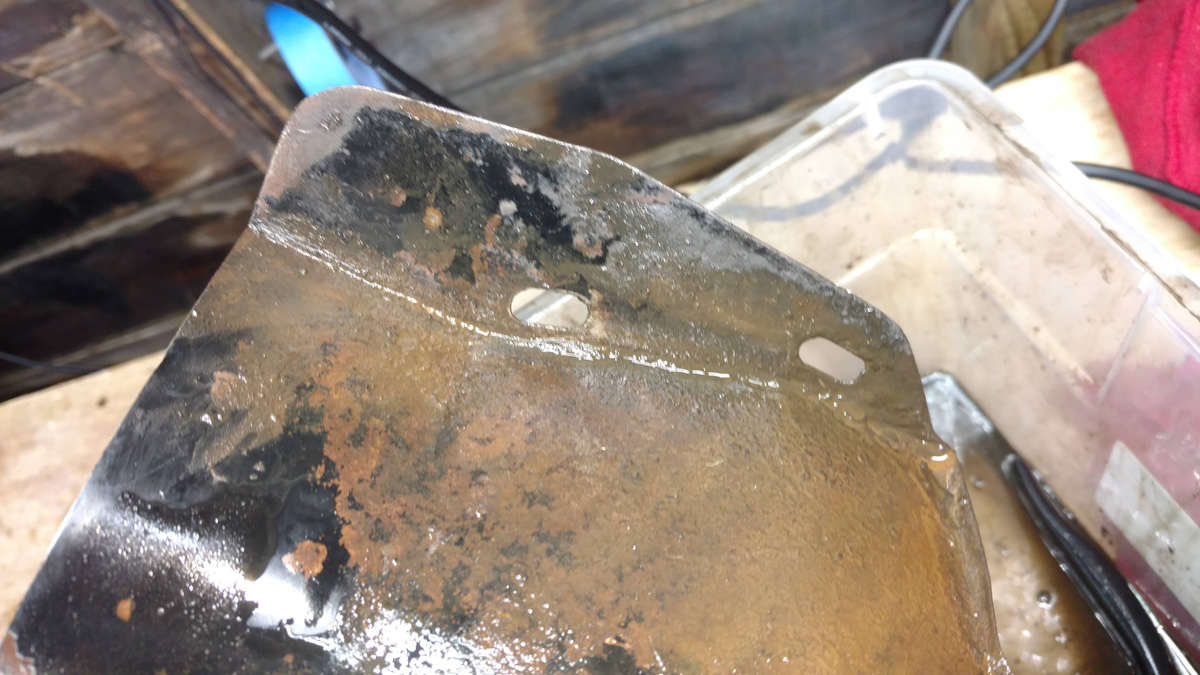
Once i got them home I realized that the heat exchanger tins need some minor welding (that I cannot currently do). The firewall tin actually really matches the aftermarket one I bought. I was rather shocked that it seems to light up as well as it does.
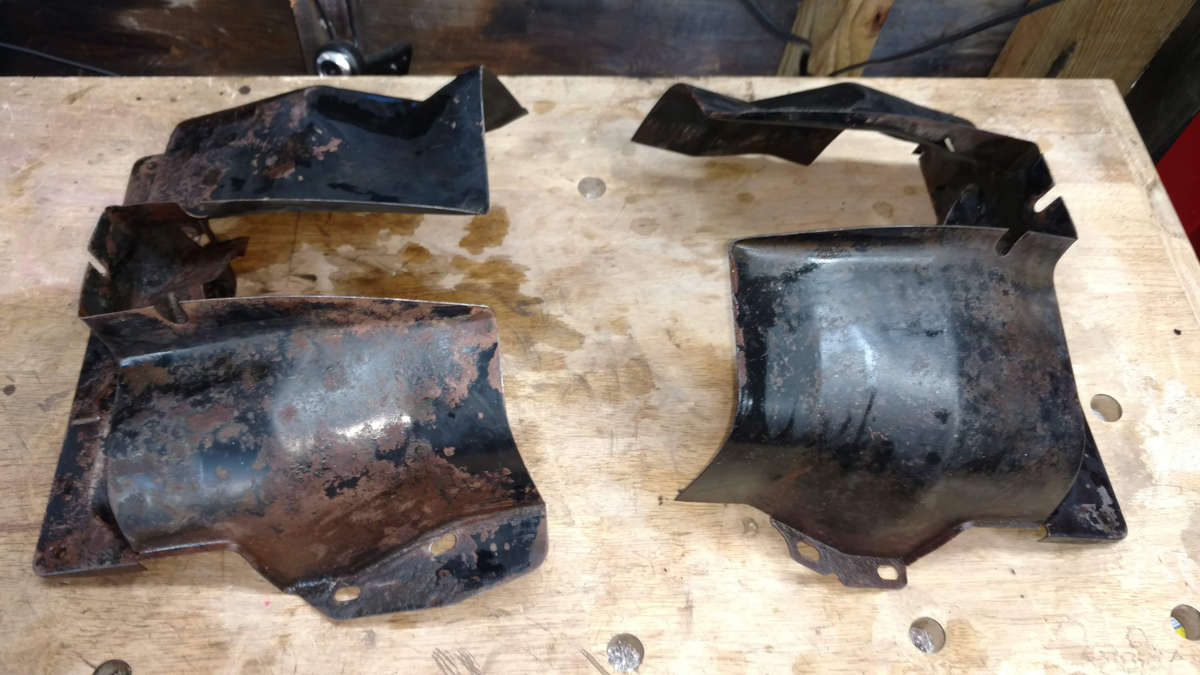
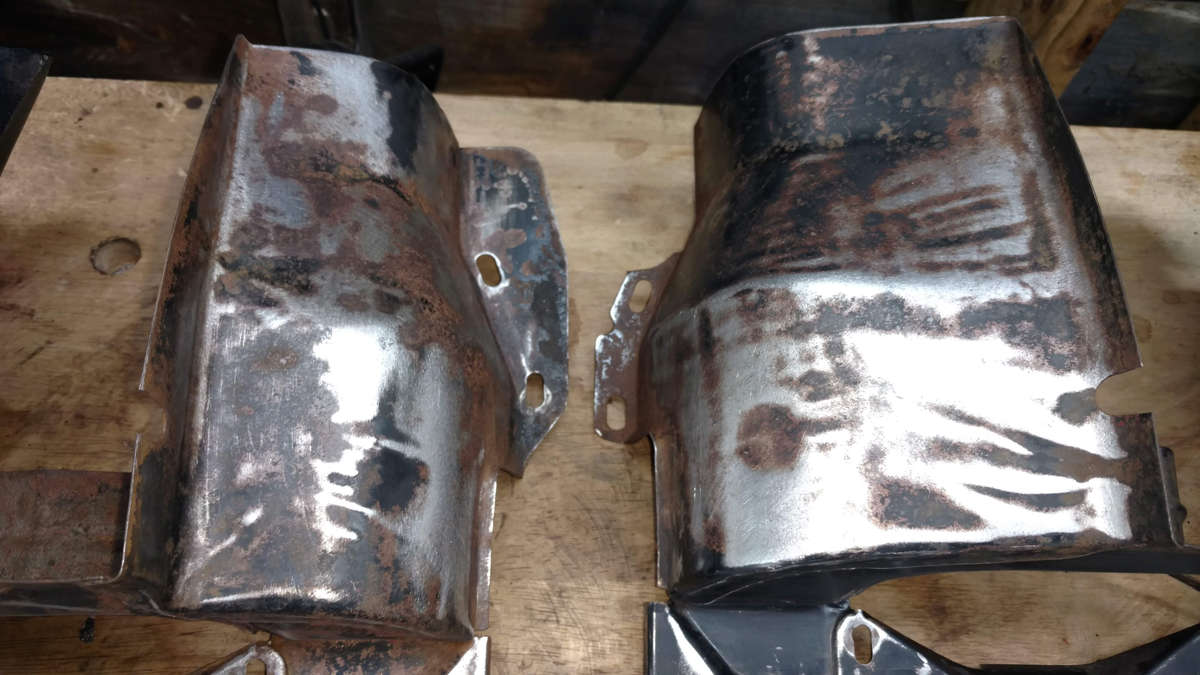
The cylinder tins are from different years but both are dual port. I’d imagine the one is a 70 or 71, and the one with the air vane is a 72. (I’ve been told that is the year those started to appear.)
One thing I wanted to ensure was that both had the air vanes installed as I did not want a different cooling pattern on the 3/4 side than on the 1/2 side.
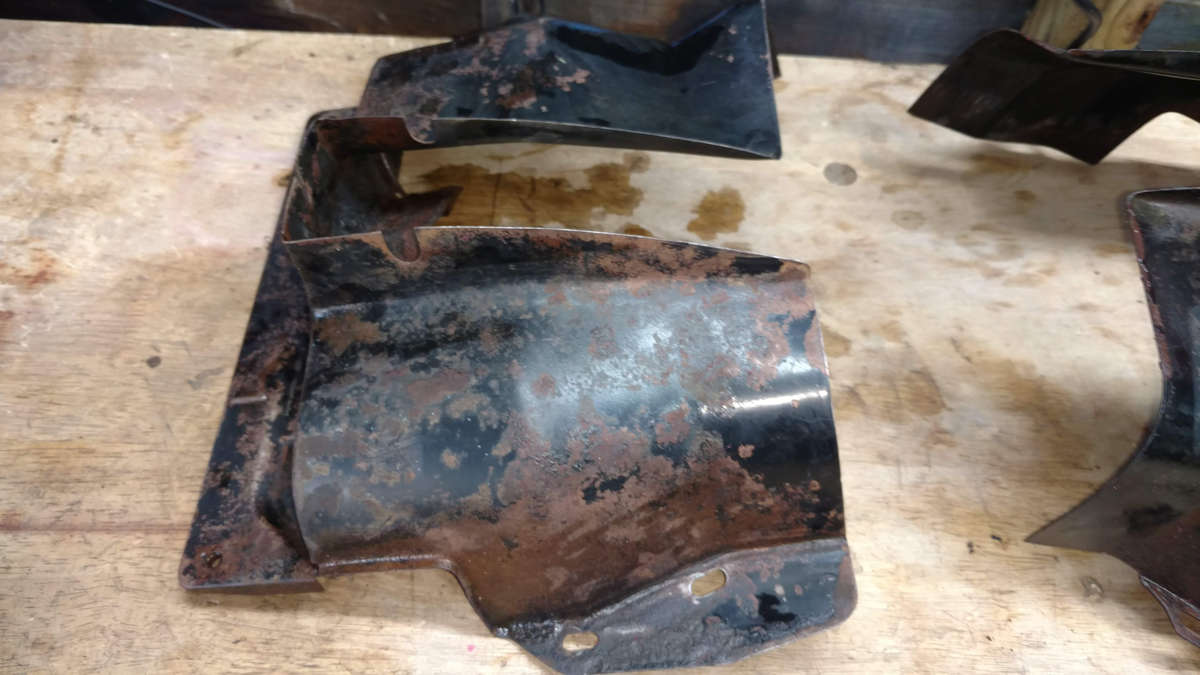
Both the cylinder tins were in pretty rough shape. The one I had was severely caked in oil and grime more so than the other.
Since I do not have a media blasting cabinet nor do I have the funds available to have these blasted and powder coated right now, I’m going to follow my usual metal prep I’ve done on non-body parts.
Step 1 – Mineral Spirits Bath
The first step is always a scrub down in mineral spirits with a wire brush.
The initial degunking at least makes you feel like you want to touch the metal. Sometimes, like in the case of Yellow’s brake backing plates, the gunk was so severe it hid how badly corroded some of the metal and connections were.

Step 2 – Degrease
In step 3 I do another degreasing but this time with a soap solution. Today I used Simple Green. I used a high concentration solution and steel wool to get deep into the rust and as deep into the crevices as I could.
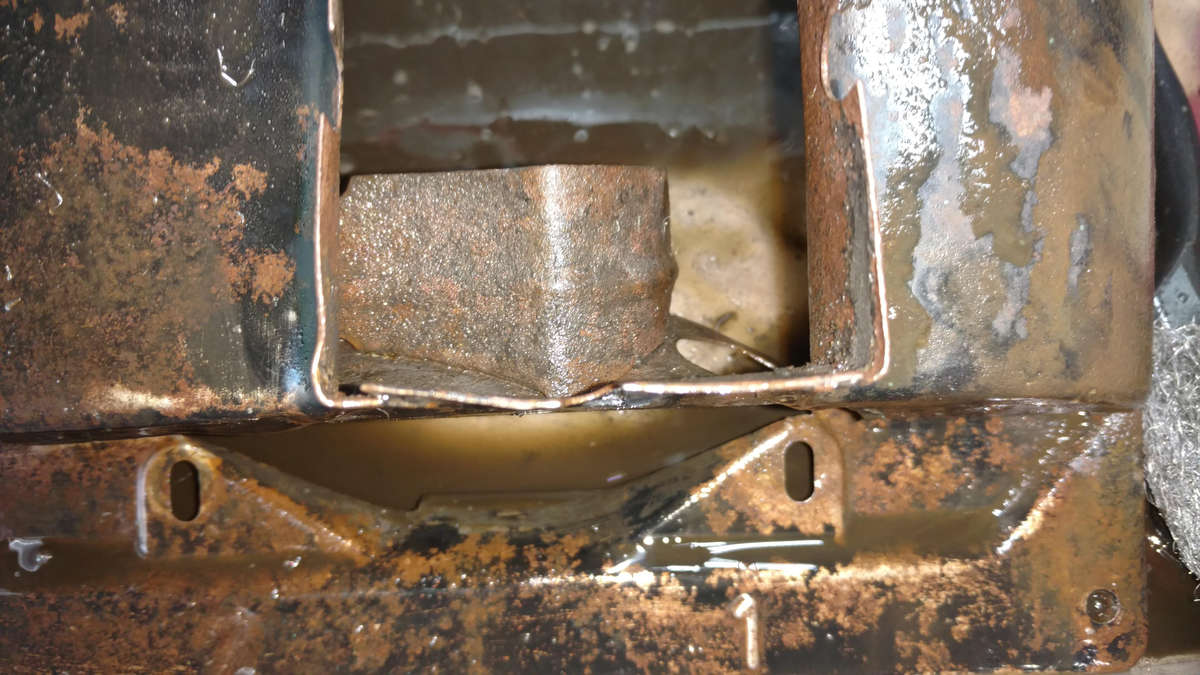
I’m really happy that the holes are all solid and what corrosion there is on these is just on the surface.
Step 3 – Hand and Rotary Sanding
This is always the dirtiest step but I use a power rotary sander to try and sand down the large flat surfaces, taking off as much corrosion and prior paint as I can and taking it down to a lot of bare metal.

Things really start to look better at this step and no doubt, media blasting would probably really prep this better but I’m on a budget so it is several passes to get as much corrosion off and things as smooth as I can.
I then hand sand and often use the dremel to sand into crevices.
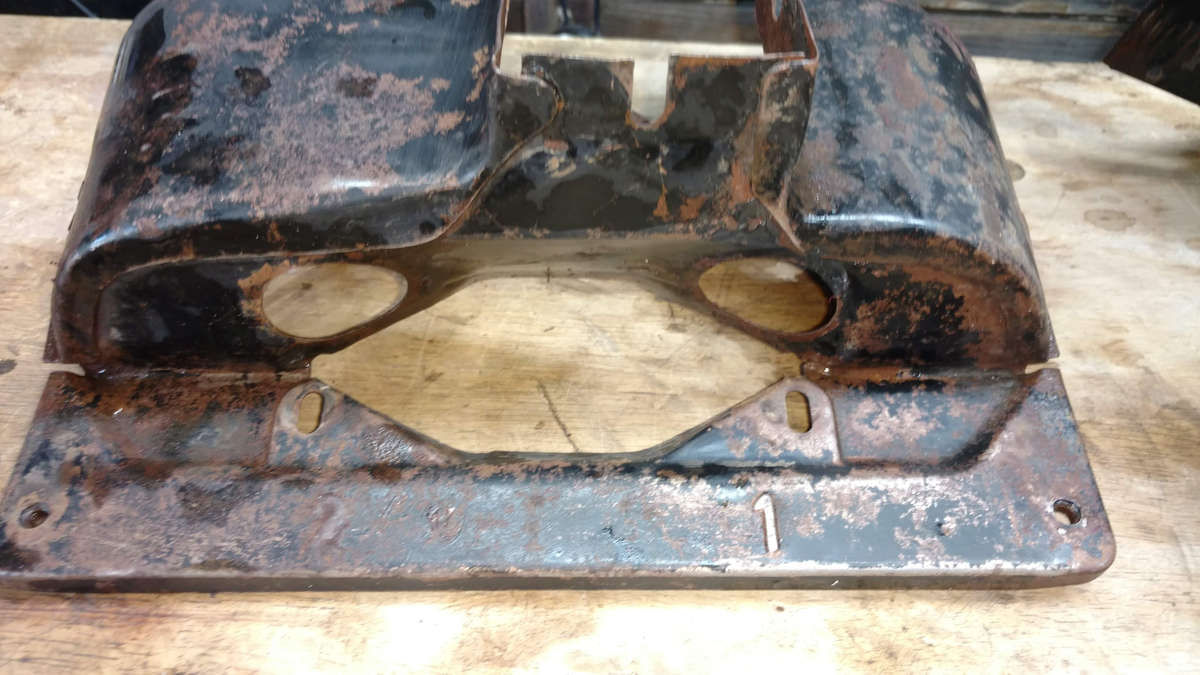
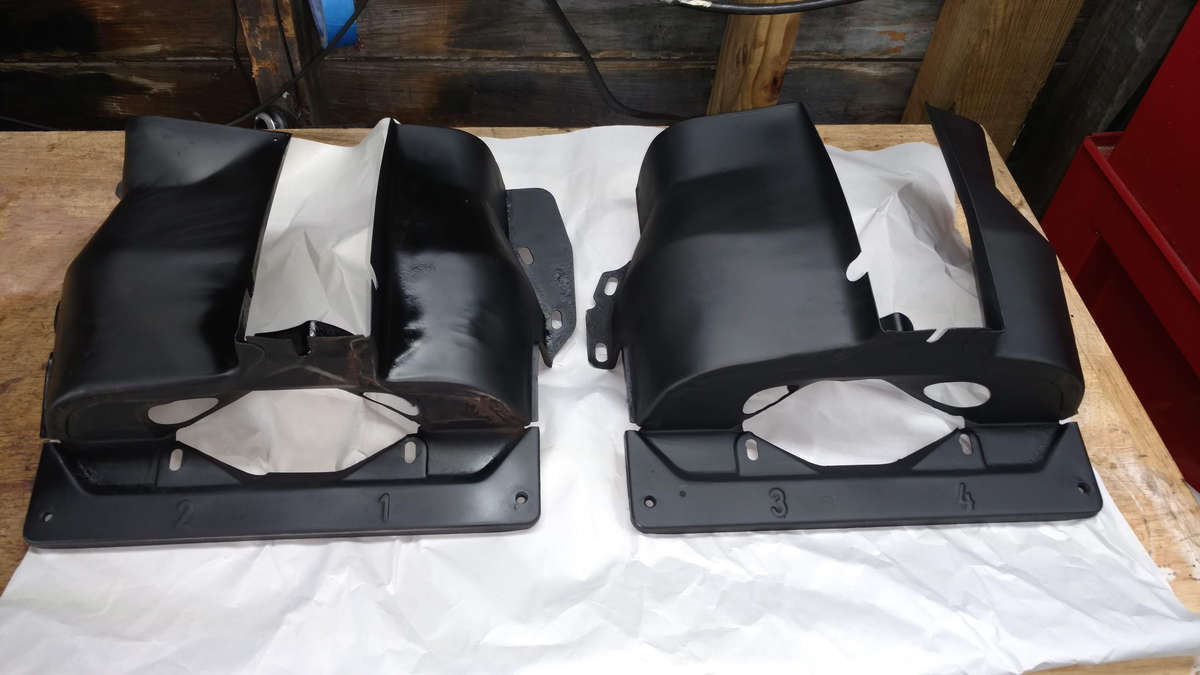
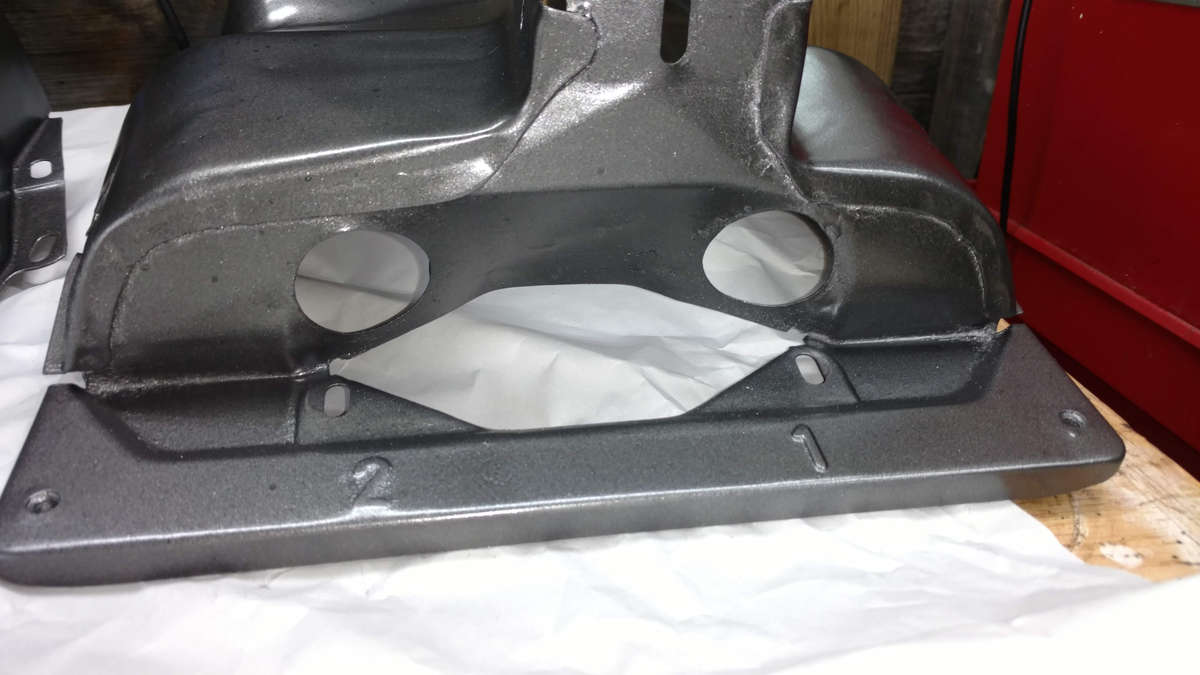
Since these all have 45 years or more on them I decided to get as much on the inner tins cleaned up as possible as well, but my focus was on the cylinder 4 and 2 sides which as visible in the engine bay.
Step 4 – Wash
I’ll use the air compress to get the dust off, and then take the parts out and wash them with a hose and soap and water again, towel drying them.
Step 5 – Acetone Wash
Given that these are metal, I want to displace as much water and water moisture off of them as I can so I then I scrub them down again with acetone, making sure to get it into the deep crevices so it removes all of the water.
The acetone will quickly evaporate.
I’ll sometimes repeat prior steps, but I end up often going down a rabbit hole of time waste since I can get really picky and never be satisfied with the results. As I’ve gotten older I’ve just learned to accept some flaws given my tools and available products and reach a point I can live with.
(Sure, it’ll annoy the hell out of me, but I’ve learned I just have to accept things.)
Step 6 – Rust Reformer Spray
Since the sanding never removes the full amount of rust on the surface, I then coat the metal in a rust reformer product.
For these I just used the Rust-O-Leum rust reformer I have that is supposed to make the rust inert.

Most of these products are a flat black, and once sprayed you can see a lot of things you didn’t notice on the metal.
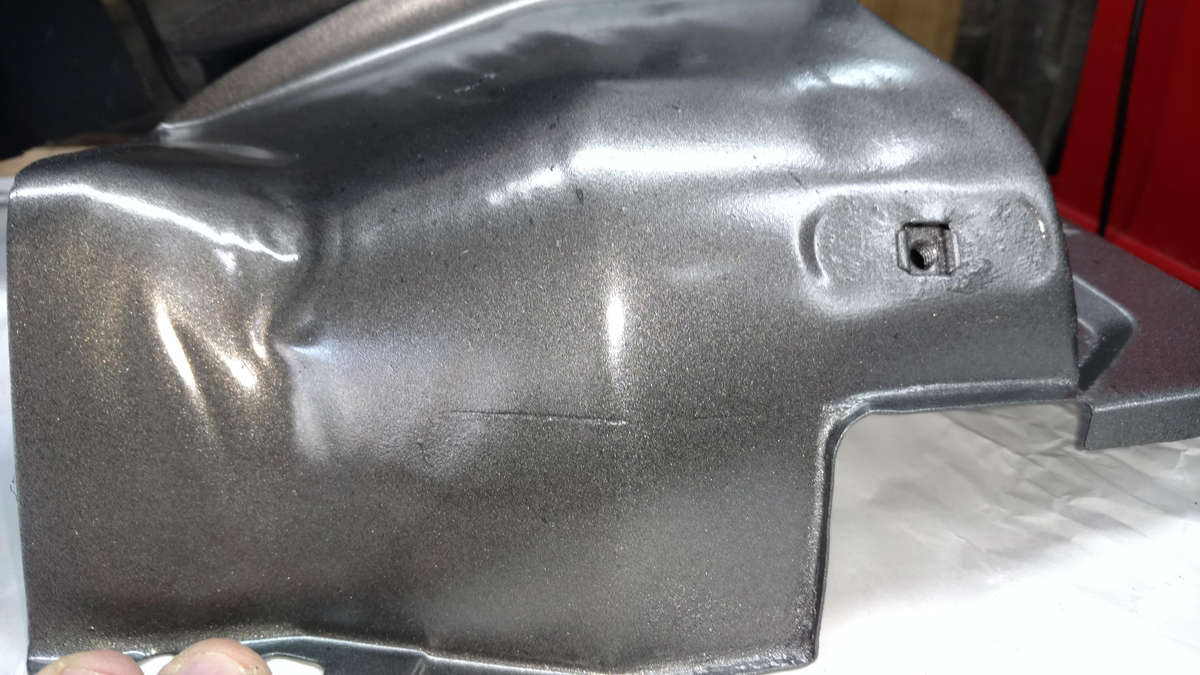
For these cylidners, there’s a huge horizontal gouge on the Cylinder 2 side and there’s quite a large dent on the Cylinder 4 side.
Sometimes I’ll let this dry and then resand some of the areas I’m not happy with. Of course, as I mentioned earlier, I can easily get sucked into a rabbit hole of hours to try to perfect something with hand tools so I try to at least settle on making it presentable.
Step 5 – Base Coat
After I reach a point of some kind of satisfaction, I’ll do a base coat.

I’ll usually do a base coat to see what it looks like.
Today, the spray color as having some issues since it is a metallic and as you can see above, there are small blotches of darker metallic that came out.
I’ve been fighting this color for months since it usually happens when the can feel like it has a few minutes left in it but then starts doing the larger clumps of paint.
The day after I will determine if I really need to repair and area or not.
I’ll then lightly sand the coat and tack cloth and wash all the dust off of the parts and then apply a 2nd or 3rd coat.
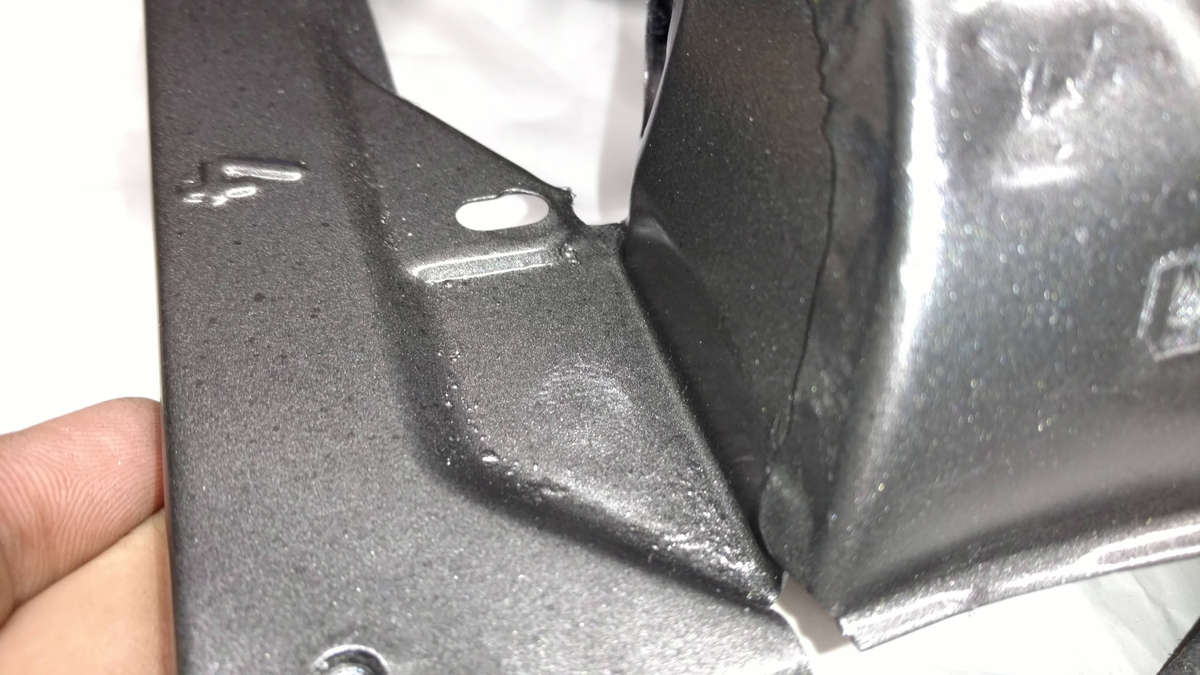
Step 6 – Top Coat
After the paint cures for at least 24 hours I’ll cover it in some kind of top coat. Either a gloss or a matte depending on what I need or the purpose. I usually aim for enough coats to help with minor scratches, but allow to allow for clean up and washing.
With the engine tins, I’ve only been doing the color on the exterior surfaces of the cylinder tins and fan shroud.
Interior surfaces are done in matter or satin black.
Now I will use a gloss black on some surfaces that are exposed to the elements and that’s really to allow them to just be easily cleaned up.
For this engine work, I wanted something I could easily acquire at the local auto parts stores, so I’ve went with either VHT or Rust-O-Leum products that offer some resistance to heat, oil, and chemicals.