There’s quite a lot of parts to clean and get ready for the assembly, not notably the crank, cam, and rods at this stage.
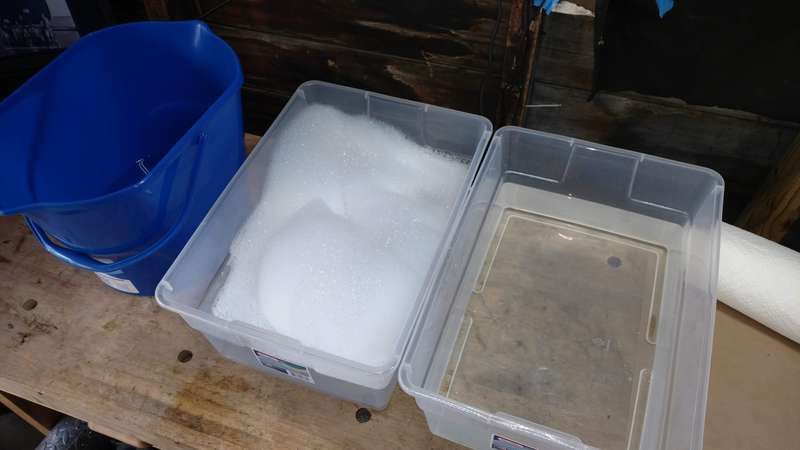
I’ve read and seen a ton of different methods for parts cleaning and prep prior to assembly so I’ve decided to go with the following method for my work:
- Step 1 – Mineral bath and scrub with plastic brush or steel wool (if necessary).
- Step 2 – Soapy water bath.
- Step 3 – Clean water rinse.
- Step 4 – Paper towel dry.
- Step 5 – Air blow (if necessary).
- Step 6 – Parts cleaner dousing (if necessary).
That should more or less cover everything, getting the cosmoline and other shipping gunk off.
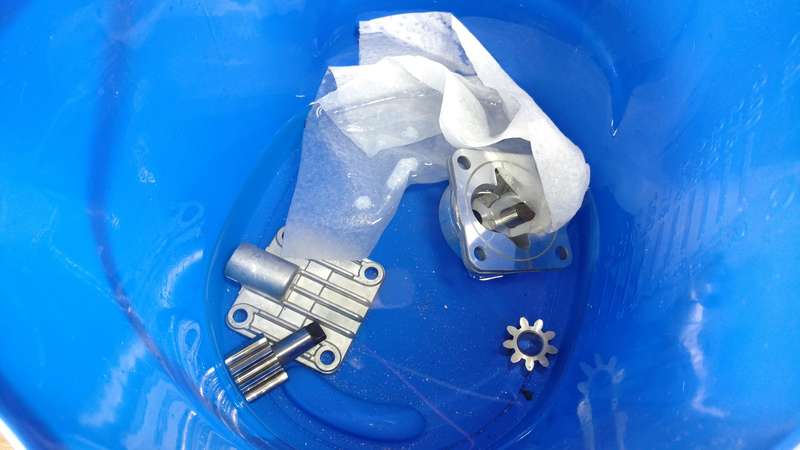
The oil pump had some metal “dust” from the porting so into the bath it went.
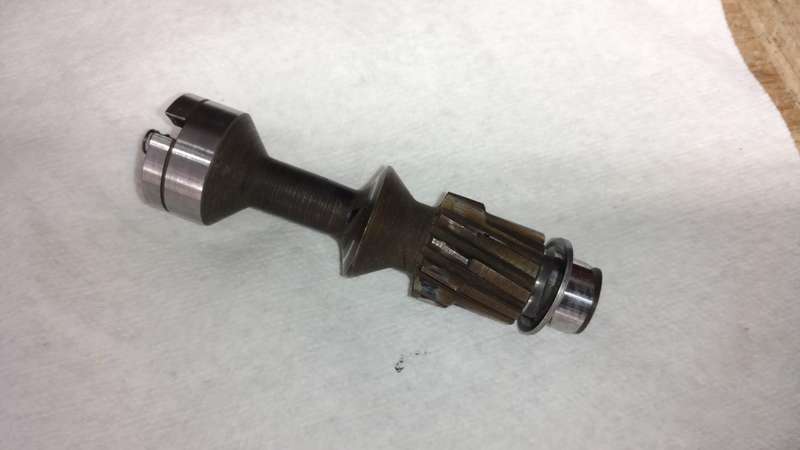
I noticed the repro aftermarket distributor gear I bought seemed real tight when I dry fitted it. I figured while the original gear was slightly worn, it was born in the case and probably has years left in it. So I pulled it out of the storage bin and cleaned it, the spring, and the shims up. A little grease or oil might have worked for the aftermarket one, but there’s part of me that wants to put elements of the original engine back in for the sake of “spirit”. Stupid. I know. But that’s me.
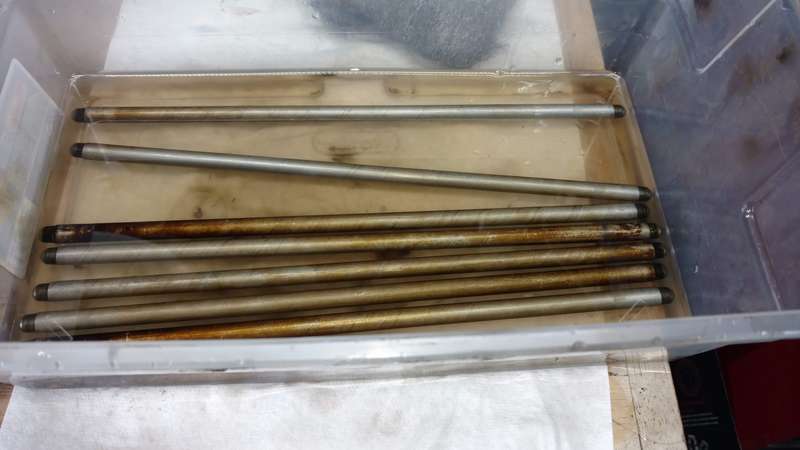
The original push rods also are soaking overnight in a mineral spirits bath. I’ll scrub them up tomorrow and use a syringe to ensure solvent is pushed through the inner gallery to clean out any residue or debris.
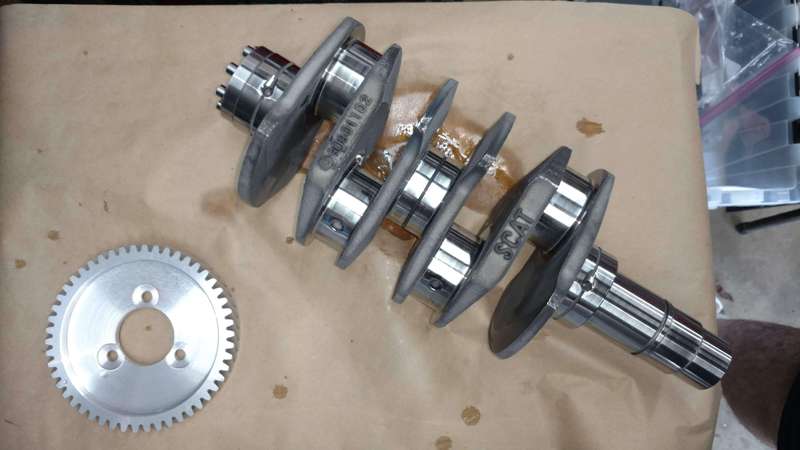
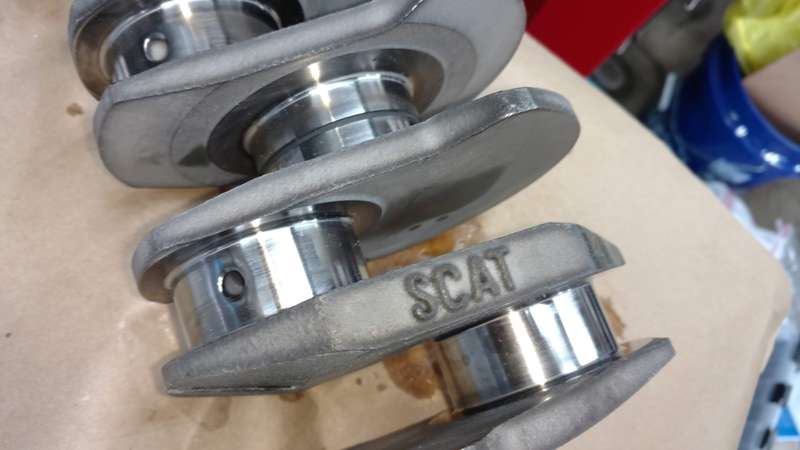
This is the first time I really pulled out the new SCAT Volksaver 69mm Counterweighted Crankshaft. Since this is 8 dowel, it will be married to a new Cast Lightweight Flywheel which I feel should be a solid combination.
I also got the rods cleaned up.
With any luck, I’ll be able to assemble the crankshaft tomorrow. I’m both excited and scared to have to heat up oil to get some of the gears on!