It has started!
Without the crankshaft assembly together, nor the camshaft cleaned, there wasn’t much to do other than give the case one more once over, another cleaning to get the last remnants of any metals out, and get it on the stand.

The above pic is the last pic of the case by itself! Let the excitement begin!

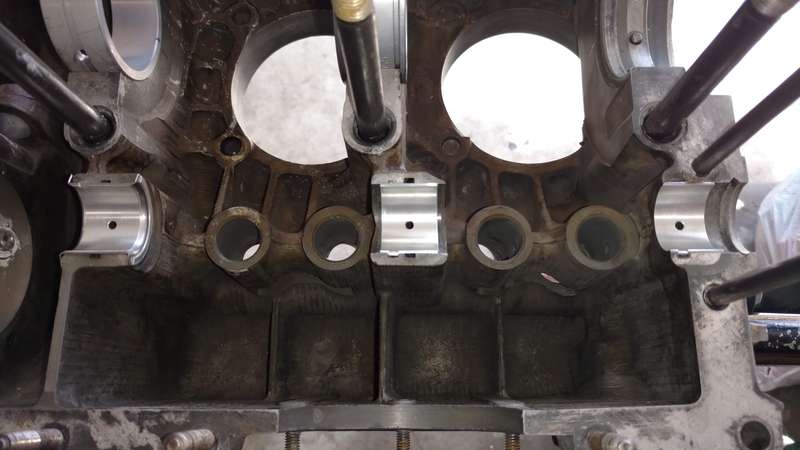
I pulled out the new dowel pins and the new main bearing to fit them, scribe, and mark them.
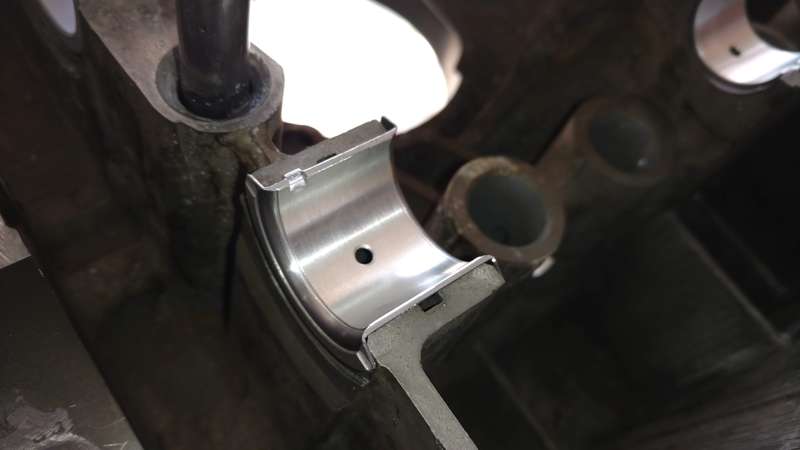
From the books and articles I’ve read, as well as the videos I’ve seen, there seemed to be consensus to dry fit the bearings over the dowel pins, marking the location of where they sit in relation to the pins, as well as the case side. This will all be useful and make it much easier to drop the crankshaft assembly down into the case.
I was playing around with the bearings and while most can go into various places, I’m rather shocked that only the rear one at the flywheel has the double-lip. I would would there there would be some benefit to having lips on 2 of the others to minimized play but apparently not. What do I know though. I don’t even know where to ask such questions on a design reaching back to the 1930s.
The camshaft bearings are in. I went with the double thrust bearing set. I am not sure why stock cam bearings only have the thrust lip on one side of the case. I figured for this engine I’d go with the better bearing just because. I still need to modify one of the side’s thrust bearing tangs prior to installation. I can’t forget that!

I left today’s work with just putting the main bolt o-ring seals in. These were another mix of “do this” or “do that” type of thing as I’ve heard people say to just put them on oiled, while others said add some sealant as well. I opted to put some Permatex Aviation Form-No. 3 on them for this case half. I doubt it will hurt anything.
Permatex® Aviation Form-A-Gasket® No. 3 Sealant Liquid is what I’ve chosen as my primary sealant for this build along with Gasgacinch Gasket Sealer.