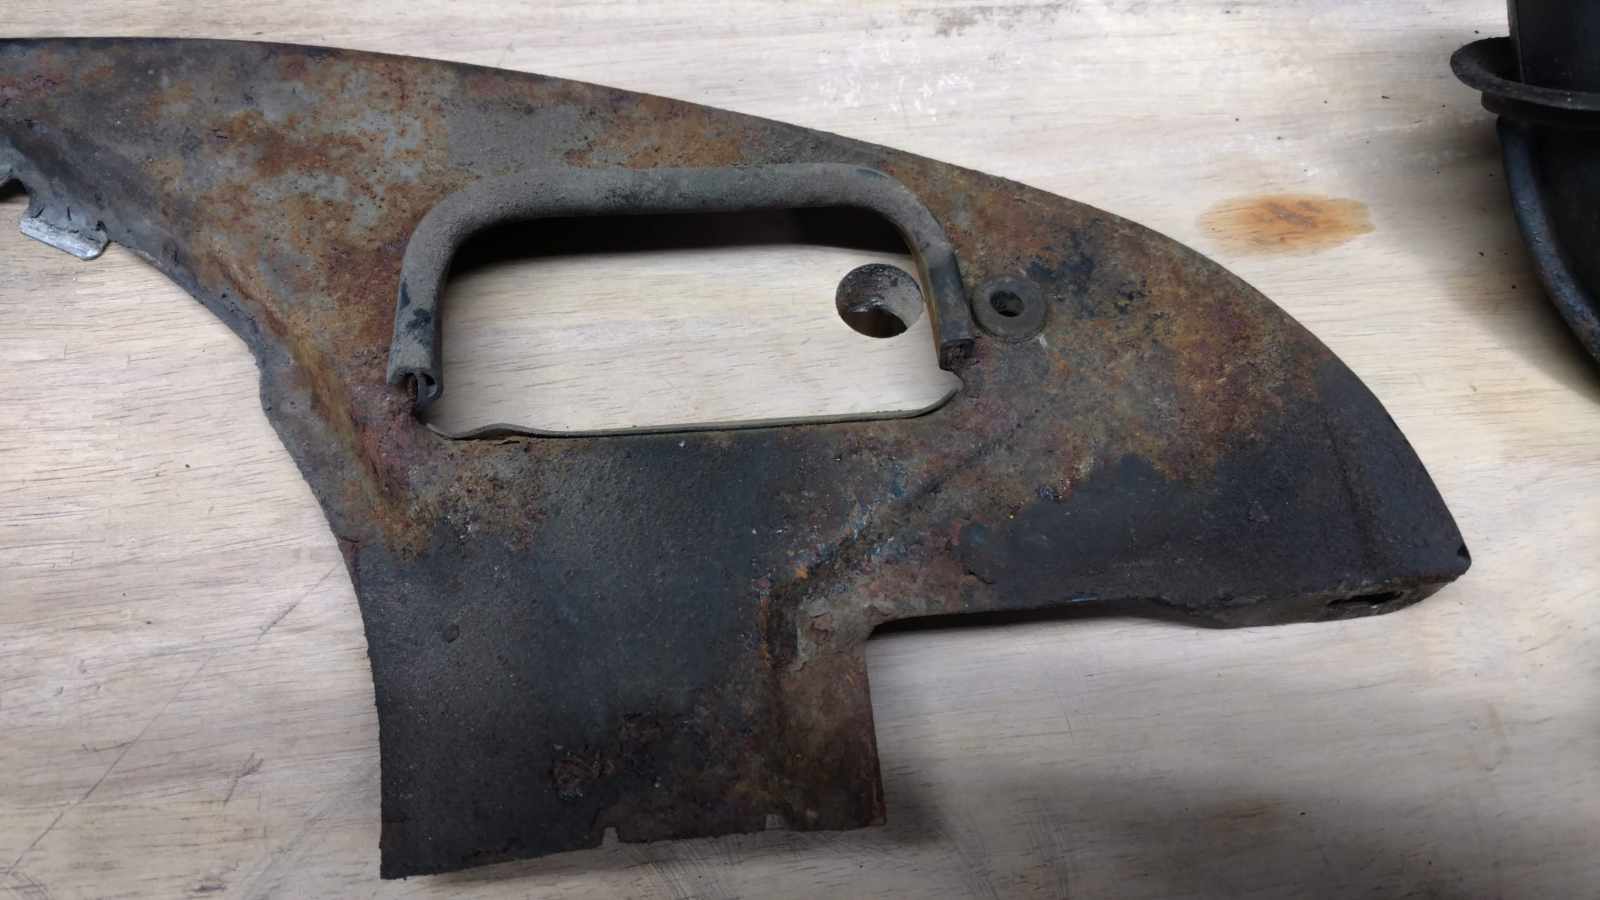
 A lot of the tins from the AH engine had likely never been removed from the car before, especially the cylinder and surround tins. At deconstruction, it was really apparent how much surface corrosion had eaten away at the original coatings, through surprisingly a lot of the rubber seals and grommets were actually quite decent.
Once I decided what I was going to use I decided to start cleaning them up using what I had on hand, which was mineral spirits and some Purple Power.
Everything received multiple baths and multiple scrubbings to try and get as much oil, dirt, and grease off of them. Quite frankly it was the same basic steps used to clean the engine case.
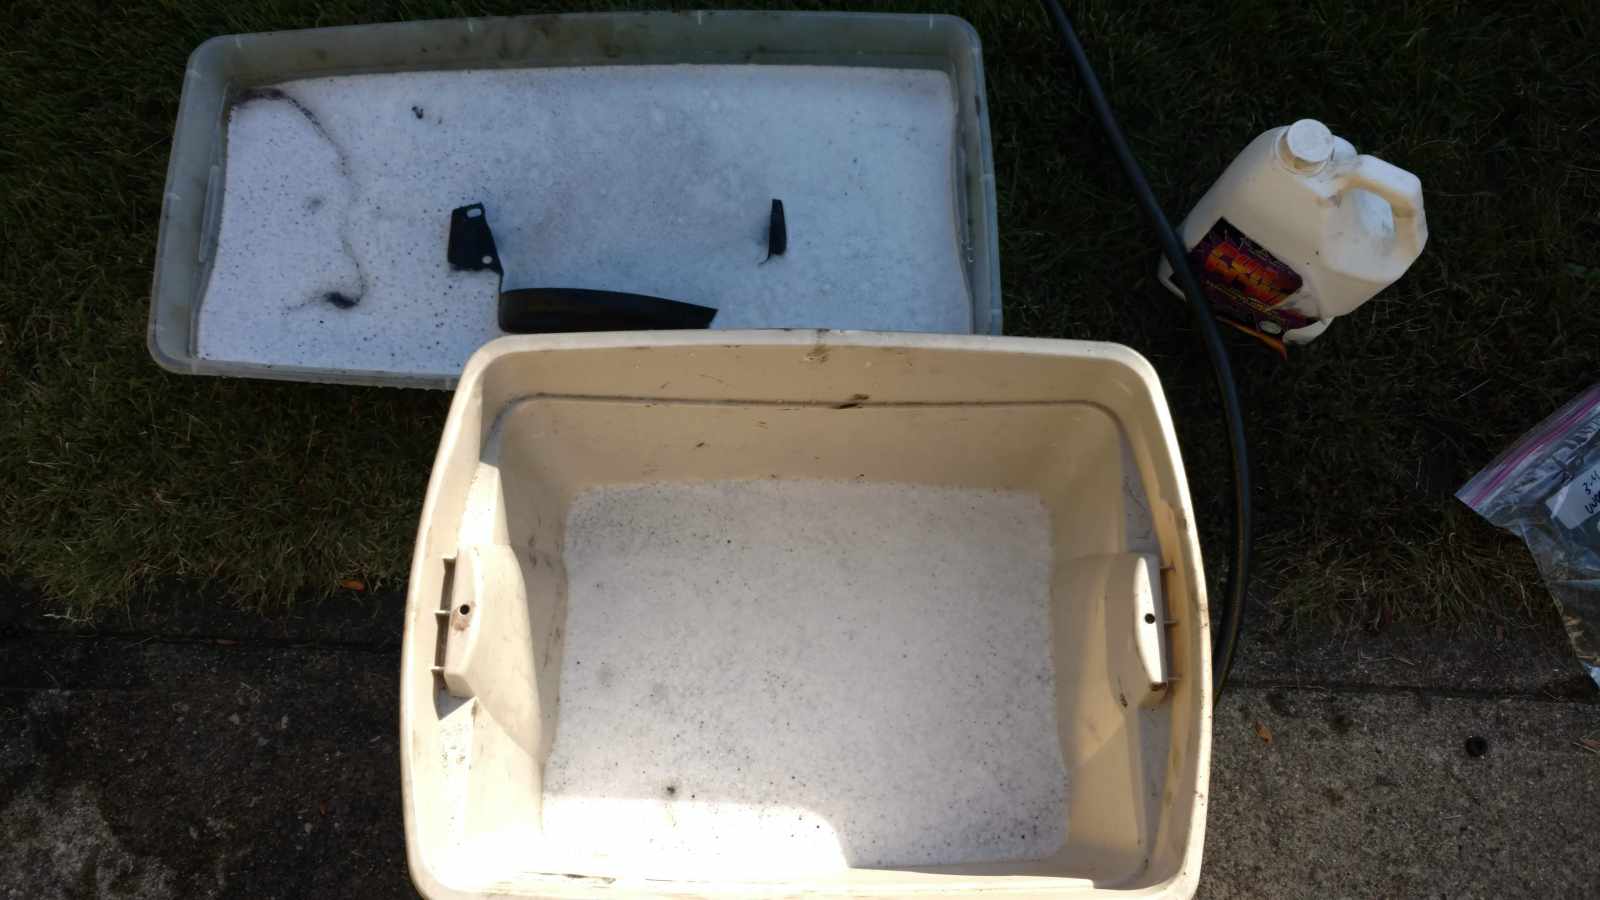
I wasn’t too afraid of the water contributing to further rust at this stage so I let them soak multiple times.
The fan shroud was too big for any bins I have so that was washed and cleaned multiple times by hand. Stiff bristle brushes work well and even helped remove some of the surface rust.
Once cleaned, all parts were towel dried and then left in the sun to completely dry off. I flipped them multiple times and thankfully it was one helluva warm and sunny day.
Once I was satisfied that the moisture was gone, I started sanding the reused old pieces by wire brush or sand paper. I used a variety of brushes, some even on my drills, to get as much corrosion off of the pieces as I could and to rough up any remaining pieces to allow for better adhesion. I used a dremel on a few of the smaller pieces, especially the left and right under engine tins.
I more or less reached a point on each reused piece where I decided that more work would ultimately be pointless. Every piece then got carefully cleaned with acetone to get rid of any more debris, and help to eliminate any remaining water moisture. Once dried, I cleaned them all with tack cloths.
To Powder Coat or Not to Power Coat?
Now if I was truly at the stage where I was doing a proper full restoration of a Beetle, I would likely budget for and plan to have all of the prepped tins professionally powder coated. I believe that over the expected continued lifetime of each piece, especially any original VW pieces, powder coating will provide the strongest protection to the metal.
Now knowing I had to think of multiple engines in the pipeline (the AH rebuild, the AR rebuild, etc.) professional powder coating was just completely out of the question given how much moeny I was bleeding on all 3 Beetles. After talking to various people on the Facebook groups, and researching products, I decided to try a home grown plan for this round of restoration. It will not be the level of powder coating by any means, but it will hopefully keep the metal from degrading any more (on used parts) and also protect the new parts I’ve added to the mix.
My Tin Restoration Process
My process distills down to the following:
- If needed, remove all oil, grease, and dirt with mineral spirits. Repeat as necessary until mineral spirits remain clean.
- Wash parts with soap and water.
- Dry thoroughly, preferably overnight or in the sun.
- Perform a hand sanding to remove all corrosion. If necessary, use a power tool such as s drill or smaller rotary tool with appropriate coarse grit media to take the surface rust off.
- Hand sand with finer grits to smooth out any roughness, as well as deal with the smoother parts of the metal.
- Blow as much surface debris off of the parts with compressed air.
- If necessary, wash with soap and water again.
- Dry thoroughly and clean with acetone.
- Use a tack cloth to remove any remaining dust that may have gotten on the metal. (Interiors of items such as the fan and fan shroud should be done as much as possible, but through all these steps, it will very difficult to ensure that all of the interior areas are completely prepped as occurs on the external surfaces.)
- Spray a Rust Reformer product on the metal to ensure any possible missed rust is coated. (Follow instructions on product.)
- Spray all pieces with 3 coats of high temperature automotive primer. (Follow instructions on product.)
- Spray all pieces with 3-5 coats of high temperature oil/chemical resistant automotive paint. (Follow instructions on product.)
- Spray all pieces with 3 coats of oil/chemical resistant automotive top coat. (Follow instructions on product.)
Now one of the considerations I had to make was availability of products so I limited myself to what is always on hand at my nearby Autozone and Pep Boys. The Pep Boys near me has quite an extensive selection of products.
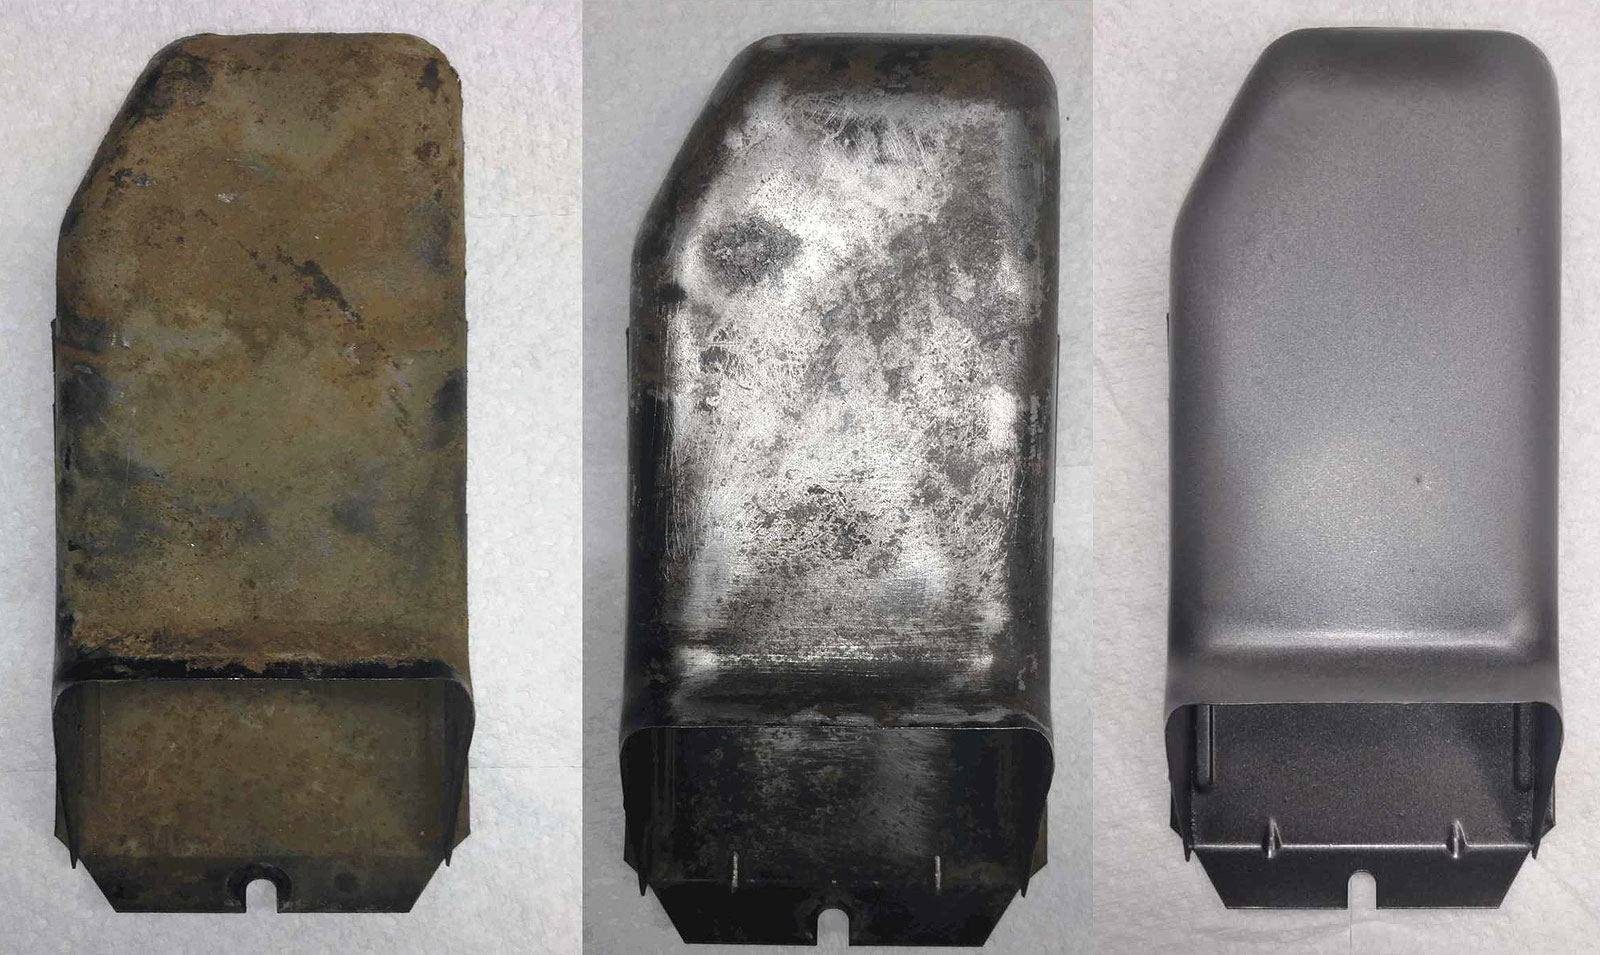
The 2 piece oil-cooler tins that came off the rear of the fan shroud were probably the two more corroded pieces on the original engine.
I did more of first few passes of corrosion removal by hand with 60 grit sand paper. I did all sanding dry, and did my best to get as far inside the pieces. I then used my Dremel with varying sanding bands and flap wheels to try to get down to bare metal.
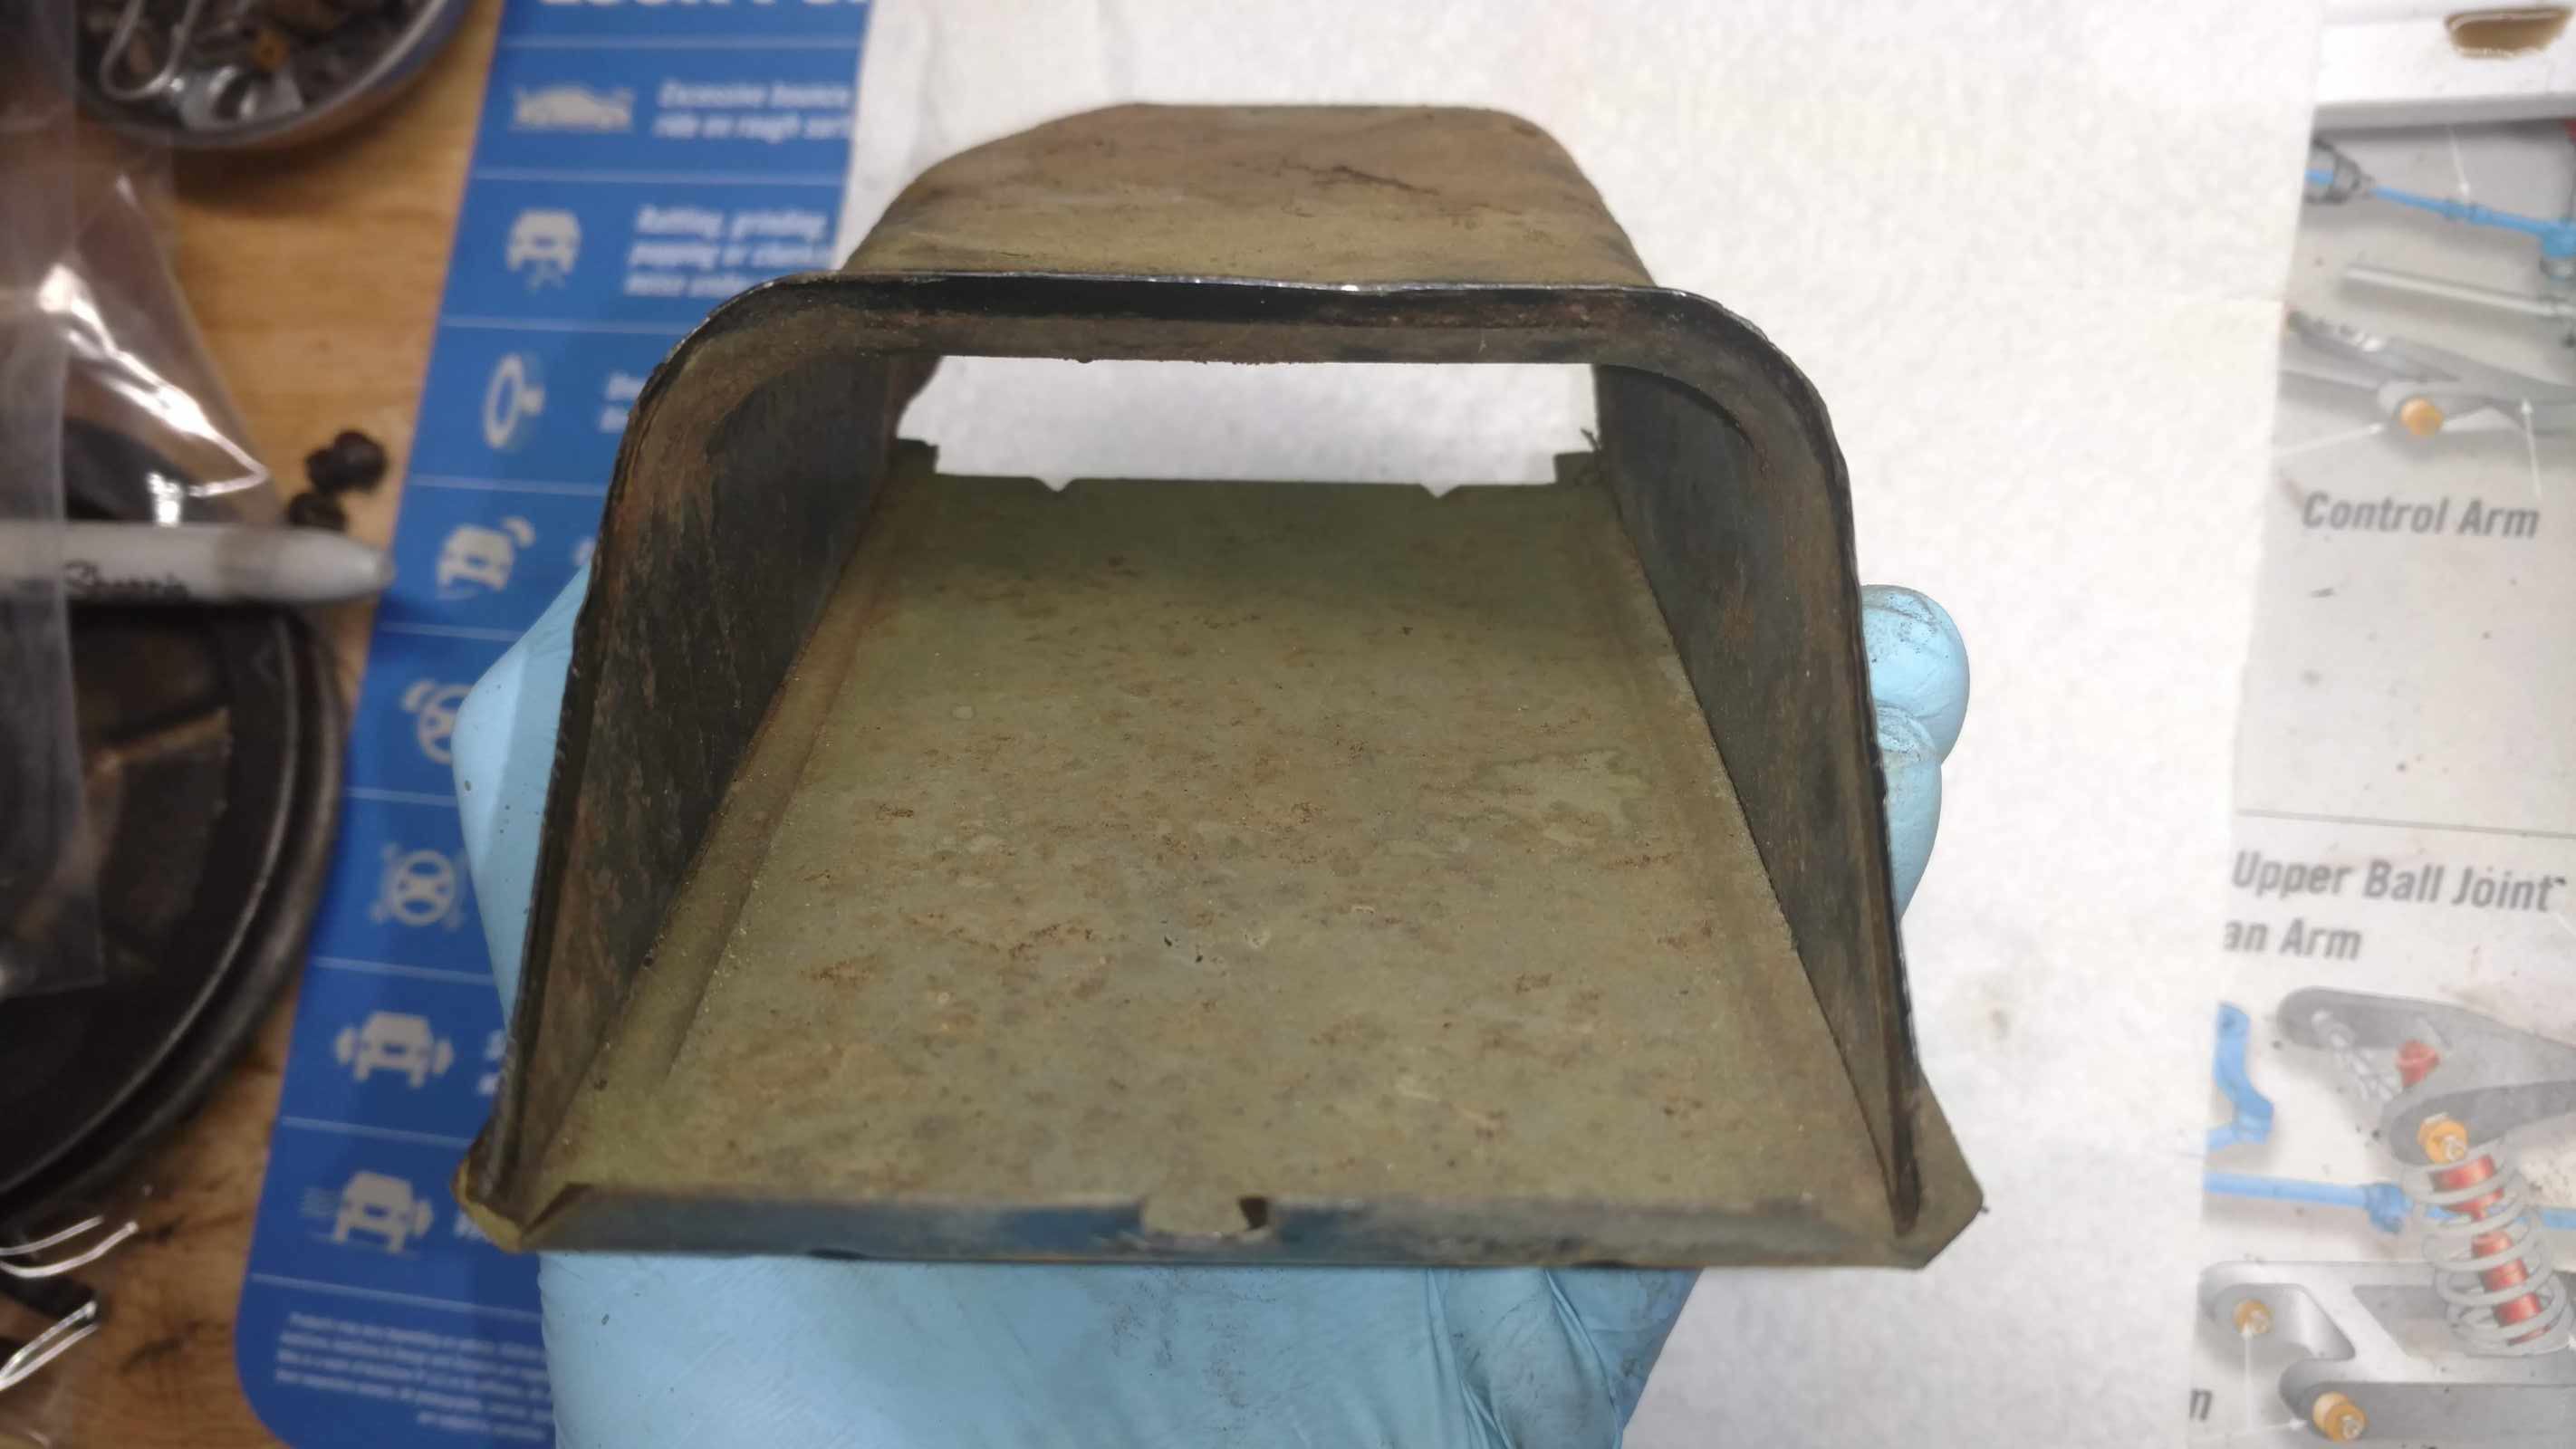
Unlike the fan shroud and fan, this one piece is large enough for a hand to reach in and sand off the rust. It was by no means perfect, but I think I got as much off as possible.
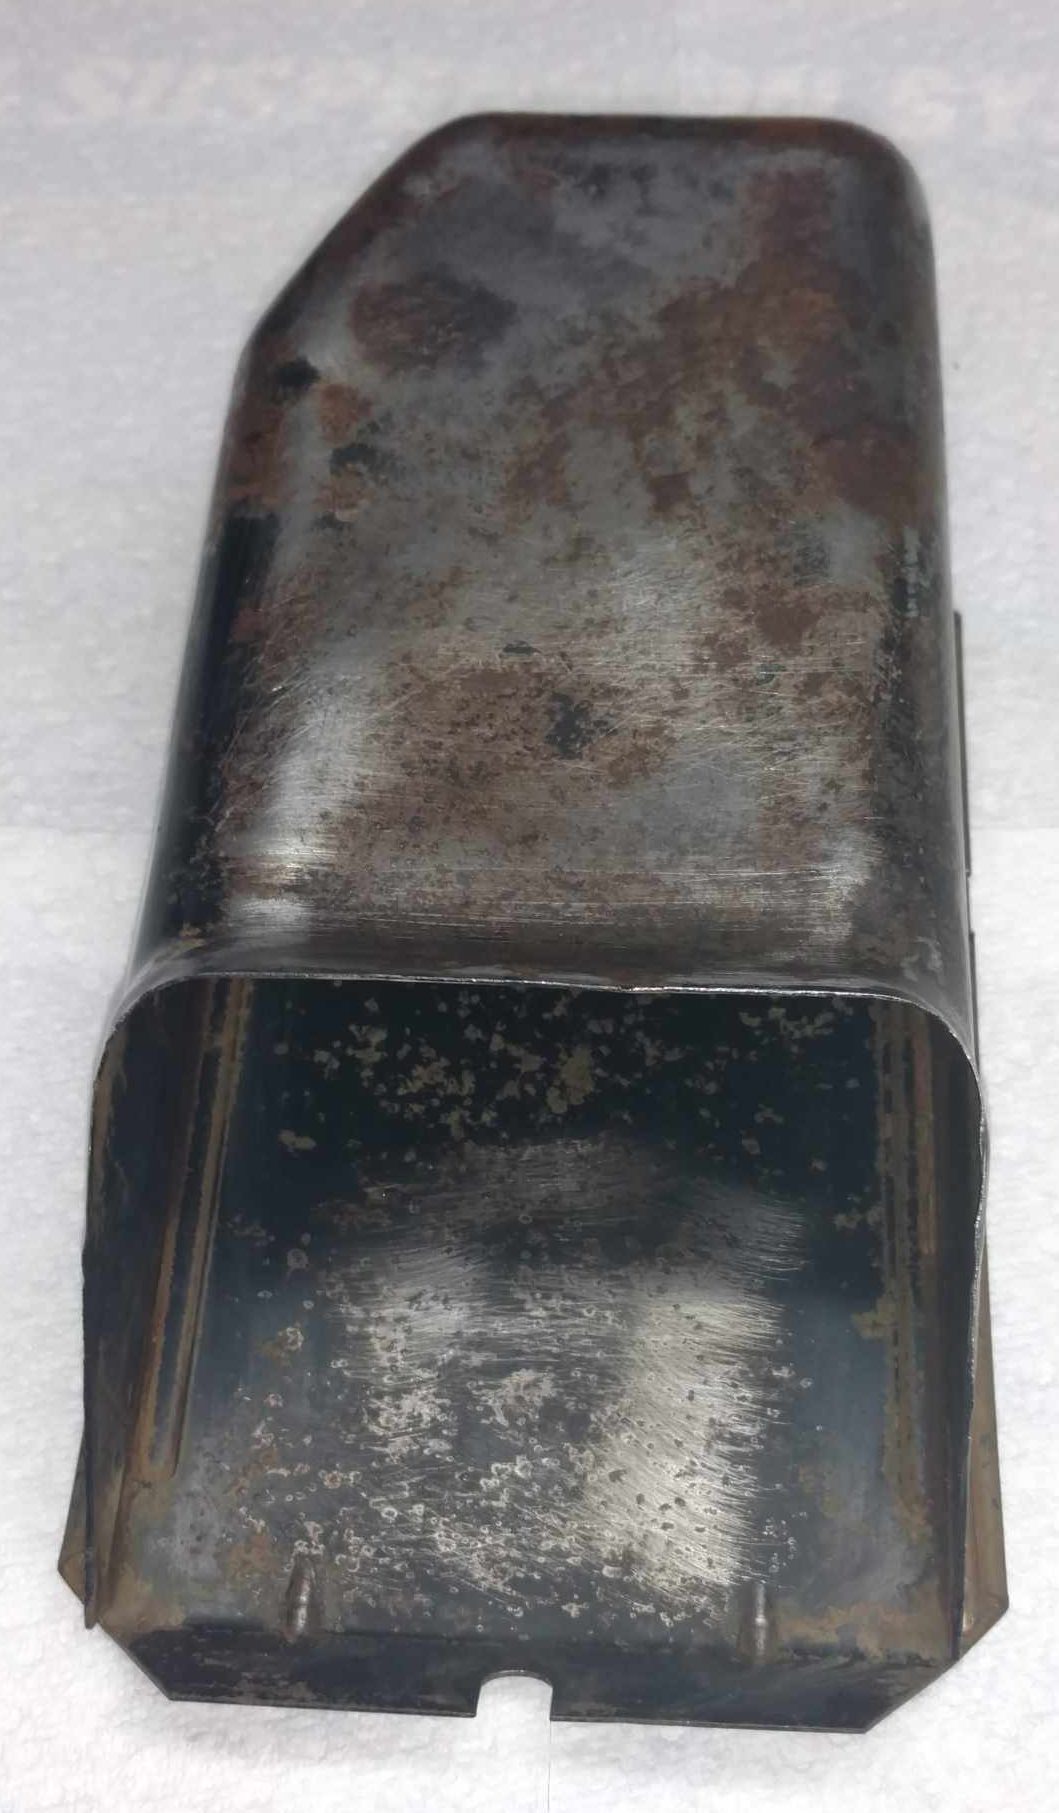
I continued hand and dremel sanding, trying to get as much rust off. I reach a point on the piece (above) where I decided I had gotten the majority off, and if I would keep going I would just get frustrated. Given the fact you can buy a replacement 2 piece set of these oil cooler tins for about $15, I definitely kind of knew I would reach a limit where I my time could be better spent on another part instead of tedius scraping and such.
I cleaned the pieces, washed them in acetone to displace any water moisture from previous washings, and once dry, did a final rub down with a tack cloth.
The part was then sprayed with a coat of the rust reformer product to ensure that had a chance to work as the product listed. Once dry, I did 3 coats of high temp VHT primer.
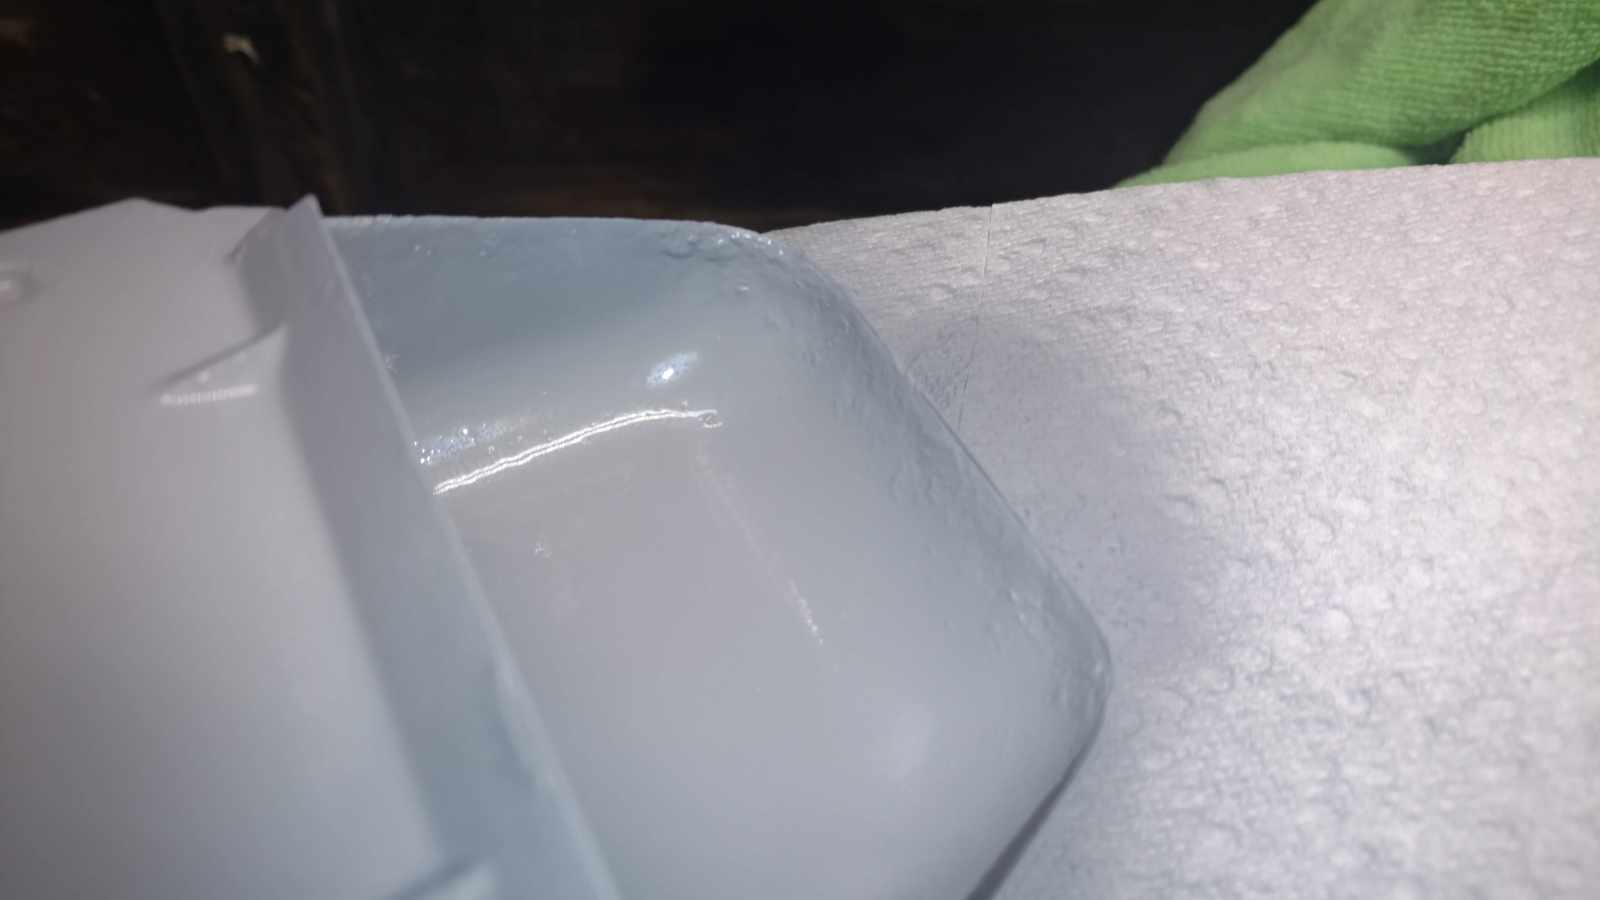
It was with the primer that I could start to see areas that I didn’t do so well. This part of the tin sticks out of the rear tin and is where the hot air coming off of the oil cooler exits the engine. It is exposed to the area above the transmission and ultimately, moisture from the open axle and wheel area below.
I hadn’t noticed how badly this was rusted and I thought I had gotten it off with the first few passes. I ended up sanding this a bit again, but it still was not as good as it could have been if I had really spent time with the Dremel. I ended up deciding that since this is all hidden from view, and is not really something that can be even seen at all, I would focus on sealing it and making sure it was properly coated instead of focusing on the more time with sanding. I cleaned it up again and primed it again.
To say I was disappointed with the first coats of paint on this is an understatement. If I had gone with the original satin black finish, I don’t think some of the pitting would have been as noticeable. Since I went with a color that was cast iron gray, the mild metallic nature of the paint highlighted the shadows of the surface that kind of disappeared in primer. I did sand this down a bit more with high grit paper and primed and painted again.
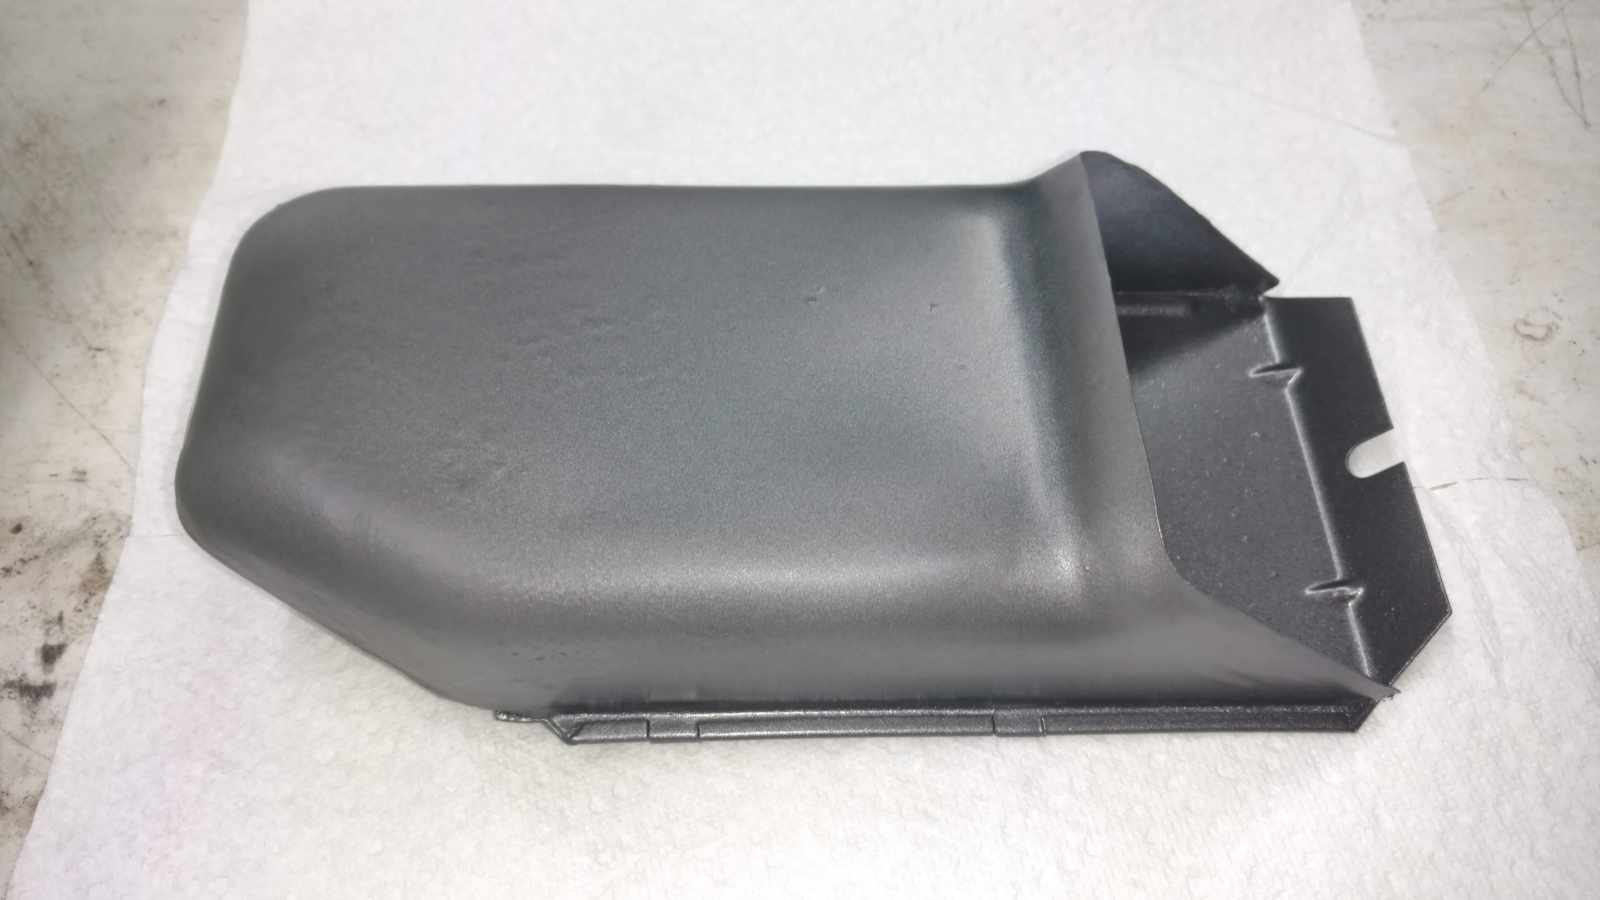
Ultimately, the area that was a problem is the more or less what sticks out from the rear tin with the rubber seal around it. Once again, absolutely none of this is visible on the vehicle so I decided I’d done enough and finished it off with multiple coats of an oil and chemical resistant top coat.
I made a 45 year old corroded part look relatively decent. I’m actually quite happy with how these pieces turned out but will only ultimately know how durable my process will be once I get them on the car again and get some miles on them.
No doubt, an original satin black or even a matte black would have hidden some of the pitting. I was not able to find a self-leveling high-temp primer or paint that would have also corrected a lot of my sanding failures.
1 thought on “AH Engine – Rebuilding – Engine Tins – Part 2”